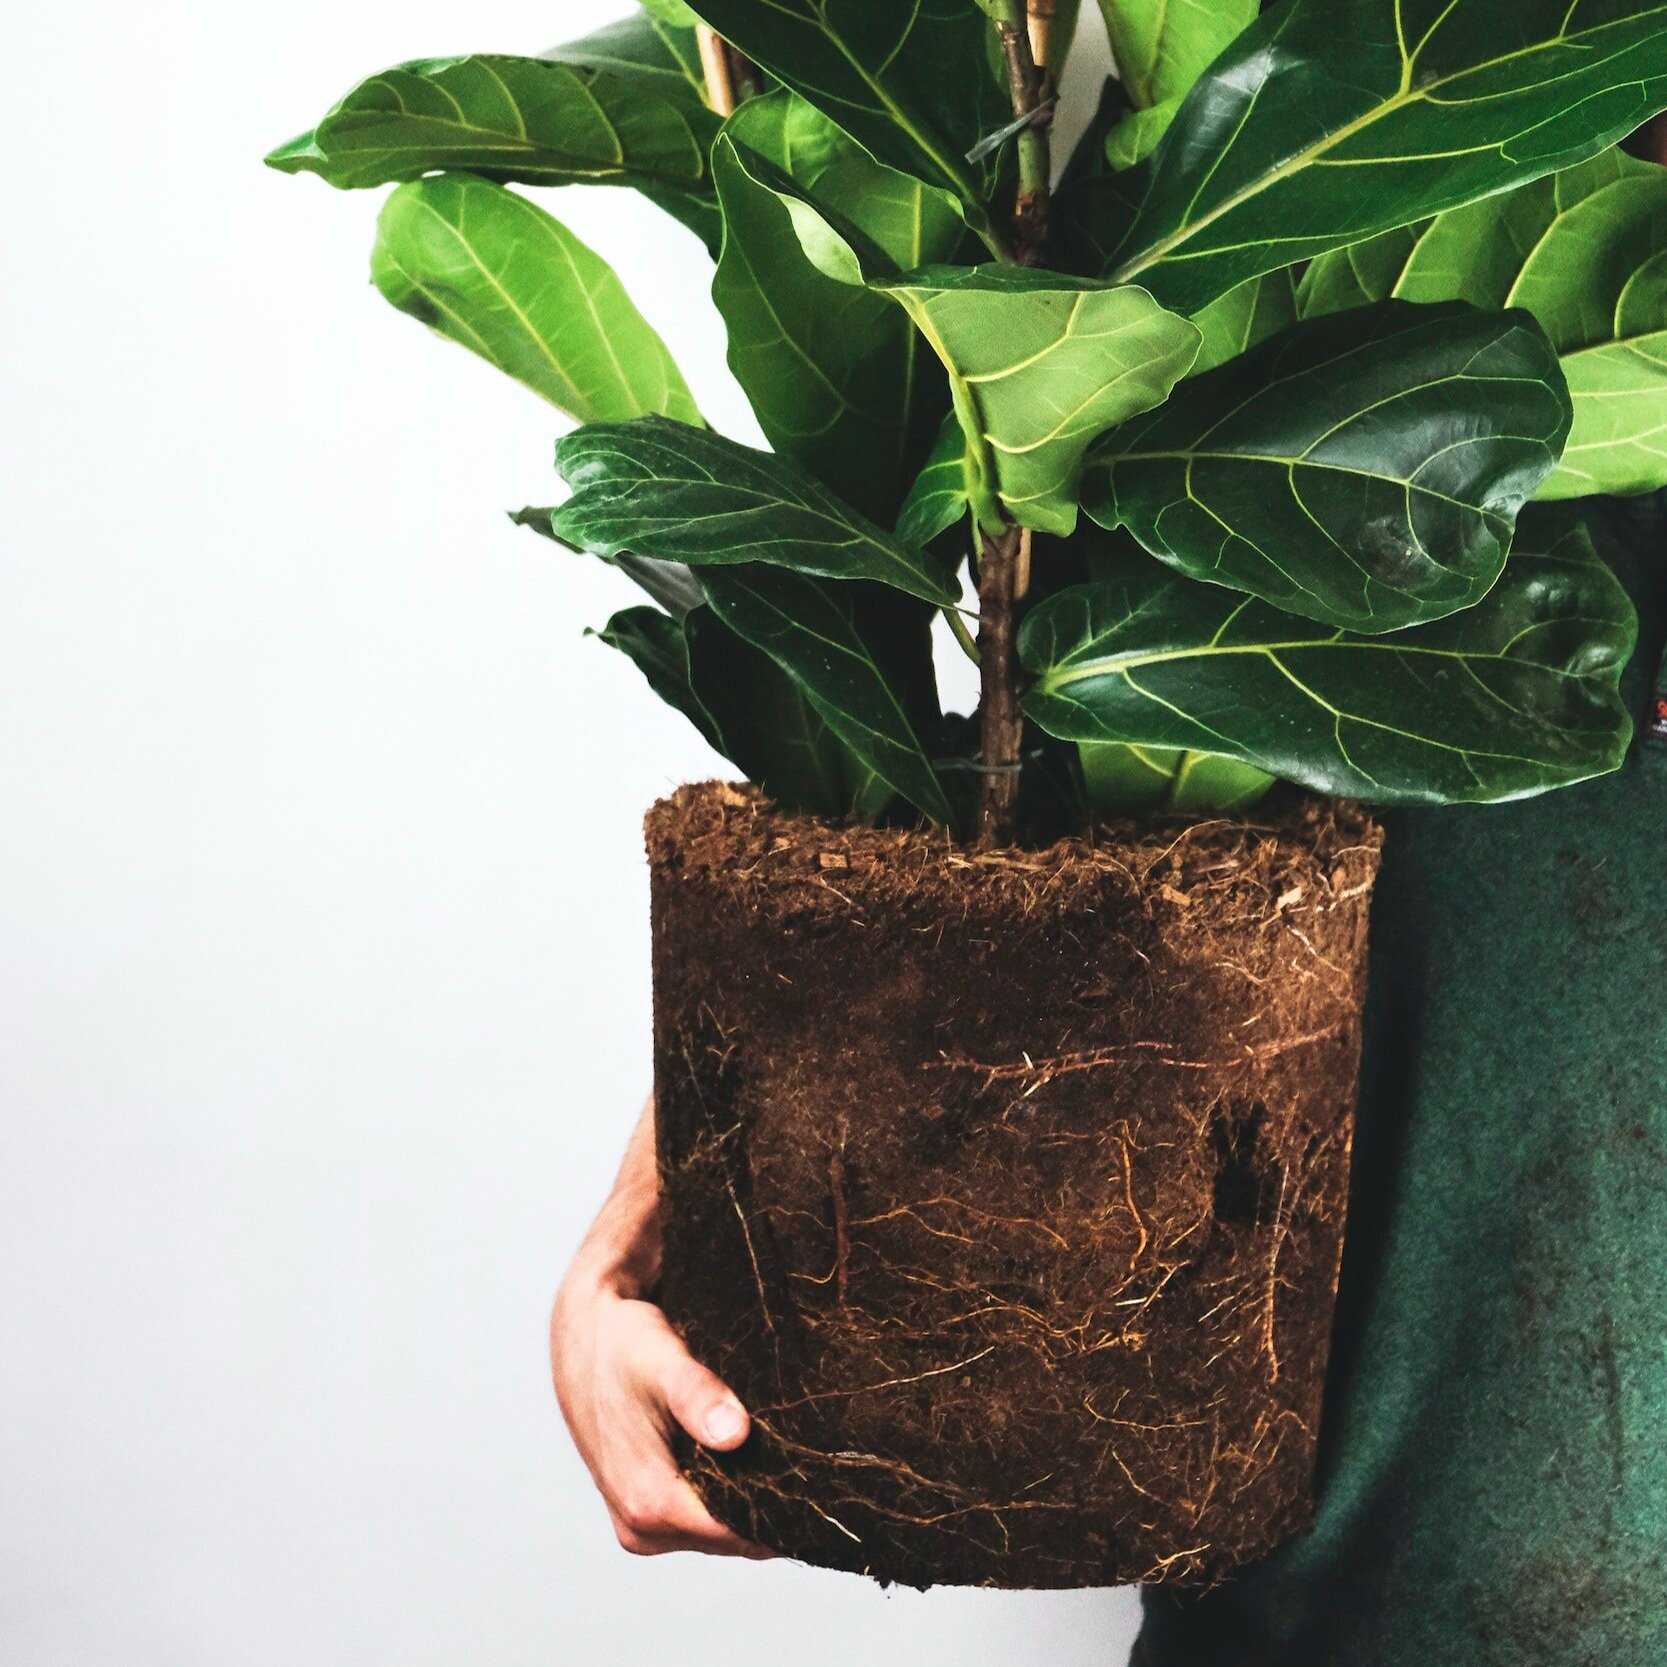
When it comes to potted plants, the pot or planter is often just as important as the plant itself! The pot your plant calls home goes far beyond aesthetics, and the planter you choose (and how you pot your plant in it) will dictate the overall health of your plant over time.
But there's more to choosing a planter than meets the eye. From the best materials for plant pots to finding the ideal size and ensuring proper drainage, here's what you need to know before buying a new planter.
Best Materials for Plant Pots
The first step in choosing a planter is picking the right material. There are various options available, each with its own set of advantages:
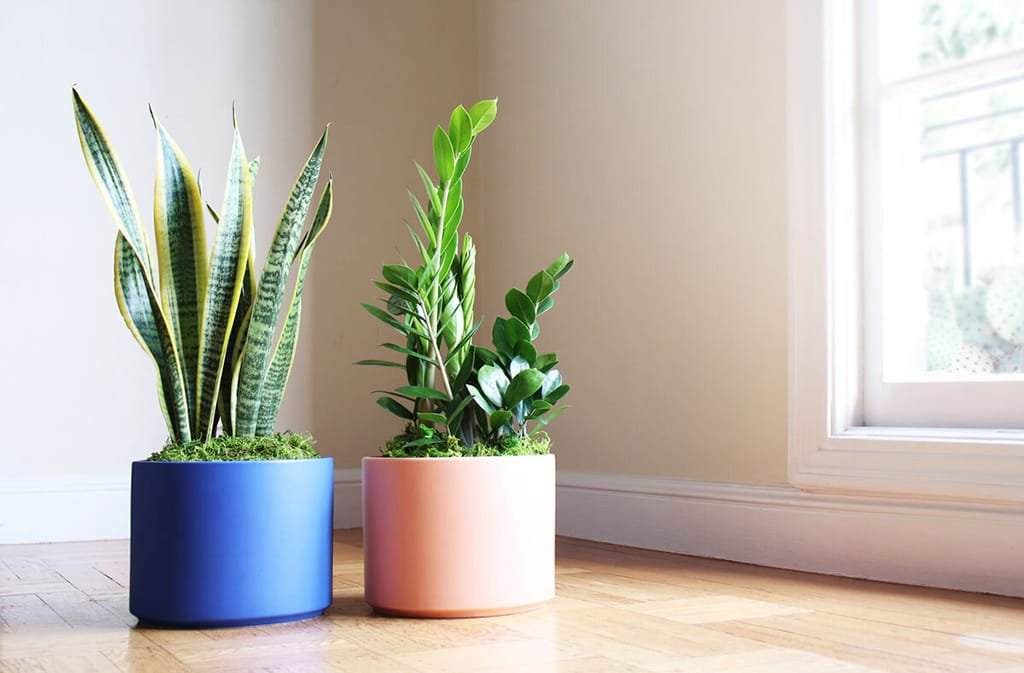
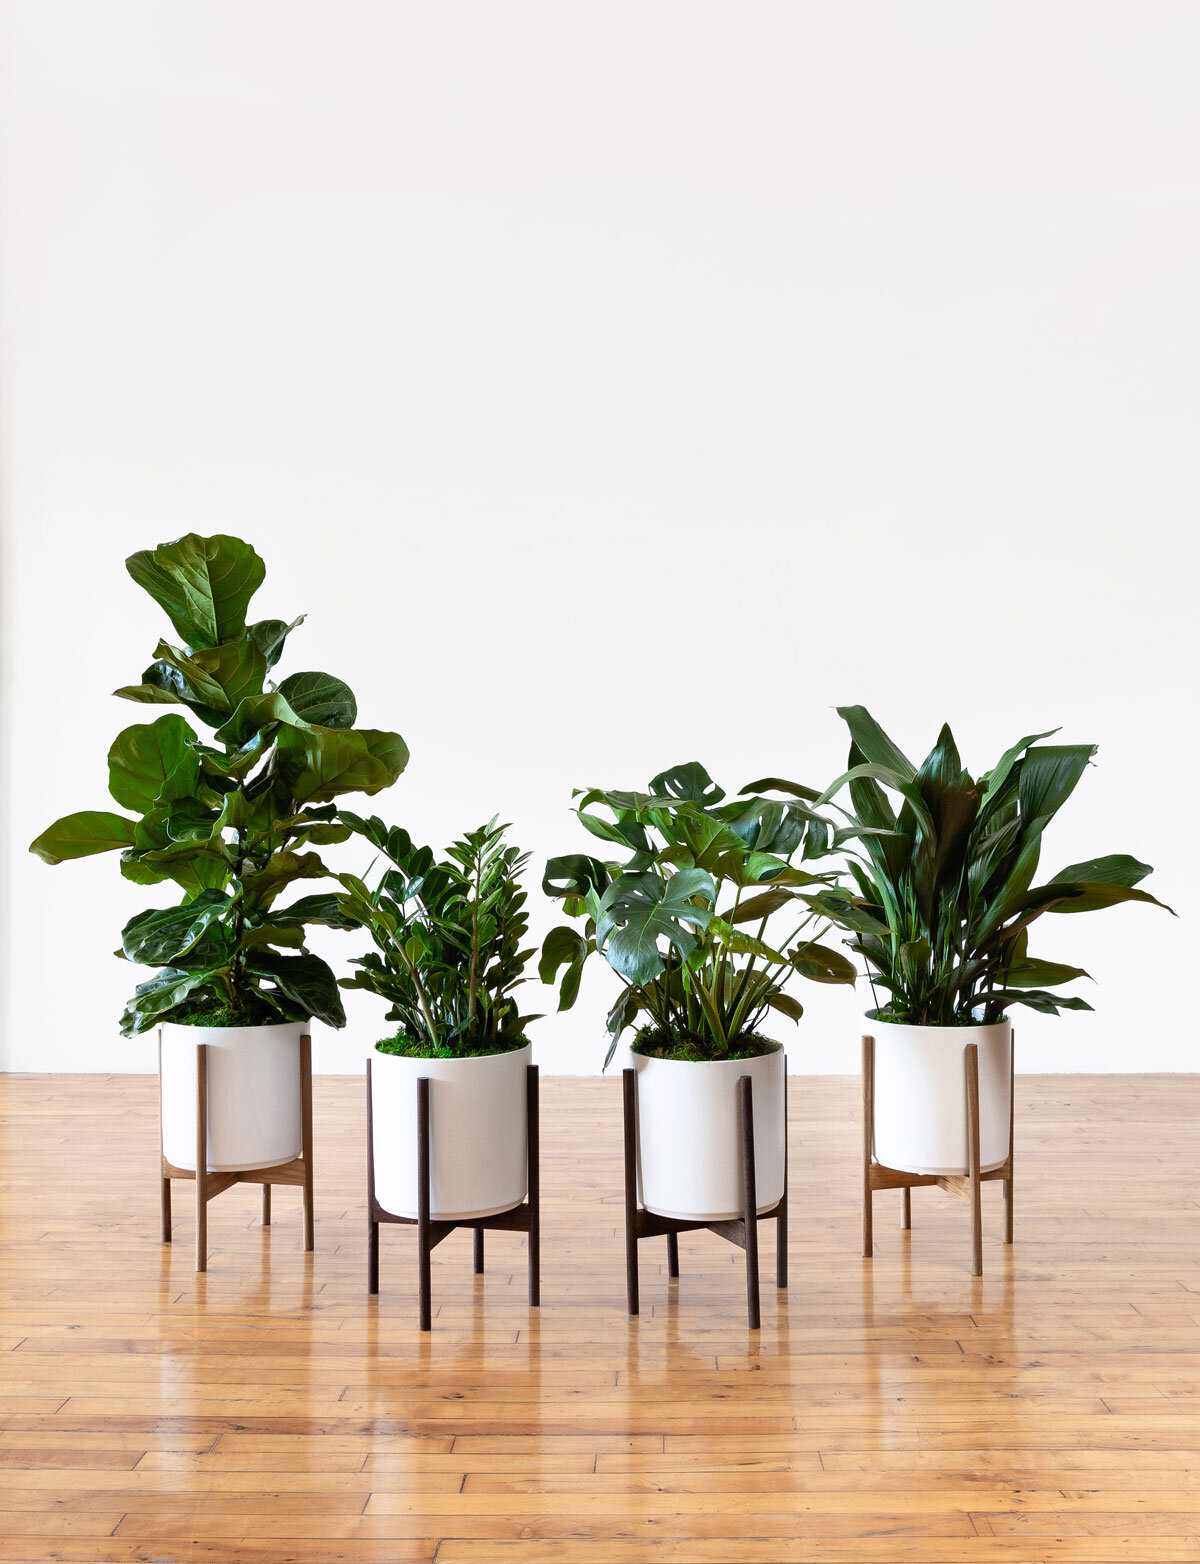
Ceramic: Ceramic pots are classic and come in a wide range of designs and colors. They're excellent for retaining moisture, making them suitable for plants that like consistent hydration. Many ceramic pots, like these Mid-Century style planters and our Scandinavian line of pots, are fully water-sealed as well, an added bonus if you’re worried about your pots damaging precious surfaces like wood floors or rugs.
Terracotta: These porous clay pots are great for plants that prefer well-draining soil. They allow air to reach the roots and are perfect for succulents and cacti. Note that terracotta pots will “age” overtime, changing colors as it absorbs minerals from the soil, fertilizer and water.
Metal: Metal planters, like those made from galvanized steel, are durable and often have a modern aesthetic. They can withstand the elements, making them suitable for outdoor use.
Wood: Wooden planters offer a rustic charm and can be a great choice for herbs or ornamental plants. They do require a liner to prevent water damage to the wood.
Finding the Right Fit
One of the common dilemmas plant lovers face is finding a planter that seems like the perfect fit, only to discover it either swallows the nursery pot or is entirely too small. Here are a few tips:
Room to Grow: Choose a planter that accommodates your plant's current size with some room for growth. A too-small planter can restrict your plant's development, but you also don’t want your plant to be swimming in soil as most like to have their roots very cozy. When choosing the right size planter, think about 2-3 inches bigger than the nursery pot your plant comes in.
Proportions: Consider your plant's height and width. Taller, top-heavy plants may require a planter with a wider base to prevent tipping. Most nursery pots come in standard widths, such as 4", 6", 8", or 10". If your planter is wider than the nursery pot and you do not plan on potting directly in your planter, use a foam collar or any suitable material to eliminate wiggle room and keep it from tipping over. This method is called “staging”—keep scrolling to read more about how this works and why it’s our preferred method for potting plants.
Trimming the Nursery Pot: Unfortunately many planters are not designed with the nursery pot in mind. Once again, this is an issue if you don’t plan on potting your plant directly into your planter. To ensure your plant fits the planter snuggly, trim the nursery pot's height by an inch or two. This process typically requires a sharp blade, as nursery pots are often made of tough plastic.

Léon & George planters are made of high-fired stoneware, 100% water-sealed so they’ll never damage your floors.
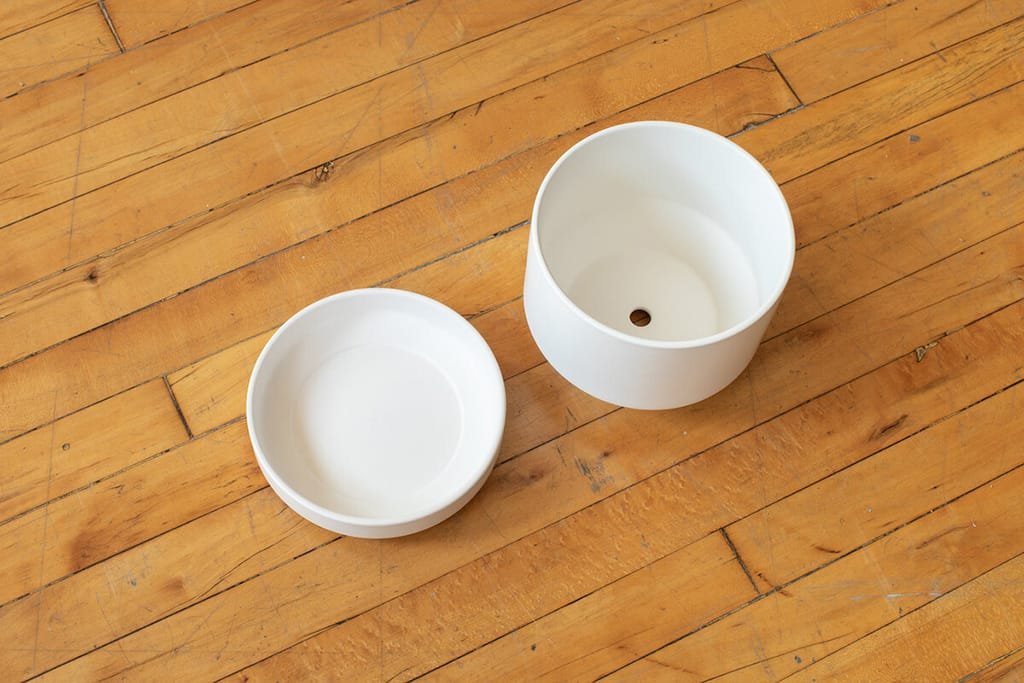
The Importance of Drainage
Drainage is a non-negotiable feature in plant pots. Without it, excess water can accumulate, leading to root rot and other issues. It is crucial that you either purchase a planter with drainage holes or that you set your plant up for proper drainage within its planter without holes. It’s quite easy—keep reading to learn how!
What to Do If Your Pot Has No Drainage
If you have your eyes set on a planter that lacks drainage holes (there are so many beautiful ones out there!), you can still make it work. Add a layer of small rocks , pebbles, or foam to the bottom to elevate your plant and create space for excess water. This prevents your plant from sitting in water for extended periods. Then set the plant inside its nursery pot inside the decorative planter. A block of styrofoam or a similar material also does the trick, rendering drainage holes unnecessary.
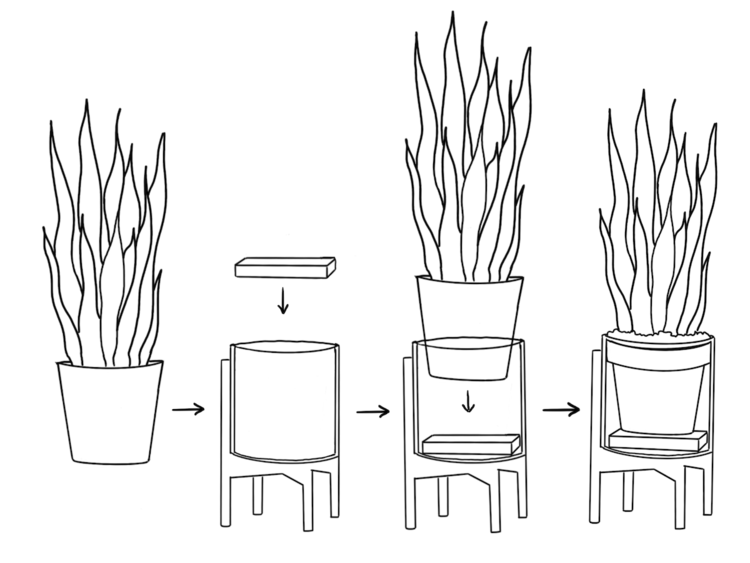
This is called “staging”, and it’s our preferred method of potting plants. Why is that? As a start, it helps with airflow for your plant, as many planters will not allow your plant’s roots to easily breathe. It also makes caring for your plants easier, as popping them in and out of their planter is a breeze. We stand by this method so firmly that we even stage when the planter has its own drainage holes!
Read more (and see a diagram) about how to stage your plants here.
Where to Buy High-Quality Pots for Plants
Now that you know what to look for in a planter, where can you find the perfect one? Here are some reputable places to consider:
Léon & George: A curated collection of minimalist, high-quality ceramic planters that pair well with any decor style.
Light & Ladder: Light & Ladder offers beautifully designed planters that are both unique and functional.
Goodee: Goodee is a treasure trove of sustainable and eco-friendly items for the home, including a highly curated selection of plant pots, perfect for the environmentally conscious plant lover.
Etsy: Etsy is the place to go for artisanal and unique planters. You'll find a vast assortment of handmade as well as vintage options to suit your style.
In conclusion, selecting the right planter is essential for the health and well-being of your plants. Choose the best material, ensure the planter's size is suitable, and prioritize drainage. With these tips in mind and the right planter in hand, your plants will thrive, and your space will flourish with greenery. Happy planting!
Designed to Thrive
Premium plants, potted and delivered, plus lifetime access to 24/7 Plant Doctor support. Order online at leonandgeorge.com