Posts in Plant Care
The Quickest, Simplest Way to Stake Your Fiddle Leaf Fig
How to stake a plant

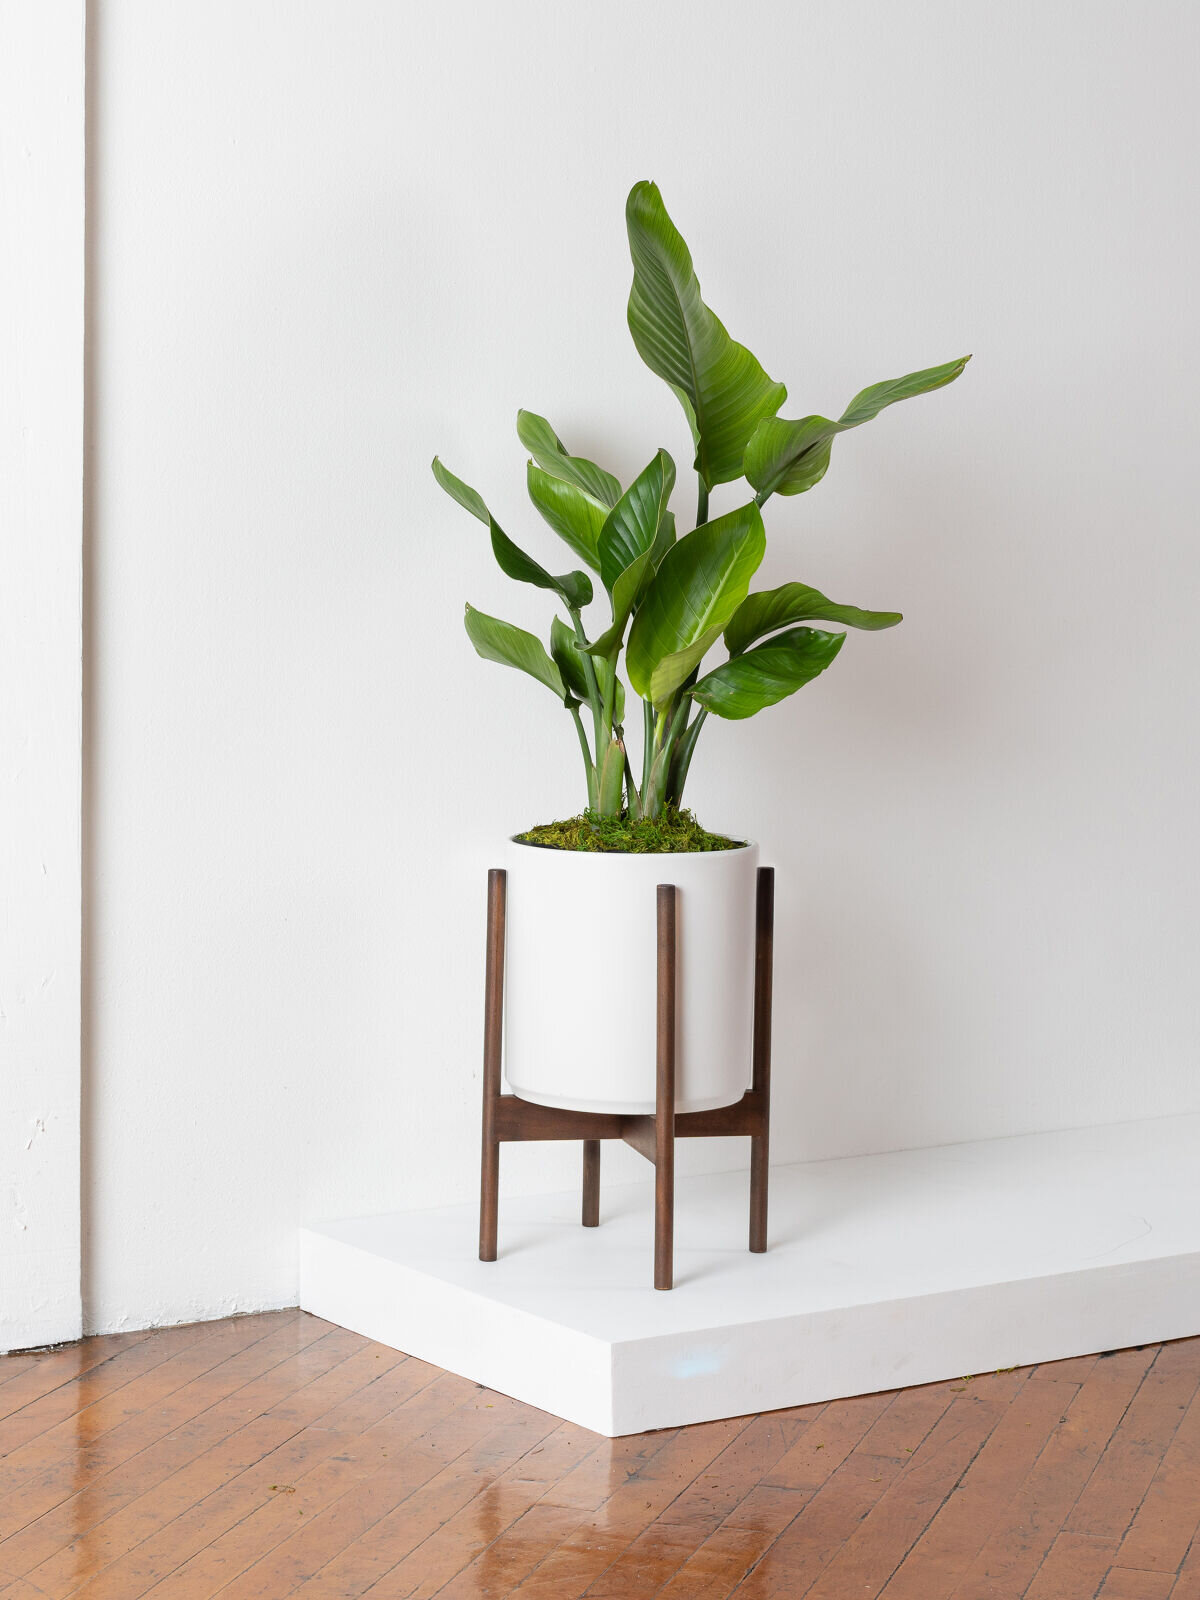
The darling of the houseplant world, the Fiddle Leaf Fig is a popular albeit infamously finicky indoor plant. But though it can be a bit picky about its light and water needs, once you’ve found the right balance and routine with this beauty, it can be an incredibly low maintenance and fast growing plant.

But what happens when it grows too fast? Plants like the Fiddle Leaf Fig can grow to be quite top-heavy, oftentimes growing unevenly (especially if you’re not regularly rotating it). If this is the case for your Fiddle, our Plant Doctors recommend staking the plant as a temporary solution to help it grow stronger roots and stand up straight.

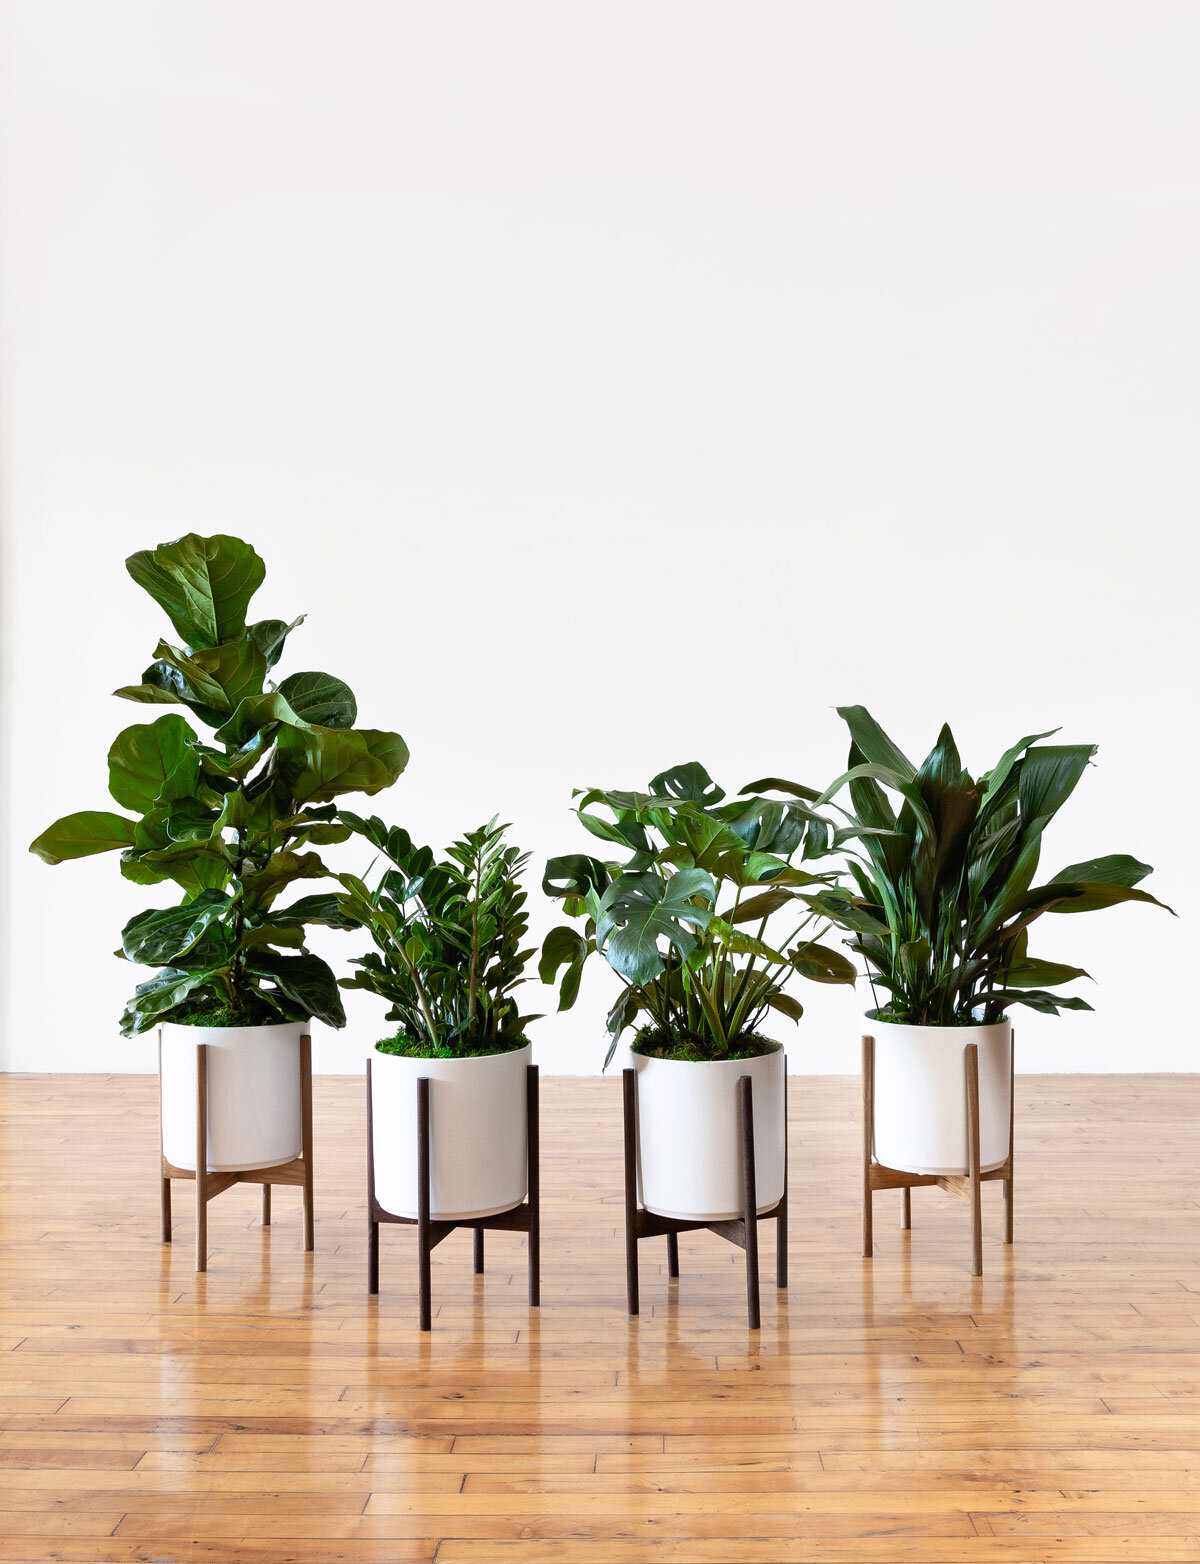
Though staking is most common for plants like the Fiddle Leaf Fig, this method can be used for virtually any leaning plant with a trunk. Here are simple steps to staking your plant:

Staking Fiddle Leaf Fig Tree
  1. Find a dowel or stake

At your local hardware store, find a dowel or stake that’s tall enough to span the entire length of the trunk from at least a few inches under the soil to the area where the trunk begins to branch out. Insert the stake gently into the soil of your plant. Be careful not to force the stake into the roots as this may cause stress.

If you’d like to reduce to risk of damaging the roots, and depending on how severe the leaning is, you may want to use two stakes on either side of the trunk.

2. Attach the stake to your plant

Using hooks or plant tape, attach the stake(s) to your plant. Pro tip: when you do this, do so in a way that is easy to “undo”. The reason for this is that you may want to sway your tree back and forth once a week or so to further strengthen the roots. Swaying the trunk helps the tree develop stronger roots, in addition to aerating the soil, creating small oxygen pockets that will keep it happy. After the gentle sways, tie it back to the stake and let it be.

3. Check in on the plant’s stability

After a month or two, check your tree’s progress. When you remove the hooks or ties on your stake(s), does it still lean heavily? If so, leave the stakes in and keep at it! Over time, though, with proper care and regular rotation, your plant should be able to stand erect on its own.

In the meantime, if your plant is lopsided or has some degree of uneven growth, it may be time to prune! Check out our step by step guide to pruning your Fiddle Leaf Fig Tree here.

Before and after of trimming a Fiddle Leaf Fig. A complete makeover!

Natural Plant Food

Nourish your plants with this specially-formulated organic liquid plant food. Our Boost Vitaminé is made with potent nutrients from nature to help your plants grow and thrive all year long.

$24

Why Are My Bird of Paradise's Leaves Discolored?

We adore the The Bird of Paradise. Easy-care, verdantly green and gorgeous, this plant variety is a stunner for rooms that receive plenty of bright, direct light, and it requires water only sparingly. The foliage on this plant is naturally frayed and wild, but signs of discoloration like yellowing and browning are less standard. We know that seeing any discoloration on your plant friend’s leaves can be disconcerting, so read on to get to the bottom of the most common causes-- and their solutions!

Yellowing, Wilted Leaves

Usually, when the Bird of Paradise exhibits yellowing, wilted leaves (think floppy, not firm) it’s a sign that the plant is being overwatered. This is easily resolved! Just remove the plant from its ceramic pot, while keeping it secure in its plastic nursery pot. Check out the soil base. If it’s sopping wet, you may want to check the Bird of Paradise’s roots for root rot, which may require repotting (check out how to repot your Bird of Paradise here). But if the soil is simply wet or moistened through, you can simply allow the plant to dry out for a few days before returning it to its ceramic pot. If necessary, you can trim off any badly affected leaves and stems at their base with clean, sharp shears or scissors.

Browning Edges on Leaves

Crispy, dry brown edges are a common sign of dryness and/or underwatering. The Bird of Paradise does not like to be overwatered, but it does appreciated humidity, and if it is located close to an air vent, heater, A.C. unit or similar, this may be why it’s experiencing dryness. If it is close to an appliance, you should consider moving it. Make sure that you are watering the Bird of Paradise sufficiently, and mist it liberally, either with plain water, or with a mix of water and a gentle Foliar Feed, like Potion Magique. When using Potion Magique, it should be diluted to approximately three drops per every eight ounces of water.

Still Concerned? We’re Here to Help!

You never have to go it alone if you’re concerned with the health of your plant. If you follow the steps above and notice that your Bird of Paradise is not improving, our Plant Doctor service is here to help guide you with custom advice and solutions. Simply reach out to the via your Leon and George account, including illustrative photos and a description of any issues you’re seeing.


birddarkstand.jpeg

Bird of Paradise

Verdant, playful and charmingly low-maintenance, the Bird of Paradise is ideal for bright, sunny spaces.

Why Are My Bird of Paradise's Leaves Splitting?

The Bird of Paradise is a natural star: the ideal plant for bright, sunny spaces, they grow big and beautiful with little care and require little water. You’ve probably seen Birds of Paradise thriving outdoors all over town, but they are also a showstopper indoor plant variety, effortlessly achieving great height and pushing out bountiful leaves. This plant variety has a naturally wild aesthetic, which includes frayed, feathery-split leaves.

Naturally Split Leaves

If you notice that your Bird of Paradise is exhibiting lots of splits and frays in its leaves, you can relax: this is completely normal. The split foliage does not mean you’re doing anything wrong! It’s a trait of the plant that evolved in nature. In the wild, the splits ensure that wind can pass through the plant’s foliage without breaking the plant or disturbing its roots.

Prefer Fewer Splits?

The Bird of Paradise is always likely to exhibit splits and frays to its feathers, so this trait will occur to varying degrees regardless of where your plant is situated. However, an indoor Bird of Paradise may exhibit less splitting if it is kept in an environment away from moving air (drafts from doors or windows, air conditioning units, heaters or fans.) The best thing that you can do for your plant is to give it consistent care according to its own specific needs. For Birds of Paradise, this means watering it only when its topsoil (the top two inches of soil below its decorative moss) are entirely dry, ensuring that it receives bountiful, bright indirect light, and misting it regularly. You can mist your Bird of Paradise with plain water, or give it an additional boost by misting it with a combination of water and a gentle Foliar Feed, like Potion Magique. When using Potion Magique, be sure to dilute the product, using approximately three drops for every eight ounces of water and shaking lightly to mix.


Bird of Paradise

A wild and bountiful indoor plant variety, the Bird of Paradise is the perfect low-maintenance plant for spaces that bask in plenty of bright, indirect light.

Why Are My Zanzibar Gem's Leaves Browning at the Tips?

Why are my Zanzibar Gem’s Leaves Browning at the Tips?

Zanzibar Gems are a lush and beautiful indoor plant variety with foliage to die for. With their generous profusion of wand-like stalks adorned with bountiful, emerald colored foliage, ZZ Gems as they’re often called lend a dazzling pop of color to any interior. So when you notice that your plant is exhibiting browning leaf tips, it’s natural to be frustrated! But you don’t need to fret— browning leaf tips are easily treated, and can almost always easily traced back to one of these hiccups in plant care. Read on, and be relieved!

Environment Too Dry

The most common cause of browning leaf tips on a Zanzibar Gem is a lack of humidity in the plant’s environment. The use of air conditioners or heaters, drafts from doors and windows, and seasonal changes can all cause a change in humidity- but it can be easily assuaged by misting your plant! Mist you plant up the three times weekly, either with plain water or with water mixed with a foliar feed, like Potion Magique.

Overwatering

The browning caused by overwatering has a specific appearance and texture. If the foliage appears soft and mushy, is falling off or is very easily removed, it’s possible that your plant may be overwatered. Zanzibar Gems need to be watered only sparingly- when the top two inches of their soil are entirely dry. If you are concerned that your plant may have been overwatered, remove the plant, still within its plastic nursery pot, from its ceramic planter. Check its soil to see if it is waterlogged or has a musty scent. If the soil is thoroughly wet, allow it to dry out entirely before you replace the plant in its ceramic pot, and begging your watering schedule again, watering only when the topsoil is entirely dry. Remove any significantly brown or unhealthy leaves.

Underwatering

If a large portion of your Zanzibar Gem’s leaves are dry, brown and crispy, it’s possible that your plant has gone too long without water. Insert your finger in the top two inches of its soil— if they are entirely dry, give it 1-2 cups of water. Do not overwater the plant to compensate for its dryness; just commit to a new regular schedule of checking its moisture and watering it when needed. You can trim off the severely dried leaves or allow them to naturally fall. New growth will appear as your plant bounces back from its drought.

Reach Out!

In the unlikely event that your Zanzibar Gem’s condition is not improved by making adjustments to its care routine, don’t hesitate to reach out to our Plant Doctor service via your Léon & George account. Our experts are always here to help!


LeonGeorge_Summer2021_28.jpeg

Zanzibar Gem

Lush and vibrant, with wand-like stems and emerald foliage, the Zanzibar Gem is a stunning, low-maintenance indoor plant that thrives in medium to low, indirect light.

How To Keep Cats Out Of Plants
How to keep cats out of plants

How to keep your cats out of your plants

Any cat owner knows the trials and tribulations that come with wanting a home that’s both feline and flora friendly. Cats are infamously curious, and unfortunately, houseplants are of high interest to our feline friends. One of our co-founders is a cat (Léon, of Léon & George!), so we know firsthand how difficult it can be.

Luckily, there are a handful of natural solutions for keeping cats off plants. Of course, you may consider only non-toxic plants that are safe for cats to nibble on just in case, but keep in mind that most common houseplants considered “toxic” are only mildly so and will rarely cause any real harm to your pet.

Citrus

Cats don't love the smell of citrus. Make your plant smell "bad" to your pets (and good to you!) by misting it with lemon juice diluted in water. Similarly, try leaving a few lemon or orange peels on top of the soil.

Vinegar

The smell of vinegar is also a great deterrent for cats. Vinegar is too acidic to spray directly on the plant, but try cleaning the ceramic pot with a vinegar solution every few weeks to keep curious pets at bay.

Decorative rocks

Deter digging with decorative rocks or stones atop the soil of your plants. These come in all sizes, shapes and colors, and finding something that's also aesthetically pleasing should be easy!

Wondering how to keep cats out of your garden? Check out these tips here.


Calathea Rattlesnake

A beautifully patterned prayer plant with green and purple hues. 100% non-toxic and safe for cats.

Why Are My Zanzibar Gem's Leaves Yellowing?

Why are my Zanzibar Gem’s Leaves Yellowing?

Zanzibar Gems have no shortage of fabulous, textural foliage, and these deep, emerald-toned leaves are its most beloved characteristic. With that in mind, it makes perfect sense to feel concern if you notice discoloration or yellowing. Luckily, yellowing foliage on your Zanzibar Gem is an easy fix! Read on to learn the common causes and solutions for yellowing leaves on your Zanzibar Gem.

Normal Leaf Shedding

It’s normal for Zanzibar Gems to shed older leaves from time time, so if you notice that your Zanzibar Gem has a small number of yellow leaves, you can simply pluck them off, or trim them as close to the branch as possible with clean, sharp scissors or shears.

Overwatering

If you notice more than a small amount of yellowing leaves, inspect your Zanzibar Gem for signs of overwatering such as soft, mushy stalks and waterlogged, very wet soil. 

If you see these signs, remove your plant (still within its plastic nursery pot) from its ceramic planter. Check the ceramic planter for excess water and, if any has pooled inside of it, pour that water out. Keep your Zanzibar Gem out of the ceramic planter until its soil dries entirely. 

You will also want to remove any dead, yellow leaves and mushy stalks or roots at this time.

It may take a few weeks to a month for your Zanzibar Gem’s soil to dry entirely, but don’t worry, your plant does not need more water during this time. 

Once it has fully dried, you can return it to its ceramic planter and re-initiate your watering regimen, of watering only when the top two inches of its soil, below the decorative moss, are entirely dry. 

Consider a Moisture Meter

Moisture meters are a handy, easy-to-use tool that allows you to determine your plant’s moisture level with no fuss. 

You simply push the meter deeply into your plant’s soil (be mindful not to hit your plant’s roots with the meter on the way down) and read its sensor window. When your plant’s soil is moist, the window will appear blue. When the soil is dry and your plant is ready for water, the window will appear white.

Moisture meters are affordable and available in the same sizes as your Zanzibar Gem: Small, Medium, and Large. 

If In Doubt, Reach Out!

Yellow leaves are typically not a sign of a serious health problem, and can simply be removed. However, if you are concerned that your Zanzibar Gem is showing other signs of distress, or if it is delivered with a high degree of discoloration, our Plant Doctor Service can provide guidance. Simply sign in to your Léon & George account, select “Contact Plant Doctor” and provide photos.


20181103_L&G-389.jpg

Zanzibar Gem

Vibrantly tonal, with an abundance of lush, emerald-tone foliage, the Zanzibar Gem is a low-maintenance, low-water dream plant for spaces that received medium to low, indirect light.

Why Are My Monstera Deliciosa's Leaves Yellowing?

The foliage of the Monstera Deliciosa is its crowning glory! Playful, sculptural and vibrant, its leaves grow in abundance, creating beautiful silhouettes and adorning your space with dimensionality and deep, emerald hues. So we know how upsetting it is when your Monstera’s leaves take a hit and begin to show troubling yellow tones. It’s the most common ailment for Monsteras, and it’s an easy fix! Read on to get your plant’s luscious split leaves back on track.

Underwatering

Far and away, the most common cause of yellowing Monstera foliage is overwatering. It can be so tempting to water your Monstera frequently (i.e. multiple times a week) because we all love to commune with our plant friends, but this is not what your plant usually wants. Monsteras should be watered only when their topsoil is fully dry to the touch. You can probe its topsoil weekly, by lifting a portion of its decorative moss and pushing your finger two inches down into its soil. If those two inches are dry, you can give the Monstera a good drink- but if they are still dry, hold off.

If you find that your plant’s soil is very soggy and wet, and has been for a week or more, you can lift it out of its ceramic pot while keeping it inside its interior plastic nursery pot. Check its overall moisture. If it is very wet, keep it outside of the ceramic pot until the moisture has dried entirely before watering again and returning it to its ceramic pot.

Environmental Dryness

The yellowing caused by environmental dryness looks different than the yellowing caused by overwatering. It causes browning at the edges of the leaves, which gradually merges into a central, yellowing leaf. The brown edges are a very good indicator of dryness. If you notice these signs, incorporate misting the Monstera a few times a week into your plant care routine, either with plain water, or with water boosted with Potion Magique.

Insects

Spider mites can cause yellowing, unhealthy foliage, though this is one of the less common ailments that Monsteras face. Spider mites can be eradicated by hosing off your plant or placing it under your shower head while it’s running, to remove any mites clinging to its foliage, and then applying an insecticide.

Extra Support

If your Monstera Deliciosa continues to experience yellowing foliage after receiving appropriate care, it may very well be that the yellowing is just a result of the natural, occasional yellowing and leaf shedding that all living plants experience. But our Plant Doctor service can also help to diagnose the issue and get your plant back on track. Reach out to the Plant Doctor via your Léon & George account, and you can expect a helpful response within two to three business days.


Monstera Deliciosa

A fabulous statement plant with sculptural, swiss-cheese foliage and a low-maintenance disposition! The Monstera Deliciosa is an ideal easy-care plant for a joyful, textural space.

Bottom Watering 101

How (And Why) To Bottom Water Your Plants

We're going to let you in on a little secret that all green thumbs swear by: bottom watering. Bottom watering is just what it sounds like: letting a plant drink from the bottom up, and plants absolutely love it.

Why Bottom Water?

When and why should you bottom water? This technique is great as a regular watering routine, but it can be particularly helpful when plants are extra thirsty after you've been out of town or simply have forgotten to water them.

Not all plants are easily bottom watered: larger plants that are difficult to maneuver can be tough. If you like bottom watering but don’t want the hassle of moving the plant around, trying placing your plant directly on the floor of a ceramic planter (if there is a drainage hole, place a plastic drip tray in the planter first). This requires a bit of a special touch with watering as you’ll want to be careful not to overdo it— there’s nothing most plants hate more than having “wet feet” or sitting in water for sustained periods of time.

Our Mid-Century ceramic planters are 100% waterproof and allow you to place the plant directly on the floor of the planter without worry of harming your floors.

How to Bottom Water

Step 1: Remove your plant from its decorative container and fill a drip tray or any other container with a couple inches of water.

Step 2: In its plastic nursery pot, place your plant in the water and let it soak anywhere from 30 minutes to several hours. You can also water over the top during this time. Remove it from the water and allow it to fully drain in the sink, bathtub, or outside.

Step 3: Remove it from the water and allow it to fully drain in the sink, bathtub, or outside before returning it to its decorative container.

Bottoms up!


Zanzibar Gem

A resilient low-light plant with waxy, emerald green wands.

Why Are My Braided Money Tree's Leaves Turning Yellow?

Braided Money Trees are a beloved and iconic indoor houseplant for variety for good reason: they are low-maintenance, have beautiful, delicate foliage and are renowned for bringing good luck into the home. But all plants can exhibit yellowing leaves, and this plant is no exception. Luckily, this issue is easily remedied! Learn why your Braided Money Tree is experiencing leaf yellowing and check out our tips to get your plant’s foliage back to gorgeous green!

Old Leaves Shedding

Your Braided Money Tree will shed old foliage over time as it directs its energy toward pushing out new growth, and this may result in leaves becoming dry and yellow and falling off. This is totally normal for your plant, so don’t be concerned! If your plant is getting appropriate water and light, this is likely the cause of the discoloration. These leaves can be trimmed off with clean, sharp scissors or shears.

Overwatering

No houseplant likes being overwatered, and Braided Money Trees like to be watered only when their topsoil is dry. Yellowing leaves can be the number one telltale sign of overwatering, so be sure to check your soil weekly and gauge its moisture. This can be done by lifting up a bit of its decorative moss and sticking your finger two inches down into the soil. If dry, it’s time to water the plant! But if it is still moist, hold off until it’s entirely dry. And if you find it’s very wet, lift the plant (still inside of its plastic nursery pot) out of the ceramic planter. Check the planter for excess water. If any has collected, dump it out and allow your plant’s soil to dry thoroughly before beginning your watering routine again.

Too Much Light

Plants can sunburn just like us, and if your plant is receiving a lot of light and exhibiting papery, dry, light-colored leaves, this may be the case. Braided Money Trees thrive in indirect light, so be sure it is not too close to a window and that the light it receives is diffuse.

Too Little Light

Lackluster foliage that feels a bit floppy and is not verdantly green? This can be a result of too little light. Braided Money Trees are flexible when it comes to the light that they receive, but all plants need some light to photosynthesize and thrive. If your plant is in an exceedingly low-light environment and its foliage is showing signs of struggle, consider moving it to a spot where it will receive steady, medium-to-bright indirect light.

Any Questions?

Yellow leaves can be quite normal, and when they’re the result of incorrect care, they’re usually quite easy to troubleshoot. Braided Money Trees love to be trimmed, too, so your plant will thank you for the occasional manicure of unhealthy foliage. But if you follow the steps above and find that your plant is still struggling, you can contact our expert Plant Doctors through your Léon & George account.


Braided Money Tree

A gorgeous statement plant with delicate, fan-like foliage and a reputation for bestowing prosperity and good fortune! Low-maintenance, verdant and safe for pets.

How To Keep Plants Cool In Summer
Photo credit: @theweekendmixologist

Photo credit: @theweekendmixologist

It's summer and your plants know it. Some plants can be incredibly expressive when the temperatures start to rise, showing droopy, shriveled or curled foliage. Others may be more discreet with the occasional leaf drop, which, if not addressed, can quickly turn into the dreaded daily leaf drop.

Here are some ways you can keep your plants cool during the summertime heat:

  • Mist often! Misting not only provides extra humidity but it also creates some air flow around the plant. This is a great practice whether or not you have AC installed in your home.

  • Use a fan. Similarly, a fan will keep up the airflow in a hot room, and some plants will even enjoy a light breeze just like in their natural habitat!

  • Bottom water. Plants are thirstier in the summer. Quench that thirst by occasionally bottom watering, or removing your plant from its ceramic planter and letting it soak in a couple inches of water for up to 24 hours.


largeplantcollection.jpg

Easy Care Plants, Delivered

Beautifully potted plants, plus lifetime plant care support. Order online at leonandgeorge.com

How to Care For and Grow Your Meyer Lemon Tree

Meyer Lemon Tree

AKA Citrus meyeri

There’s so much to love about Meyer Lemon trees, from their incredibly fragrant foliage to their full silhouettes. Meyer Lemon Trees, Citrus meyeri, have been popular for over a hundred years, and it’s easy to see why. They are resilient, elegant and easy to care for. But like all of us, they have preferences and needs to meet in order to grow strong. Rise to the occasion, and read on to learn how to care for and grow your new Citrus meyeri. 

How much light do Lemon Trees need?

Lemon Trees need ample direct sunlight to thrive and produce fruit, at least 6-8 hours a day.

How to water your Lemon Tree

Check moisture of topsoil weekly and give plant four cups of water when top two inches of soil are dry to the touch. Avoid overwatering. 

How fast do Lemon Trees grow?

It can take several months to years for Meyer Lemon trees to fruit. Remember that light = fruit, and fertilize every two weeks during spring, summer and fall. 

Never overwater your plants with these sleek and simple moisture meters.

leon-and-george-moisture-meters.jpg

MOISTURE METERS

Finally, a moisture meter that actually works. Tested by our very own Plant Doctors, all orders of Large or Extra Large Léon & George plant sets include a moisture meter

$24-$29/pack

Common problems with Meyer Lemon Trees

Yellow, Drooping Leaves: Overwatering

Symptom: Yellow leaves that appear droopy or saggy.

Cause: Overwatering.

Remedy: Grasp your fruit tree as low as possible on the base of its trunk, while wearing gardening gloves. Be careful to support the plant as you lift it, still within its plastic nursery pot, out of its ceramic planter.

Dump out any standing water that may have collected in the ceramic pot. Then leave the fruit tree, still in its plastic pot, in a sunny spot to dry. Don’t water again until its top two inches of soil are dry to the touch, at which time you can return it to its ceramic pot. 

Yellow Leaves: Inadequate Light

Symptom: A large amount of yellow leaves in the tree’s canopy.

Cause: Too much shade, not enough direct light.

Remedy: Ensure that your tree is in a space that receives ample direct sunlight for at least 8 hours/day.

Pale, Yellowing Older Leaves: Needs Fertilizer

Symptom: New leaves on canopy are green and healthy, old leaves are pale and yellowing.

Cause: The tree needs more nitrogen, which is available through fertilizer.

Remedy: Give your tree a balanced fertilizer every two weeks from spring through fall.

Shop the Meyer Lemon Tree at leonandgeorge.com

How to care for and grow meyer lemon tree

Can I keep a Meyer Lemon Tree indoors?

Considering keeping this plant indoors? Meyer Lemon Trees need full sun throughout the day to thrive. While it may survive indoors, most areas don’t receive the 6-8 hours of direct sunlight it desires. This usually translates to little or no fruit and stunted growth. We reccommend keeping your plant outdoors in a balcony, patio, or other open air space where it can get plenty of sunlight!

How to maintain a beautiful and healthy Meyer Lemon Tree

Care for your plant and it will thrive for years to come. See these simple tips to keep your tree flourishing. 

  • Pruning: Meyer Lemon Trees can be pruned between late winter and early spring. Pruning is not required, but you can prune to maintain you tree’s preferred shape by cutting branches below new leaf nodes/buds, with clean, sharp shears. 

  • Fertilizing: fertilize your tree twice monthly during spring, summer and fall with a balanced slow-release fertilizer.

Shop the Meyer Lemon Tree at leonandgeorge.com

How to propagate a Meyer Lemon Tree

Meyer Lemon tree cuttings make wonderful gifts, and these trees can be propagated both via cuttings and seeds. If you’re planning on propagating with cuttings, plan on doing it during the warmest months of the year, when your tree is growing at its most rapid rate.

Propagating with Cuttings:

  • Prepare a rooting container: a small nursery pot with drainage, and fill it with citrus fruit tree potting soil. 

  • Select a sturdy tip from one of your tree’s branches, about eight inches long. 

  • Positioning your clean, sharp shears below a leaf node or bud, cut a branch of around eight inches long. 

  • Remove all but a handful of leaves from the branch.The leaves that stay on the branch should be positioned toward the branch tip. 

  • Coat the cut end of the branch in 0.2-percent IBA rooting talc.

  • Firmly plant the branch in rooting container and place it outdoors in a spot that receives partial shade.

  • Patience! These things take time, so check your cutting for roots after three months in the rooting container. Allow it to stay in the container until solidly rooted and sturdy, then transplant to a larger pot during fall. 

Propagating with Seeds:

  • Select a juicy, healthy lemon. 

  • Remove the seeds from the lemon’s flesh and wash and dry them thoroughly. Be sure that all pulp is removed. 

  • Do not leave the lemon seeds to “dry out,” plant them while they’re new and lively.

  • Fill a small pot with pasteurized soil mix, or a half and half blend of peat moss and perlite.

  • Plant the lemon seeds ½ an inch deep in the soil mixture.

  • Moisten the soil lightly and cover with plastic wrap.

  • Keep the seeds in an area that averages around 70 degrees. The kitchen, such as on the top of the refrigerator, is a good spot. 

  • Once seedlings emerge, move the pot to a location that receives at least four hours of sunlight a day, and remove the plastic wrap. 

  • When the seedlings have leaves, transfer them to pots with a 4 to 6 inch diameter.

  • Fertilize them every 4-6 weeks and keep the soil moist.

  • Place them outside in an area that receives at least four hours of direct sunlight a day and is between 60 to 70 degrees in temperature.

  • Watch them grow!


Lemon Tree

With vibrant green foliage and a classically fresh citrus aroma, the Meyer Lemon Tree is a beloved, low-maintenance outdoor fruit tree variety.

Why Are My Braided Money Tree's Leaves Wrinkling?

Why are my Braided Money Tree’s Wrinkling?

The beautiful, fan-shaped foliage of the Braided Money Tree is one of its most lovable qualities. This lucky houseplant is renowned for quick and profuse foliage growth, but even with the best of intentions, it can sometimes exhibit leaves with a less-than-ideal, wrinkly texture. Don’t panic: this can be fixed! Read on to learn the reason why your plant’s leaves are wrinkling, and the quickest solutions for supporting smooth, vibrant foliage.

Underwatering

This may sound like a no-brainer, but underwatering is a common cause of wrinkling, curling leaves on Braided Money Trees. Be sure to water your plant whenever its topsoil is dry to the touch. Check its topsoil every week by removing a bit of its decorative moss and inserting your finger two inches down into the soil. If those two inches are dry, water away! The boost in moisture will flow throughout the plant, reinvigorating dry foliage and encouraging your Braided Money Tree to push out new leaves.

Remember that you may need to water more frequently during the warmer months of the year, and less during fall and winter. A warmer, dryer atmosphere leads to plants utilizing the water they receive more rapidly. Which brings us to…

Environmental Dryness

Do you moisturize during the dryer months of the year? Your plant will appreciate the same treatment! Dry environments cause the moisture your plant needs to both evaporate more quickly (from soil and foliage) and to be used up by the plant more quickly as it grows, photosynthesizes, and supports its green physique. Braided Money Trees originate in humid climates, so like many houseplants, they appreciate being misted. Mist yours regularly (a few times a week is fine) and for an additional nutrient boost, mix some Potion Magique in that water! Your plant will love it, and you’ll love its aroma.

An Overload of Light

Braided Money Trees are lovers of light, no doubt about it. But they particularly need diffuse, indirect light. So if your plant is receiving direct light, this may be causing its foliage to sunburn, resulting in wrinkly, papery leaves. Make sure your plant is not in the direct path of strong light from a window, and move it if necessary.

More Support

Wrinkling leaves are easily remedied with adjustments to your Braided Money Tree’s care routine. But if you have further questions and concerns, don’t hesitate to contact our expert Plant Doctors through your Léon & George account.


LeonGeorge_Summer2021_21.jpeg

Braided Money Tree

A gorgeous statement plant with delicate, fan-like foliage and a reputation for bestowing prosperity and good fortune! Low-maintenance, verdant and safe for pets.