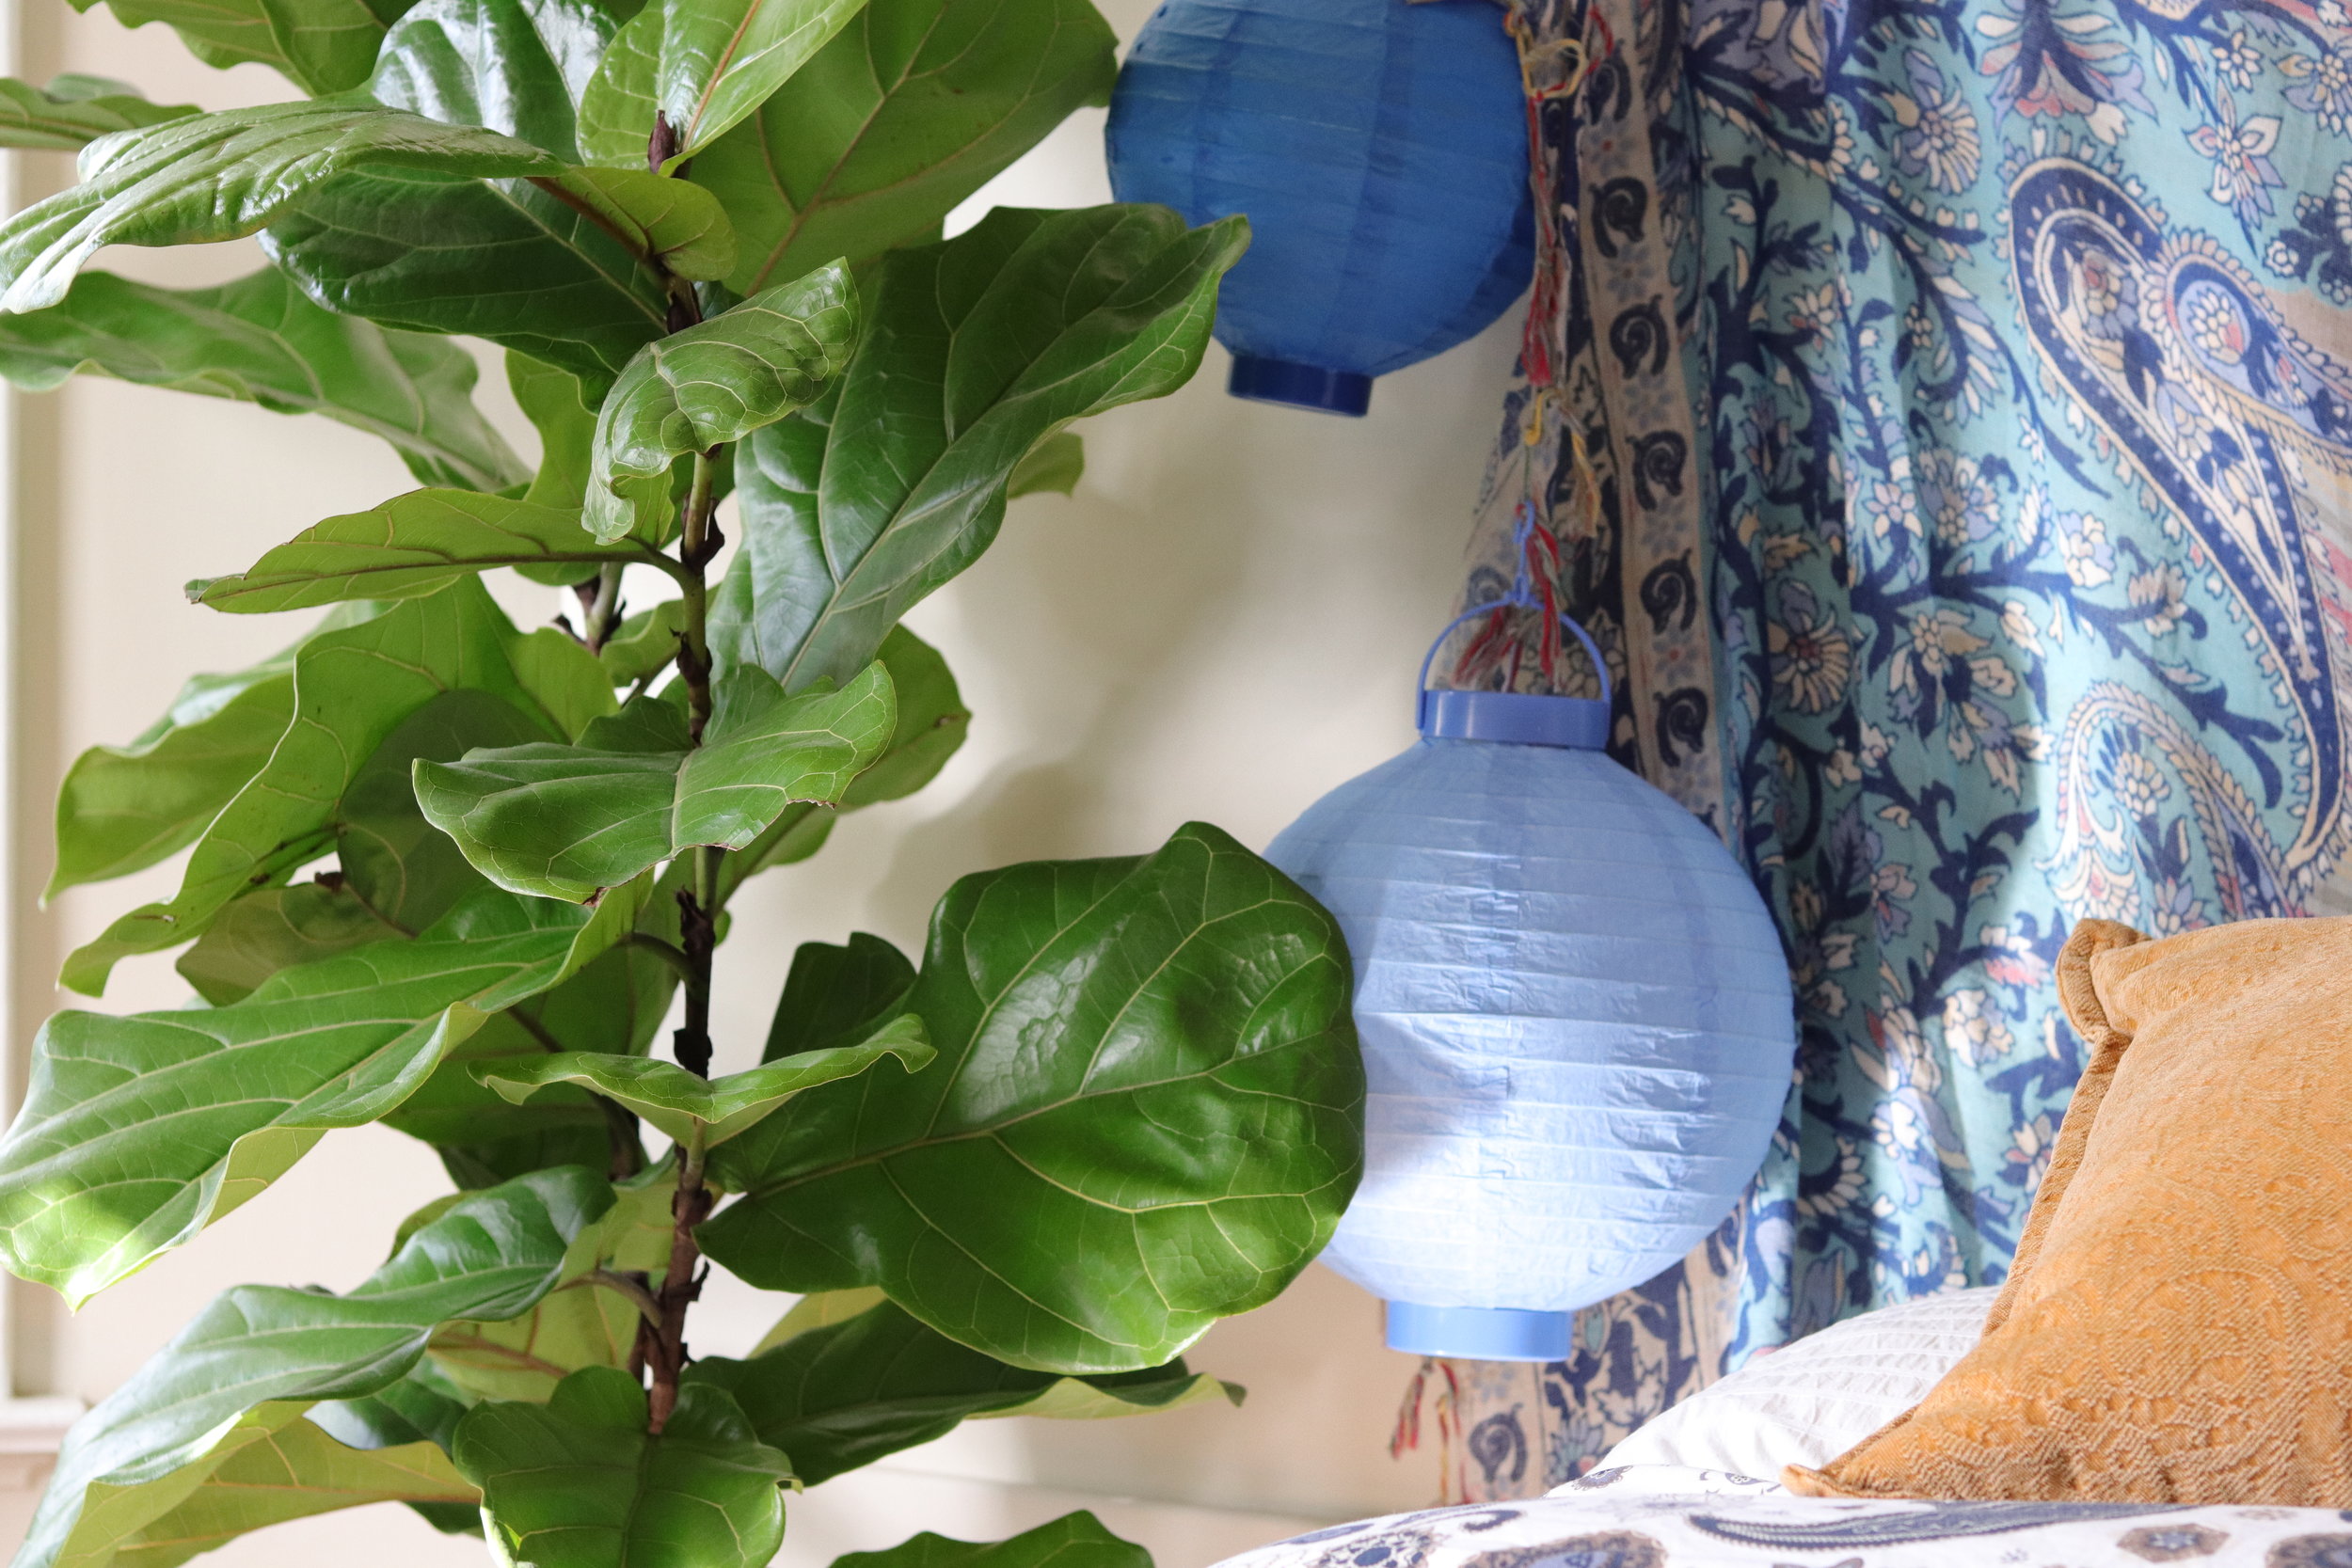
The Fiddle Leaf Fig Tree: a gloriously sculptural plant with fiddle-shaped leaves.
Want your Fiddle Leaf Fig to flourish?
The Fiddle Leaf Fig (Ficus Lyrata) is a stunning houseplant that is known for its finicky nature, and you’ve likely heard of how unforgiving this plant can be towards improper care. This can be intimidating if you have never cared for one before, but rest assured that as one of the most popular indoor plants out there, many newbies have found success in owning and growing a beautiful Fiddle Leaf Fig and its lush, attractive foliage. If you’re new to the game, too, discover invaluable Fiddle-Leaf Fig care insights and techniques shared by our guest writer, Claire Akin, the one and only Fiddle Leaf expert and owner of The Fiddle Leaf Fig Plant Resource Center. As a true authority on this beloved plant variety, Claire's expertise and tips can be of great value to both new and seasoned Fiddle-Leaf owners alike!
2. How to Water Fiddle Leaf Figs: Don’t Overwater!
3. Give your Fiddle Bright Light
5. Leaf Drop: Let Old Leaves Go
8. Feed It the Right Plant Food
1. Provide Proper Drainage
Your plant’s overall health depends on the health of its root system. Roots need two things to stay happy, water and oxygen. In order for both of these to be in balance your plant needs to be able to breathe properly. As such, one of the first things you need to make sure of when it comes to potted plants, particularly the Fiddle Leaf Fig Tree, is if your planter or pot has a drainage hole. If you have a decorative planter that you wish to use that does not have one simply keep you plant in its plastic nursery pot and slip it inside of the decorative container. At Léon & George, we actually pot all of our plants like this, as it allows us to use sleek and stylish planters and also ensure the root safety and health of our plants.
Apart from drainage, you’ll want to allow a bit of oxygen into the roots. One way to make sure the roots are getting enough oxygen is to aerate the soil every once in a while. All that you need to do this is a chopstick and a moment of spare time.
2. How to Water Fiddle Leaf Figs: Don’t Overwater!
It’s important that you allow your Fiddle-Leaf Fig to dry out a bit between waterings. This simulates the conditions of their native environment and will keep them happy. This may seem like a relatively simple task, but overwatering is where first-time owners of this plant tend to go wrong. Overwatering can lead to more serious issues like root rot, which can cause the quick demise of your plant. Overwatering can also create the perfect habitat for pests like fungus gnats, and lead to weaker root systems that are prone to infestation.
A good rule of thumb is to water your Fiddle Leaf Fig no more than once a week. Always take a moment to check the soil before watering though, your plant may not be as thirsty as you think!
If you want to be certain you’re watering your plant correctly, check out this ultimate guide to watering the Fiddle Leaf Fig, and also consider using a moisture meter!
3. Give your Fiddle Bright Light
Fiddle Leaf Figs absolutely need plenty of bright indirect or filtered light to thrive. These plants will not tolerate low-light areas, and it’s very possible your plant will quickly decline if you try to place it in an area that does not receive much natural light.
The ideal spot for a Fiddle Leaf Fig is near a bright window that receives plenty of indirect light throughout the day, such as a south-facing window. Read our full guide on where to place your Fiddle Leaf Fig to ensure your plant is set up for success!
4. Let Them Rest in Winter
Just like us, our plants notice the changing of the seasons, and will require slight modifications to their care throughout the year. The darker days of winter, for example, result in your plant using less energy. They do not grow as much during this time and therefore need less water. They also do not have the same need for nutrients, so it’s a good idea to fertilize less or stop entirely until the springtime.
However, one thing you will want more of in the winter is sunlight. Depending on the placement of your indoor tree, you may need to change your Fiddle’s location for the winter months if it is no longer getting enough light where you originally placed it.
5. Leaf Drop: Let Old Leaves Go
Your plant is a living being. This means that growth is natural and the loss of old leaves is nothing to mourn. As Fiddle Leaf Figs grow taller and mature, they sometimes drop their lower leaves. So long as you see new shiny new leaves and growth, this is generally not a cause for concern.
That said, if many leaves are dropping rapidly, you could have a problem on your hands. You will have to quickly diagnose the issue to make sure that your Fiddle Leaf Fig is on the right track and does not suffer permanent damage.
6. Create Humidity
Your Fiddle Leaf Fig craves humid conditions. Their ideal range is between 30 to 65 percent humidity. This can be hard to achieve in your home, especially if you run your AC or heater often as they dry out the air. You can try to create these ideal conditions by misting or using a humidifier. Misting every couple of days is a standard practice amongst experienced Fiddle Leaf Fig owners.
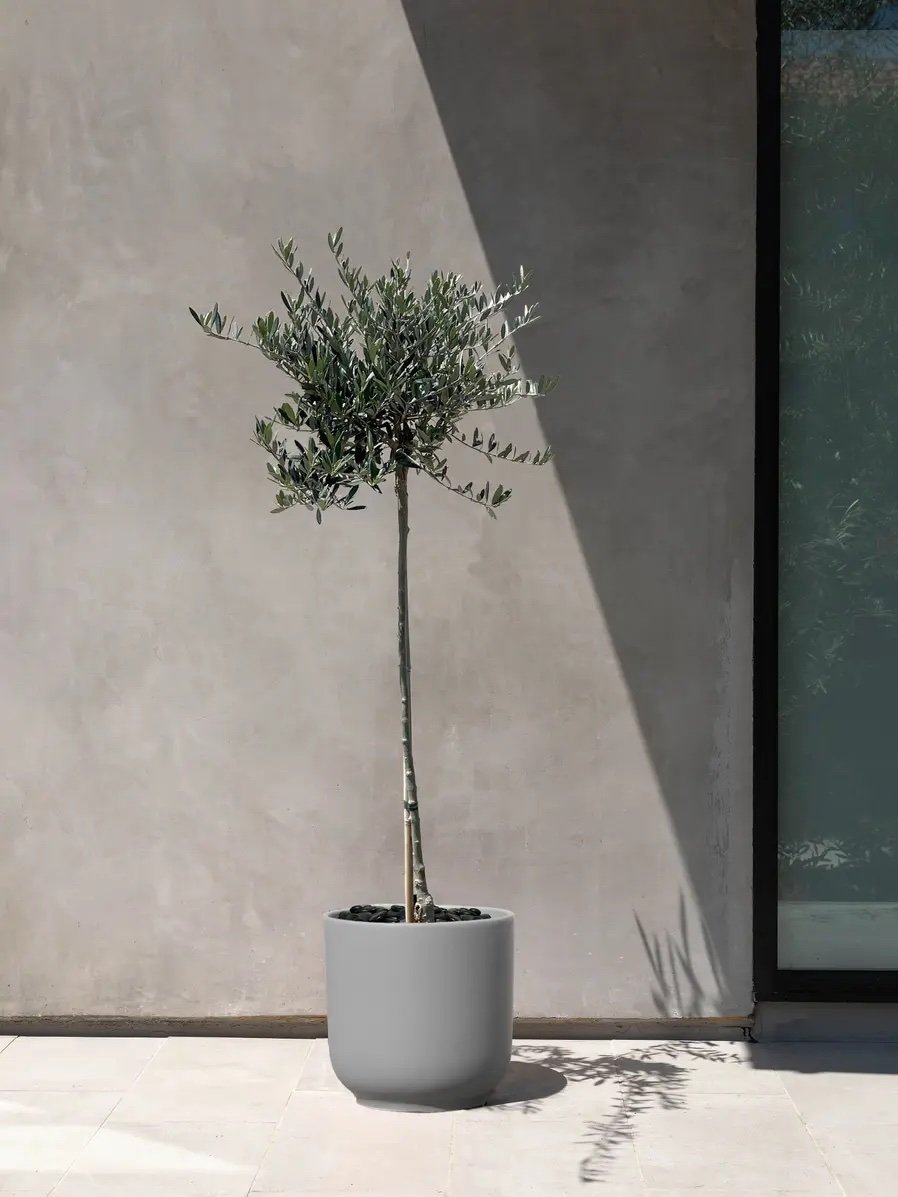
7. Repot When Necessary
If you take good care of your Fiddle Leaf Fig, its root system will outgrow its container every few years. It's important to inspect houseplants regularly, and with the Fiddle Leaf Fig, you’ll know it's time to repot if you spot roots peeking out from the bottom or edges of its container. Only repot during its growing season (spring and summer); your plant will not have enough energy in winter to handle such a big change. And don’t forget to always use the appropriate potting soil!
If your Fiddle Leaf Fig is already in the largest planter that your space can accommodate try top dressing the soil. All that you need to do is remove and replace the top four inches of the soil.

Fiddle Leaf Fig Fertilizer
Nourish your plants with this specially-formulated organic liquid plant food. Our Boost Vitaminé is made with potent nutrients from nature to help your plants grow and thrive all year long.
$24
8. Feed It the Right Plant Food
In order to keep new leaves sprouting on your Fiddle Leaf Fig is getting all of the nutrients that it needs. Give them a liquid fertilizer like Fiddle Leaf Fig Plant Food, which has the NPK ratio of 3-1-2 that Fiddles like best. You want to give your plant fertilizer during the growing months, from spring to fall. But be careful not to overdo it! Using too much fertilizer can result in fertilizer burn.
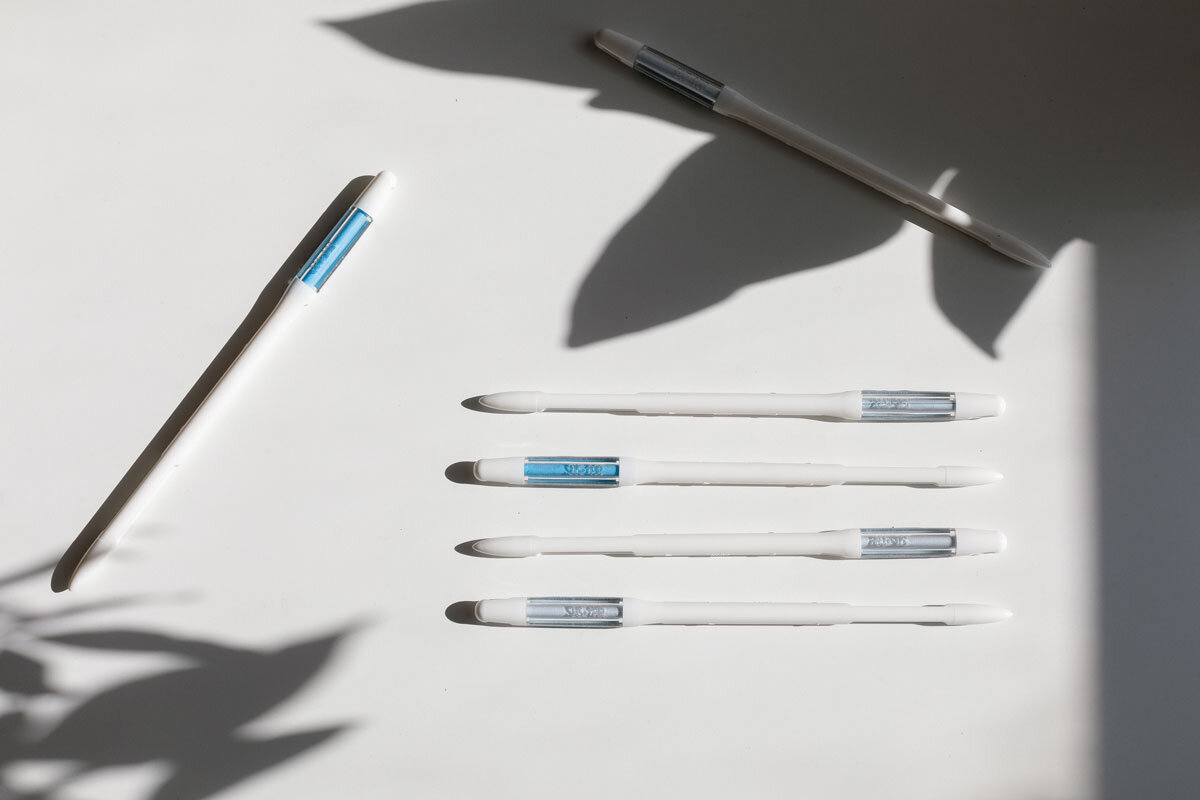
9. Check-in Regularly & Have the Right Tools at Hand
Having a good relationship with your Fiddle Leaf Fig is the best way to ensure that it thrives. Make sure that you take the time to check in with your plant once a week to see how its doing. Rotate to keep a lean from developing. Feel the soil before watering to gauge how much water it actually needs. This is a good time to wipe down and inspect its leaves! Keep your eyes peeled for wilting and brown spots as you clean them.
To ensure that you’re giving your plant the best care you’ll want to use the right tools. Ideally you should have some sharp pruning shears, a watering can, and a moisture meter. As Fiddle Leaf Figs are prone to leaning it can be helpful to have yours on a roomy planter or even one with wheels, this will allow you to rotate it more easily.
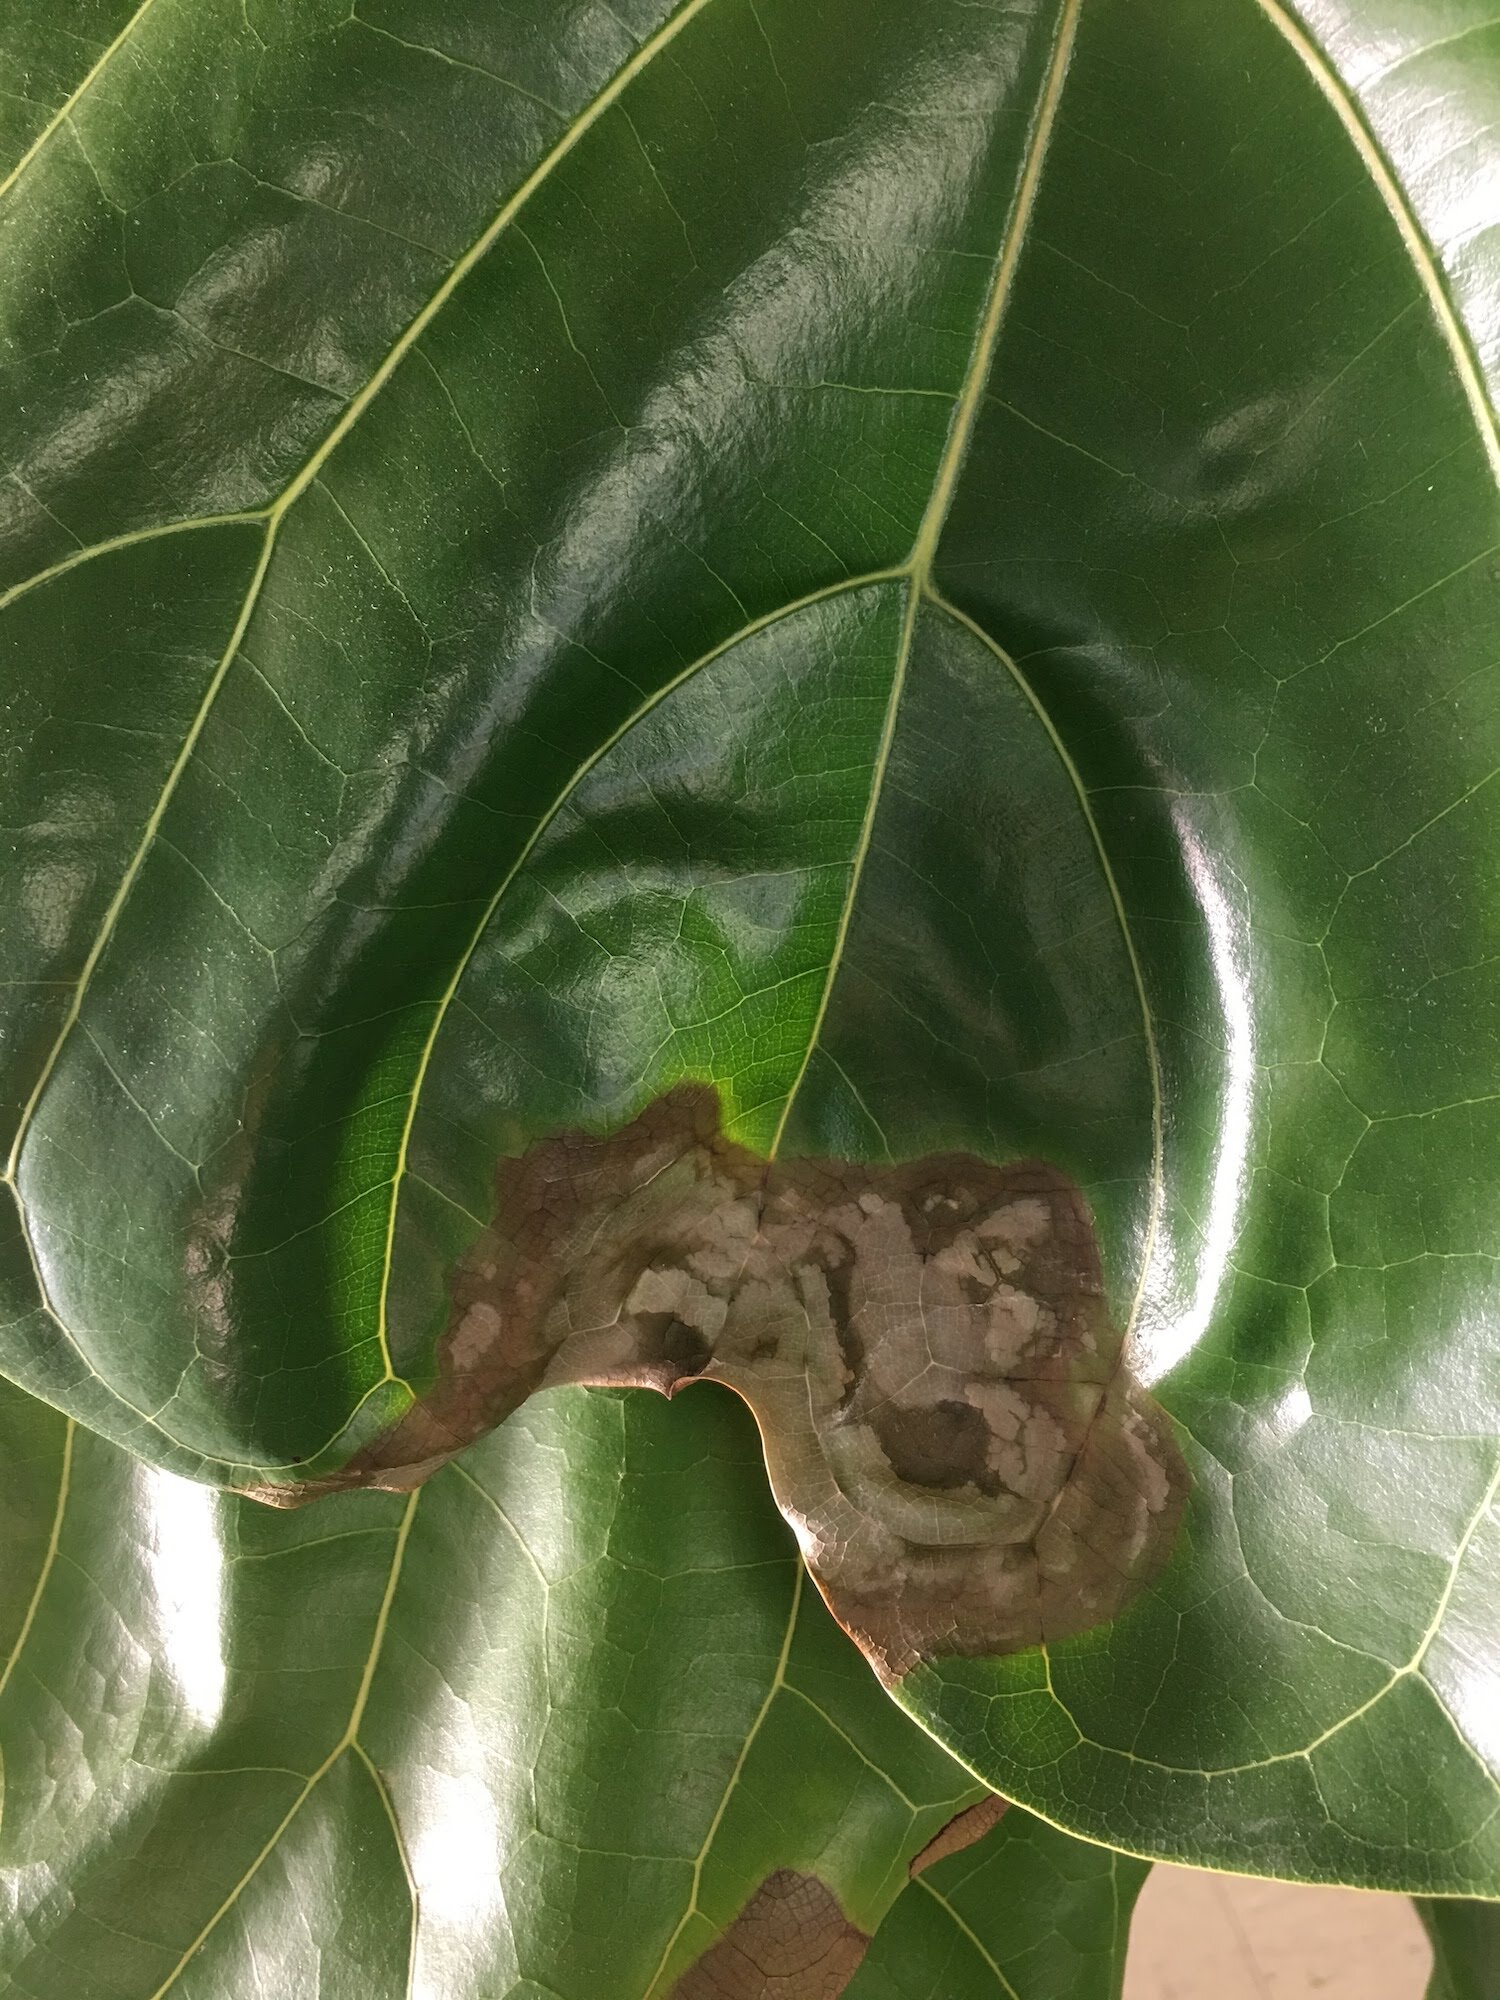
10. Respond to Issues Right Away
Fiddle-Leaf Figs spend a lot of energy creating their large viola shaped leaves. So they are slow growers indoors and do not bounce back well from health issues. So you’ll want to act quickly if you spot a brown leaf, mass of insects, or a pronounced lean. Even if you adjust your care do not expect you Fiddle Leaf Fig to show sign of improvement in the winter. Fiddle Leaf Figs can take up to a year to show signs of recovery for certain health issues.
If you have brown edges on the leaves of your Fiddle Leaf Fig that are bothering you do not remove the whole leaf. Instead cut off the spot following the natural shape of the leaf. Given enough time and patience it is possible for your plant to recover from most ailments, and you’ll be a certified green-thumb in no time!
Thank you to resident expert Claire Aiken of the Fiddle Leaf Fig Resource Center! To access comprehensive knowledge and guidance, don't hesitate to acquire your own copy of "The Fiddle Leaf Fig Expert" book and consider checking out The Ultimate Fiddle-Leaf Fig Care Webinar to further enhance your expertise. Your thriving Fiddle Leaf Fig Tree awaits!

Fiddle Leaf Figs
Discover why this classic and sculptural ficus variety is the go-to statement plant for designers and plant lovers alike.