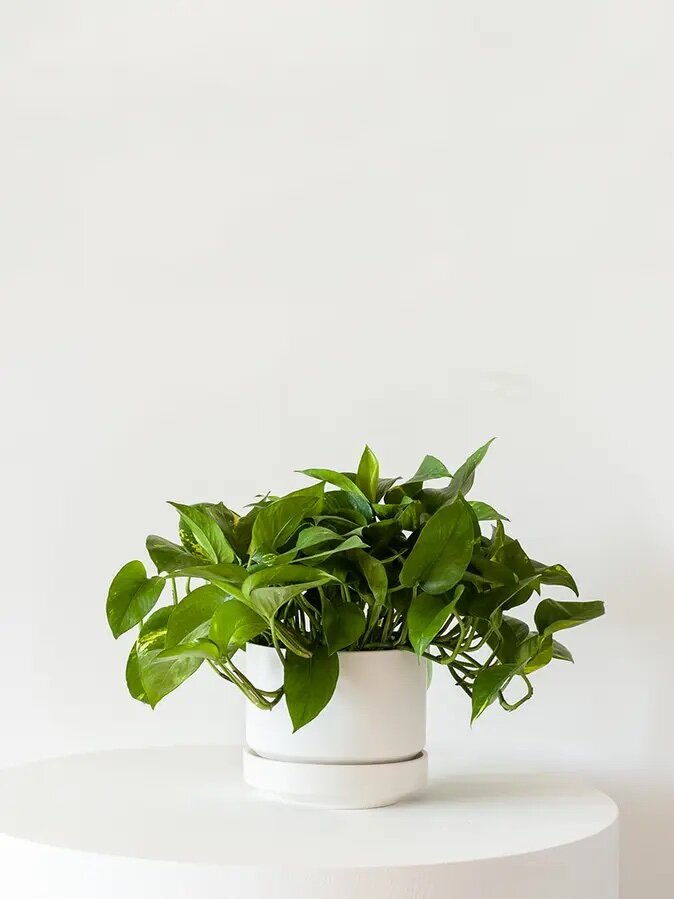
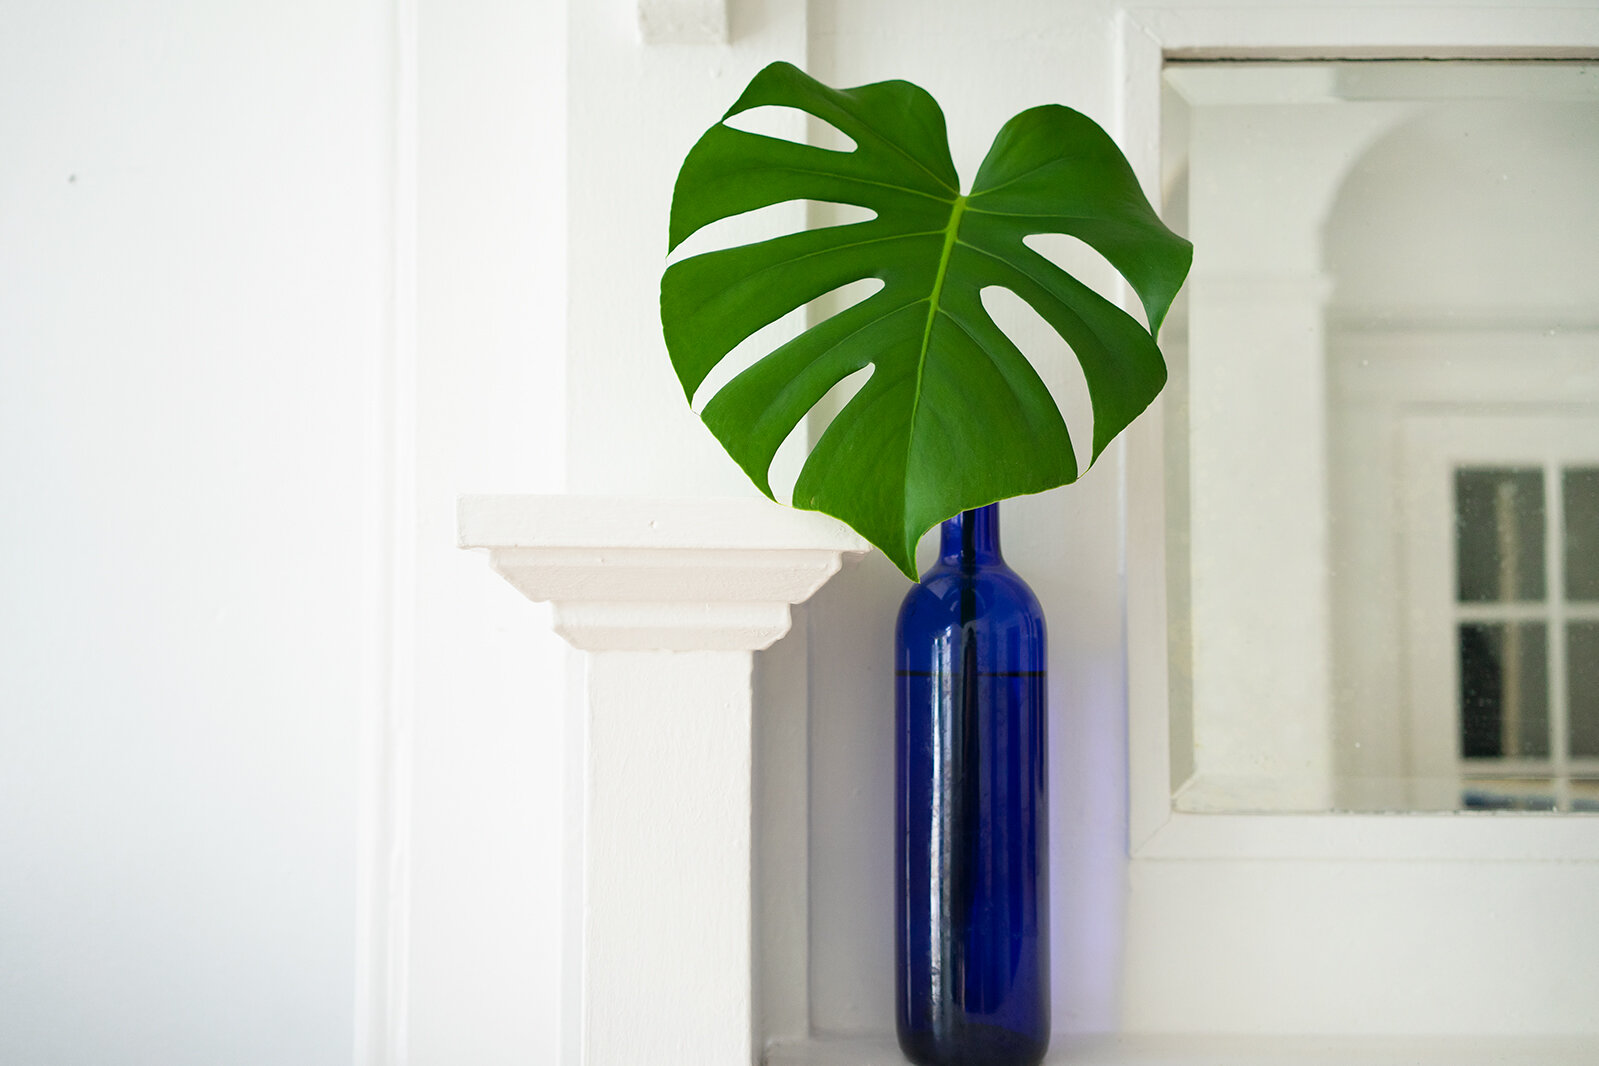
Posts tagged Propagation
5 Easy Steps To Propagating Pilea Peperomiodes AKA The Chinese Money Plant

Propagation with cuttings is a simple way to multiply your plant, and the Pilea, also known as the Chinese Money Plant or the Friendship Plant, is the perfect candidate! In fact, it gets the nickname “Friendship Plant” because it was traditionally passed on from one friend to another via cuttings. As such, for a long time, it was a hard plant to find on the shelves of local plant shops and nurseries. Luckily, that’s no longer the case, which makes it the perfect gift to send to a friend (even the New York Times agrees it’s the perfect gift!), or get for yourself and pass along cuttings!

If you’re wondering how to care for your Pilea, check out our complete care guide including light recommendations, watering tips and troubleshooting when things go awry.

How to propagate the Pilea

Propagating the Pilea Peperomiodes is incredibly simple:

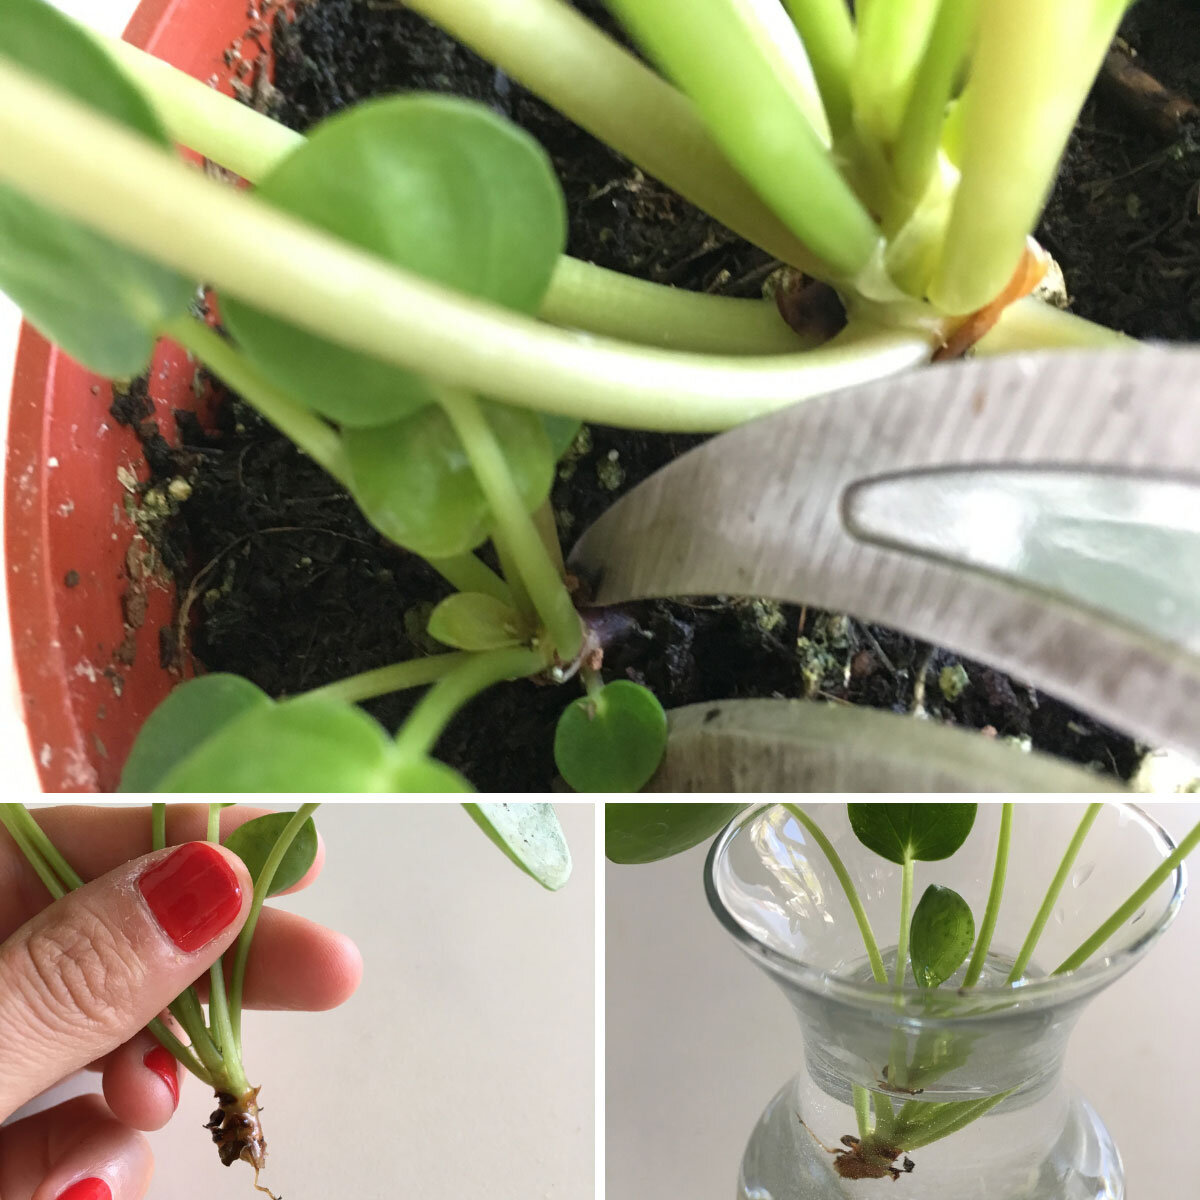
The “mother plant” is the central stalk of your plant, while the “pups” are smaller offshoots growing in the surrounding soil.

Cut at the base of a pup, and place in water while it roots.

  1. Locate small offsets, or baby Pileas (AKA “pups”), at the base of the plant. You will find these below the main stalk— if your plant doesn’t have any, hold off! They will sprout up soon.

  2. Using a clean blade, cut an offset at the base or closest to the soil as possible.

  3. Place the stem of the offset in a small glass or jar with water. Make sure only the stem or shoot is submerged — do not submerge any leaves, as they will rot (you may need to remove some leaves).

  4. Place in an area with bright, indirect light and wait. You may like to change the water every few days to keep it fresh. After a week or two, you should see roots begin to sprout.

  5. Once the roots have grown to about an inch long, carefully place them in a small pot with fresh soil, gently pressing down on the soil once it’s potted. Keep the soil just moist to the touch for the first few weeks until the plant has taken root.

Good luck and happy propagating! Don’t forget to fertilize your plant once it’s taken root— a gentle fertilizer like Boost Vitaminé natural plant food will help it grow into a healthier and stronger mature plant!


Book a call with a Plant Doctor

1 TO 1 VIDEO CALL WITH AN EXPERT

Yellow leaves? Worried about watering or struggling with incorrect lighting? Book a call and get truly personalized support for all your plant-related needs.
5 Easy Steps To Propagating Pothos

How to propagate the Pothos with cuttings: cut just below the node!

When it comes to propagation, Pothos is the way to go. There is no plant quite as simple to propagate as the Pothos, and given the lushness of this particular plant, you can literally make dozens of new Pothos from one in just a few simple steps!

Looking for Pothos plant care? Check out our full care guide, or read up on everything you should know before buying a Pothos.

How to propagate Pothos plants

Pothos propagation is incredibly simple:

Step one: Select a stem with a leaf and locate the node. The node is like a joint: it is where new stems erupt, and often appears just below the stem of a leaf.

Step two: Using a clean blade, cut just below the node. You can also include a few different nodes in one cutting!

Step three: Place the stem and its node in a glass or jar with water. Make sure only the stem and node are submerged — do not submerge any leaves as they will rot.

Step four: Place in an area with bright, indirect light and wait. You may like to change the water every few days to keep it fresh. After a week or two, you should see roots begin to sprout.

Pro tip: your cutting can “live” like this for ages as a beautiful and minimal piece of decor! Feel free to stop here or go on to step 5 if you’d like to grow a full new plant.

Step five: Once the roots are visible, carefully place them in a small pot with fresh indoor potting soil and gently press down. Keep the soil just moist to the touch, ideally by misting it heavily, for the first few weeks until the plant has taken root.

Good luck, happy propagating, and show us your new plant babies by tagging us @leonandgeorge on Instagram!


cascading pothos

A lush and incredibly forgiving easy-care houseplant, the Cascading Pothos is the perfect plant for beginners and seasoned green thumbs alike.

5 Creative Ways To Use Plant Leaves As Decor
monsteraleaf.jpg

Taking cuttings from our houseplants isn’t just for propagation purposes. Plant leaves also make wonderful accents, last for ages, and instantly add a dash of style to any corner or surface they adorn. Plus, it’s a great way to repurpose the foliage after pruning!

Wondering how to take a cutting? There is no secret. Simply snip off a stem of your plant several inches below the leaf or at the base and place in water. Many plants will easily sprout roots on their own, and will stay “fresh” in their water for months if not years. Some plants (bulbs, for example, like Elephant’s Ears) will be more like flowers in the sense that will need to be replaced more frequently.

Because this is such an easy and simple way to get more from our leafy housemates, we asked our plant stylists for a few tips on how to get creative with plant cuttings and leaves. All you need is a pair of scissors and a vessel of sorts (think vase, bottle, or simple kitchen glass) to bring instant, no-mess greenery to your home! Read on for our tips on using plant cuttings as decor.

Go big and bold

Want to make a bold statement with just one leaf? Take a leaf from a big-leafed beauty like a Bird of Paradise or Monstera Deliciosa. Use it either as a centerpiece for a table or place on a side table as an easy accent.

An Elephant's Ear leaf makes a big statement in this modern dining area. Photo: West Elm

An Elephant's Ear leaf makes a big statement in this modern dining area. Photo: West Elm

Use them as wall art

Walls looking a little bare? Consider making your own vertical garden with plant cuttings! And if a living wall seems a bit ambitious, start simple with three simple wall vases or propagation stations on a smaller surface area.

Propagation stations as wall decor! Photo: Margaret Wright

Propagation stations as wall decor! Photo: Margaret Wright

Double up

While single leaves look gorgeous in their simplicity, there’s no reason why you can’t put multiple pieces in one glass for a fuller or richer effect. You can even mix up different textures to make a type of plant cutting bouquet!

Two is better than one, right? Two Monstera leaves complete this cozy corner. Photo: Cash VanBuskirk

Two is better than one, right? Two Monstera leaves complete this cozy corner. Photo: Cash VanBuskirk

Add some color

Make your greens pop with a bit of color. Consider styling a Monstera leaf with florals (the flowers you may need to refresh after a few days, but the leaf will last for ages!), or accessorize with something like these Anywhere Vases that make any vessel an instant modern vase.

We love these colorful Anywhere Vases that make any vessel the perfect vase. Photo: Poketo

We love these colorful Anywhere Vases that make any vessel the perfect vase. Photo: Poketo

Decorate a sill

Unless they’re tiny, most indoor plants won’t fit on typical windowsills, but you know what will? Cuttings! Add some charm to a bathroom or kitchen windowsill with a simple cutting in your favorite glass or recycled bottle.

The perfect accent for a kitchen or bathroom windowsill. Photo: Margaret Wright

The perfect accent for a kitchen or bathroom windowsill. Photo: Margaret Wright

How are you styling plant cuttings and leaves in your home? Share your look with us on Instagram by tagging @leonandgeorge!


snakeplantcloseup.jpg

Indoor plants, potted & delivered

Premium plants paired with stylish ceramics, plus lifetime plant care support. Order online at leonandgeorge.com