Have you ever dealt with an ugly case of root rot?
Root rot is a common issue with potted plants, and one that’s fairly easy to avoid by simply following a few basic rules of watering and drainage. And if it’s too late? Fret not! There may still be time to save your plant. Below are tips on how to prevent root rot in the first place, and how to fix root rot once it’s too late.
What is root rot?
Root rot is exactly what it sounds like — the rotting of a plant’s roots — and is the consequence of too much watering and/or not enough drainage. Though it can occur in outdoor plants, it is much more common with potted indoor greenery and can lead to the quick demise of your plant.
What are signs of root rot?
Catching root rot early is crucial to saving your plant! Some of the most common signs of root rot are:
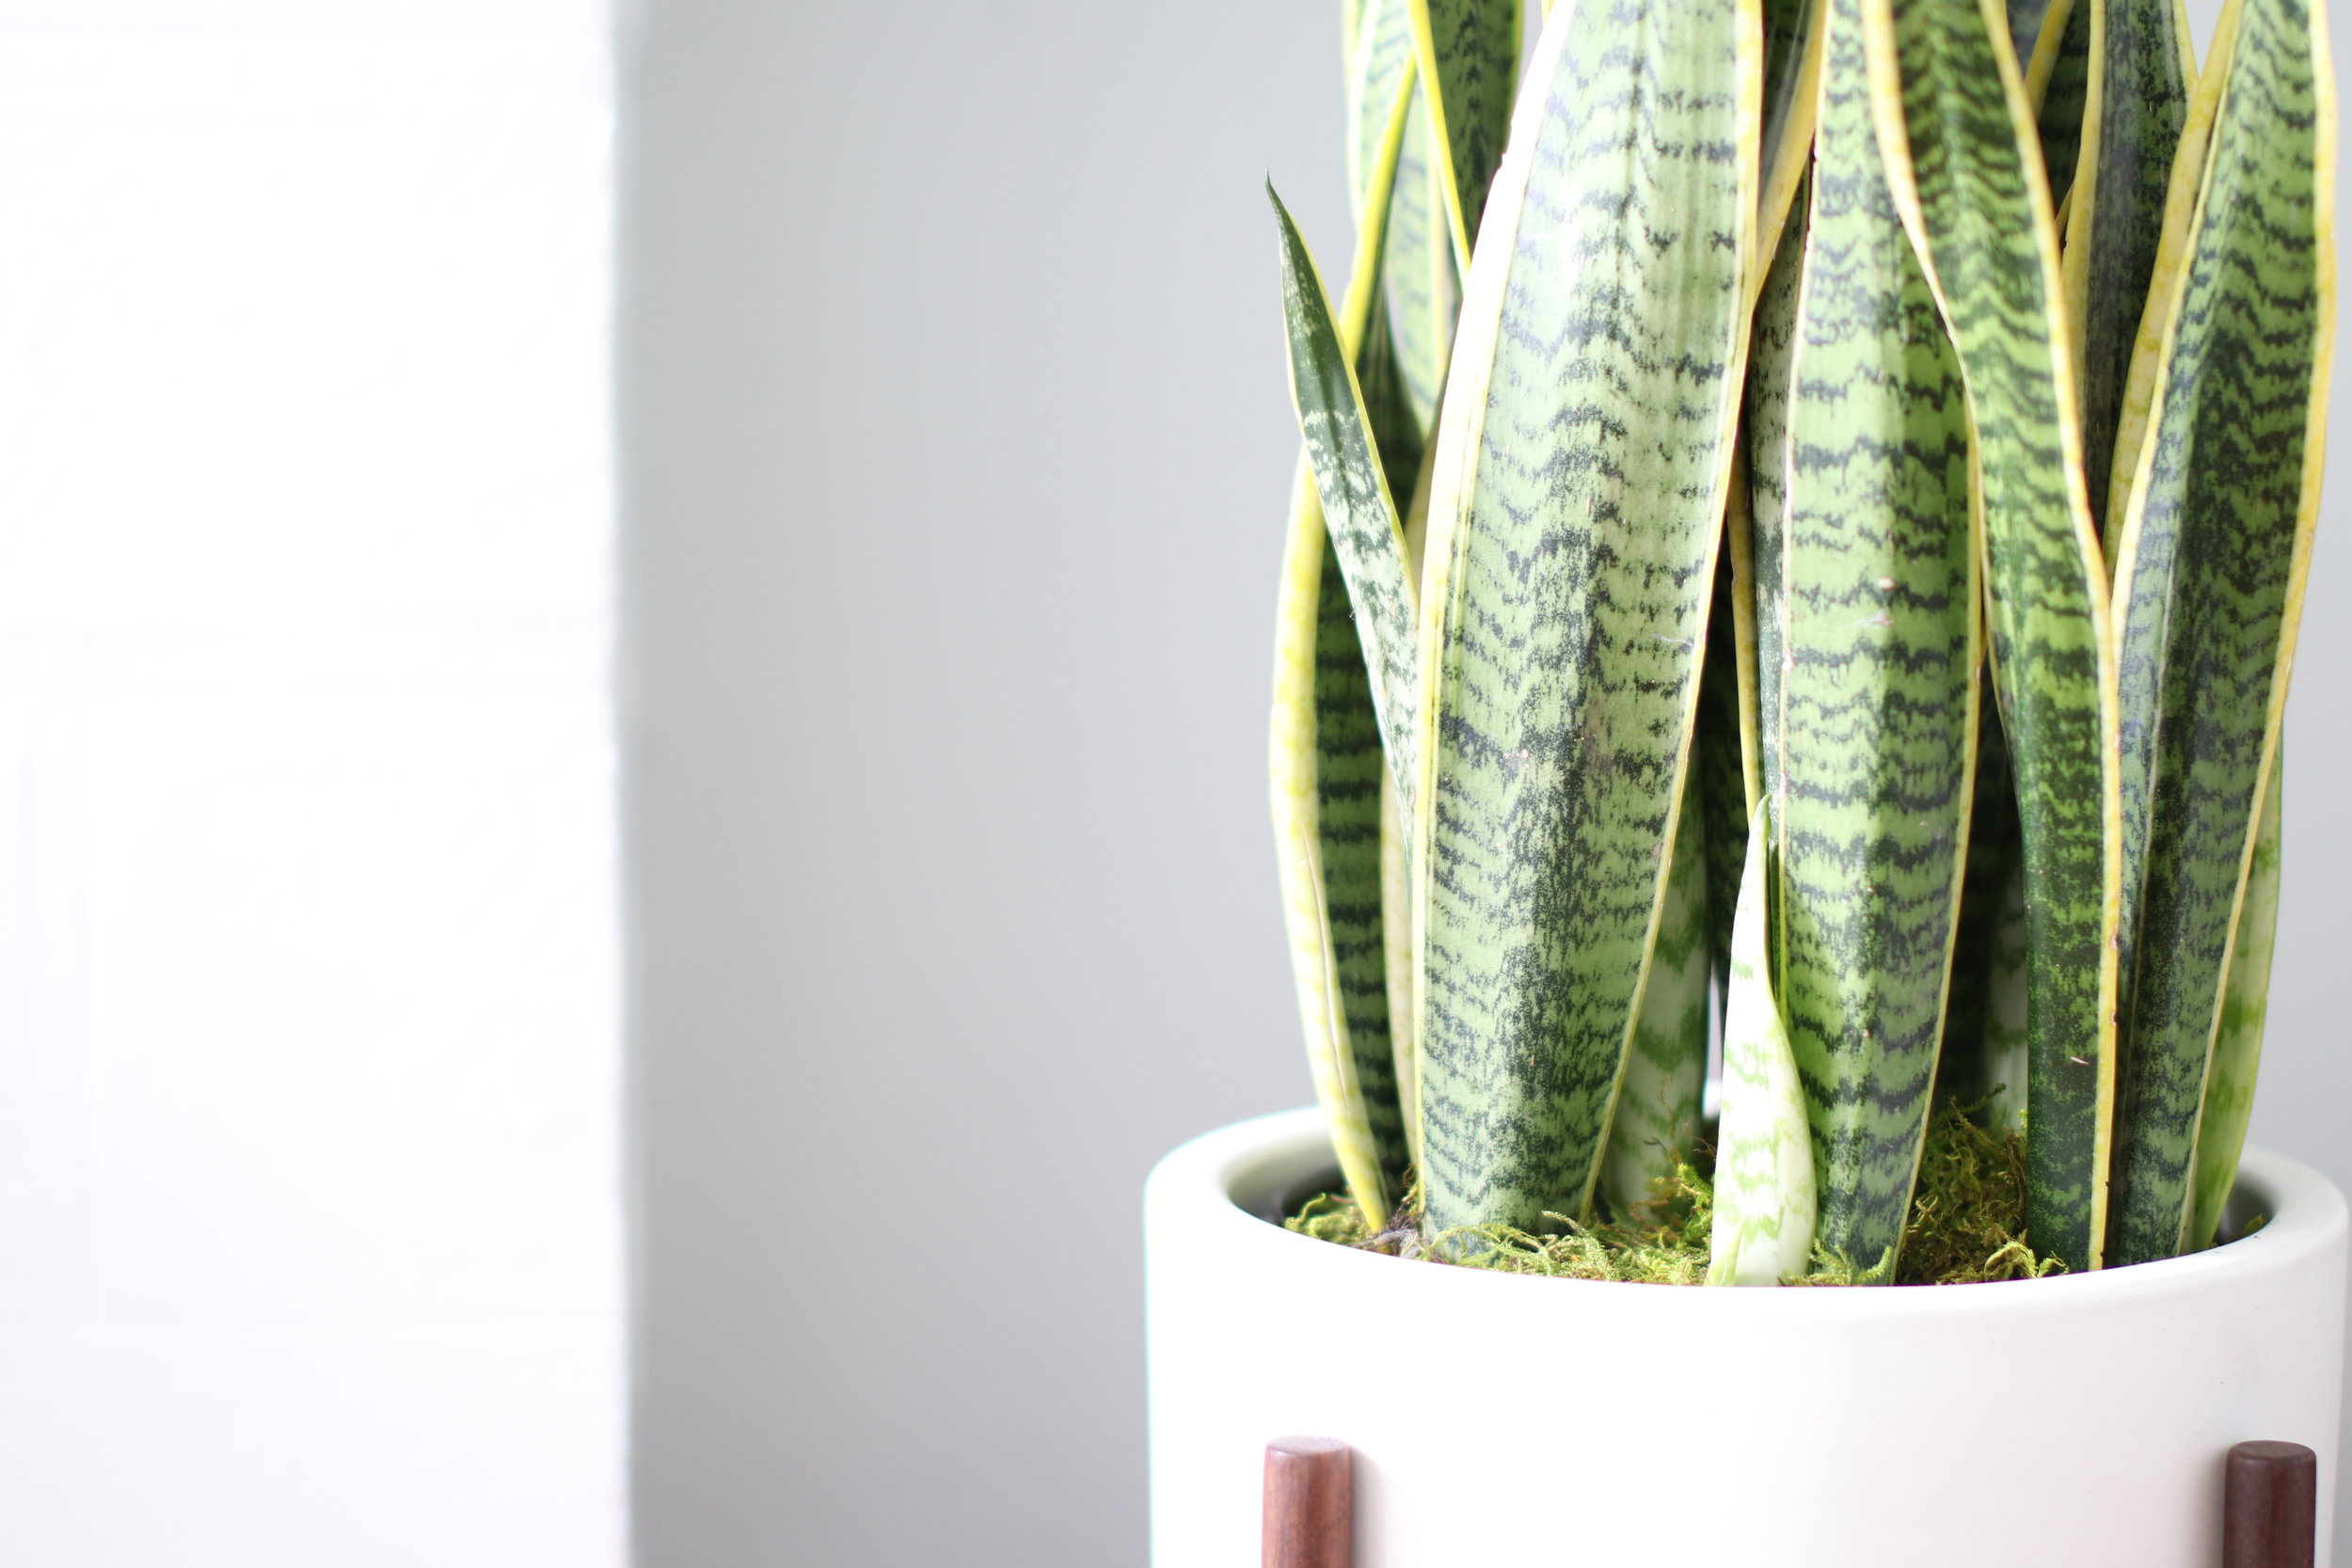
Significant yellowing and wilting of the leaves
Dark brown edges or spots on leaves, particularly common with Fiddle Leaf Figs
Stunted growth
Mushy roots
Heavily dampened soil that does not dry out over time
How can I prevent root rot?
Preventing root rot is simple. It’s all about watering and drainage. Follow these simple rules and you will never see root rot in your plants.
Give your plant proper drainage - Make sure your plant is potted in something with drainage hole(s), either a plastic nursery pot or a decorative pot that has a drainage hole. If your decorative pot does not have a drainage hole, simply leave the plant in its plastic pot and place it inside the decorative pot.
Keep a regular watering schedule - Most plants appreciate regular watering schedules. Sporadic watering is a quick way to hurt your plant as it often means the plant does not have time to dry out at all between waterings (thus leading to root rot)
Check the soil - If you don’t do this already, always check the soil of your plant before watering. Most plants like to dry out a bit, so depending on the plant you have, you may want to hold off on watering until the top two inches of the soil is dry.
Aerate the soil - Aerating the soil helps loosen it up, allowing for a more even distribution of water and better flow of oxygen, preventing moisture build up in the roots of your plant.
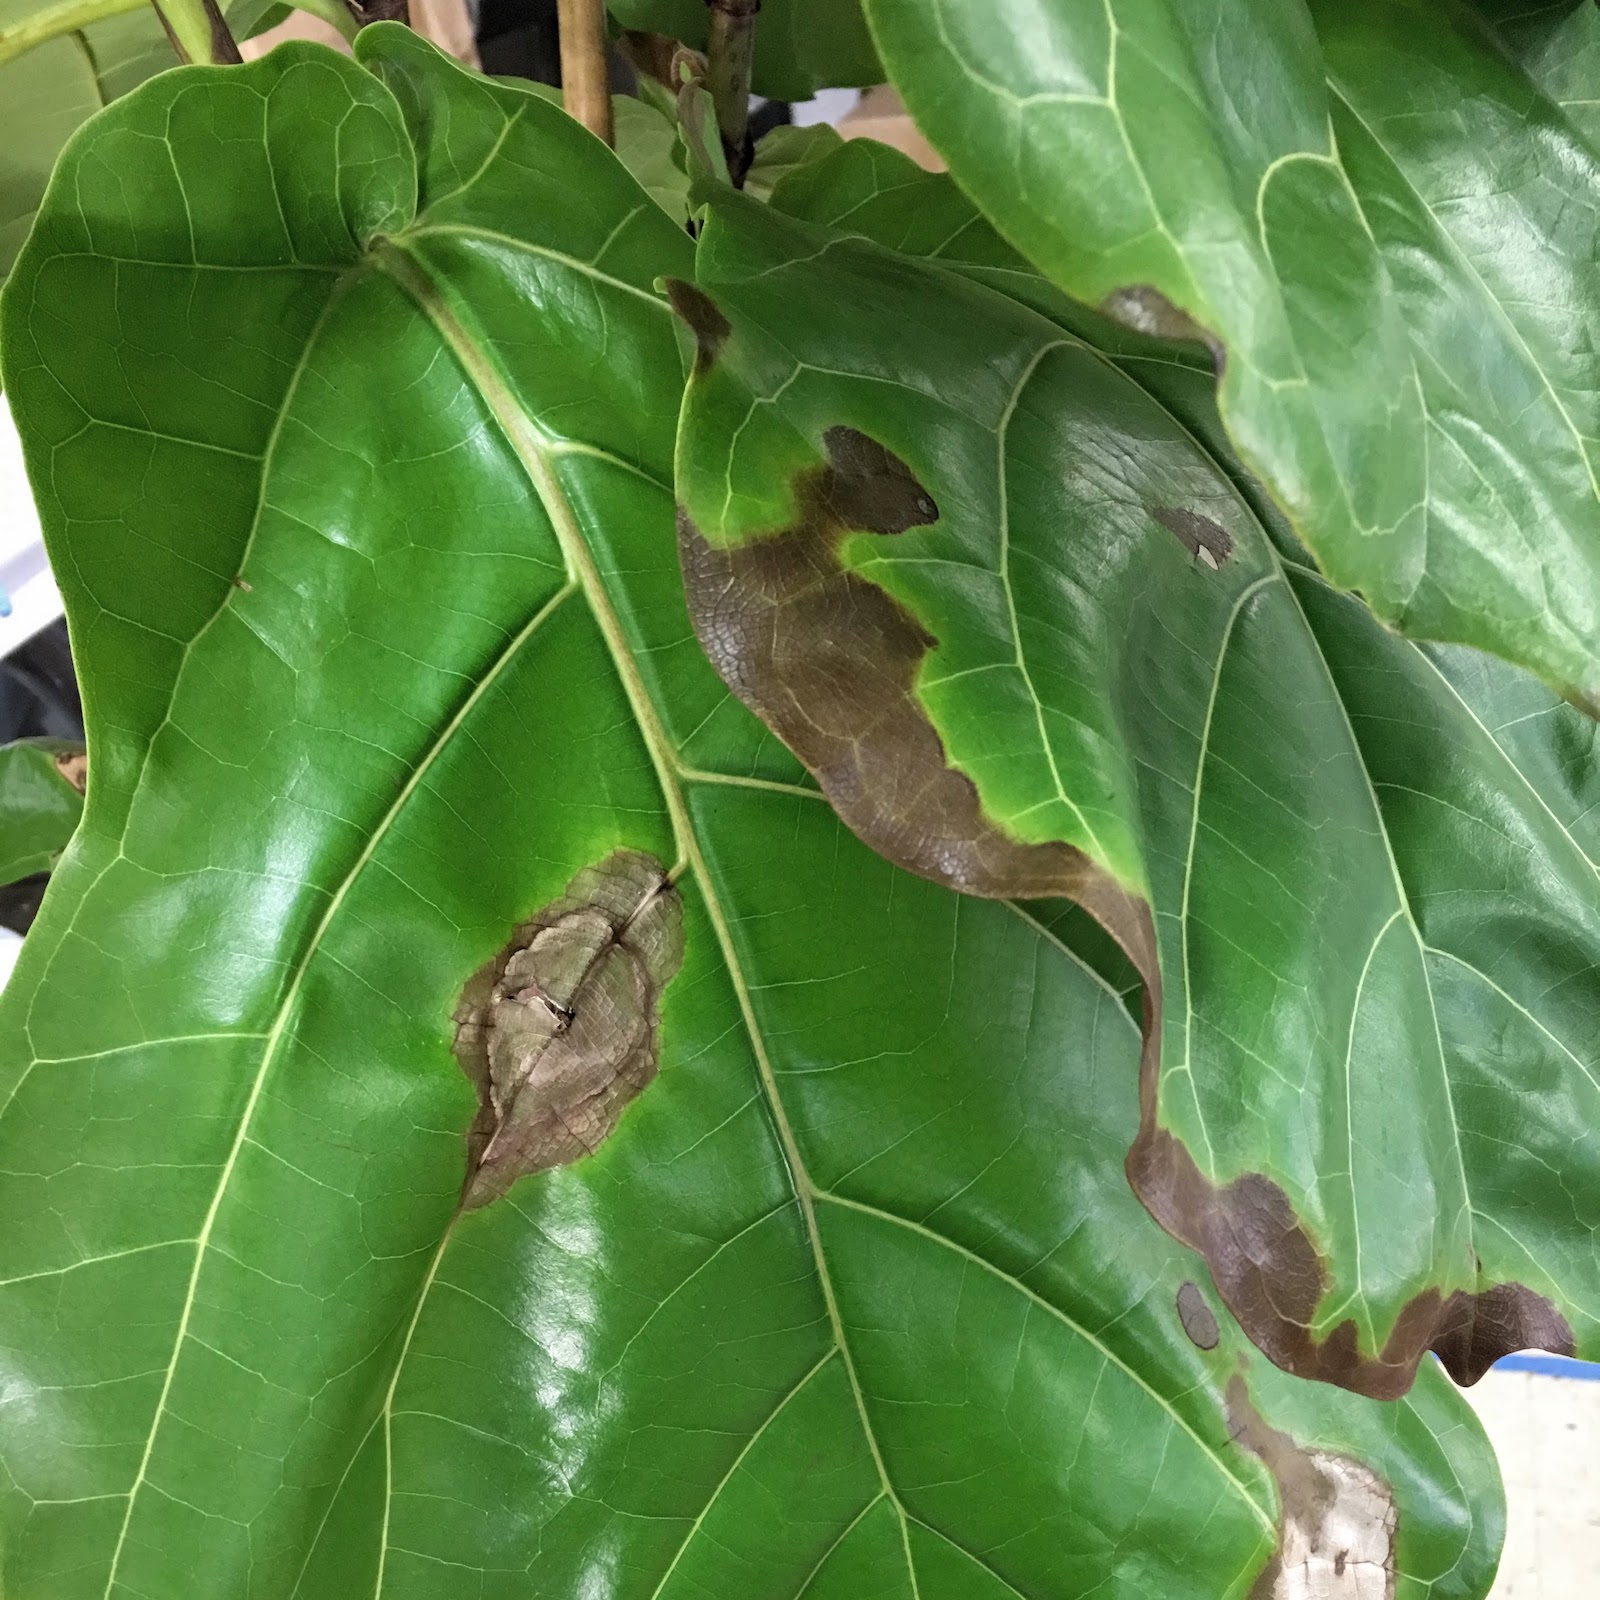
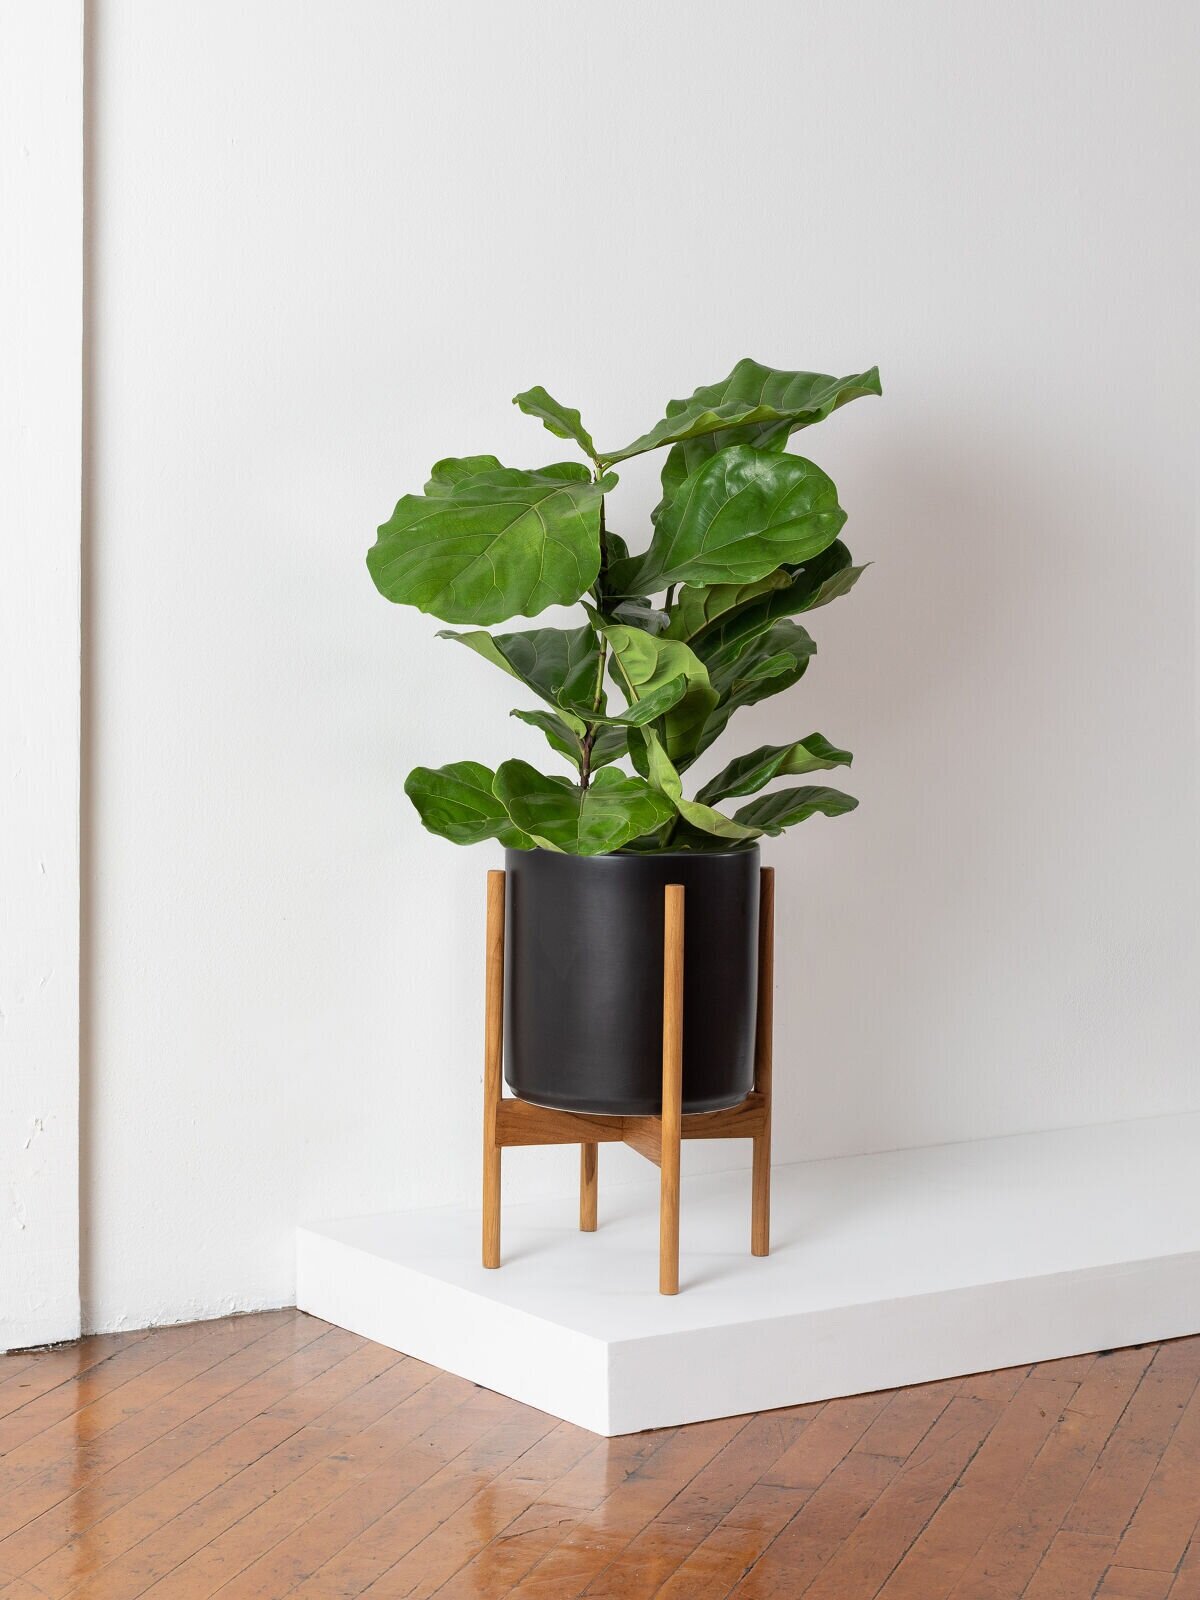
A sure sign of root rot, particularly in the popular Fiddle Leaf Fig plant, is browning on the edges of the leaves. Read more on how to fix root rot on Fiddle Leaf Figs here.
How do I fix root rot?
If your plant has root rot and you catch it early on, you may be able to save it by acting fast. Follow these steps to fix root rot in most common houseplants.
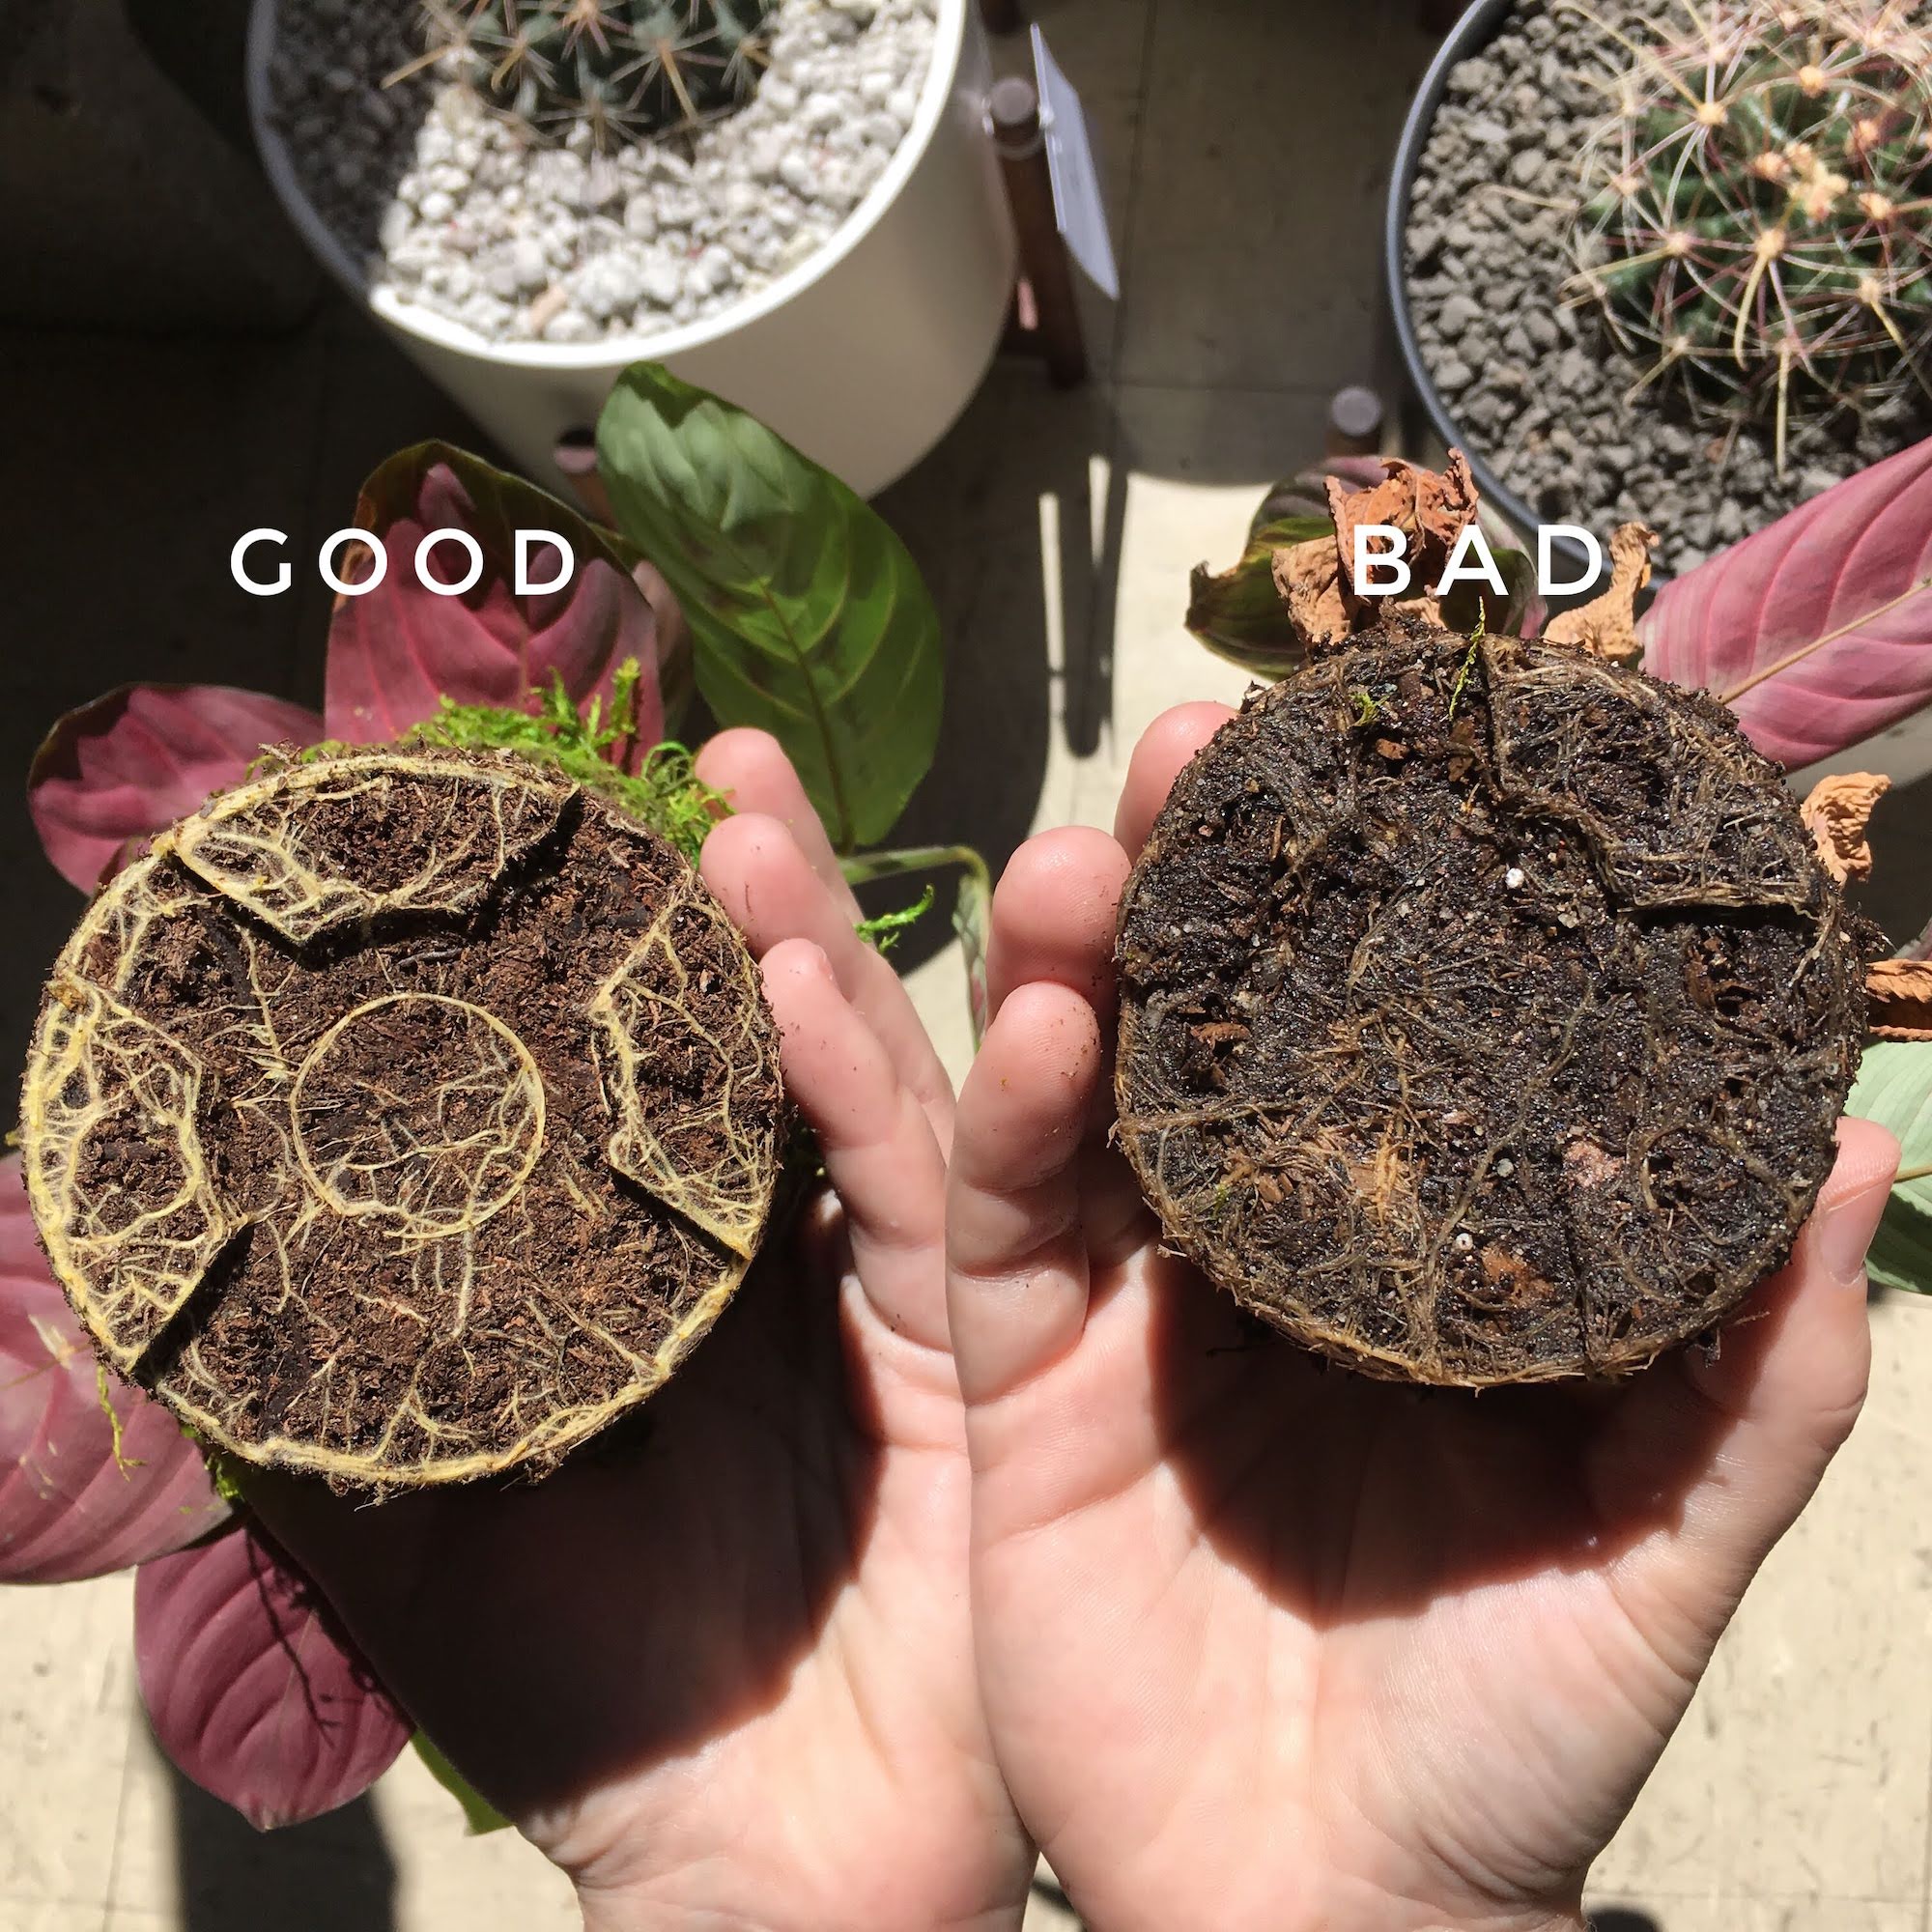
Diagnose the issue - If your plant has been dropping leaves, yellowing, or getting soft, mushy leaves, you may have root rot. Remove the plant from its pot and inspect the roots. If they are soft, wet, brown, and/or mushy, it’s time to roll up your sleeves and treat the roots.
Clean the roots - Once your plant is out of its pot, carefully remove as much soil as possible and cut the affected roots off with clean shears or scissors. Under running water, gently wash the remaining roots clean of any soil.
Repot - In a pot with proper drainage, repot your plant using fresh soil (and if you’re using the same pot, make sure to clean it thoroughly first!). If it was a serious case and you removed many roots, you may also prune the top of the plant a bit so the plant has less leaves to send its energy to.
Place in a bright spot - Water only when the top of the soil is dry. After a few weeks, your plant should take root and return to the healthy specimen it once was!
Good luck, don’t panic, and remember — the more in touch you are with your plants, the more likely they are to thrive. Water them regularly, watch for issues, and enjoy the many benefits they bring to your physical and mental health!

Indoor plants, potted & delivered.
Beautifully potted plants, delivered directly to your door. Order online at leonandgeorge.com