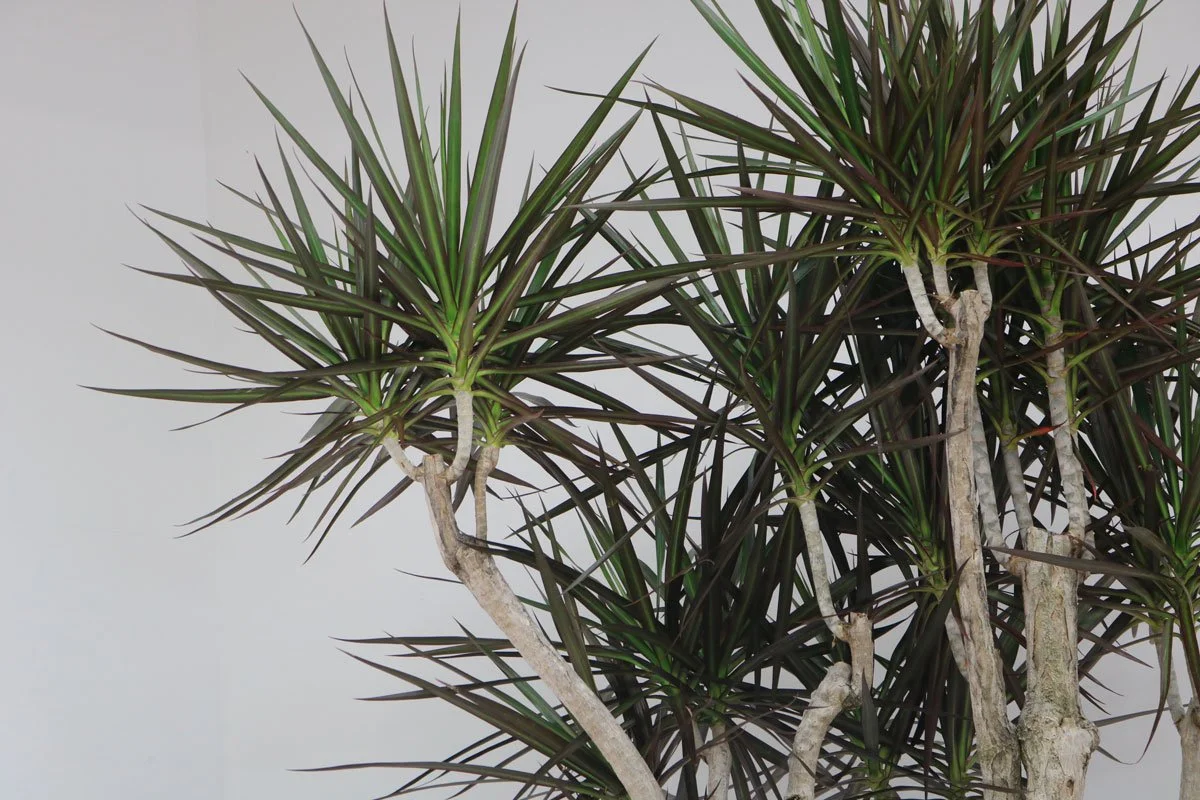
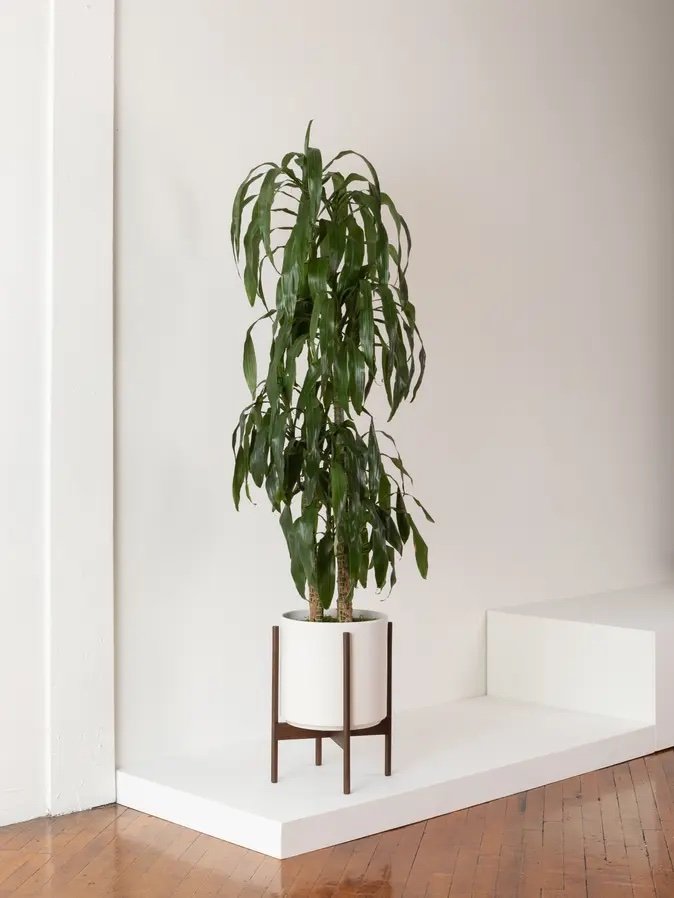
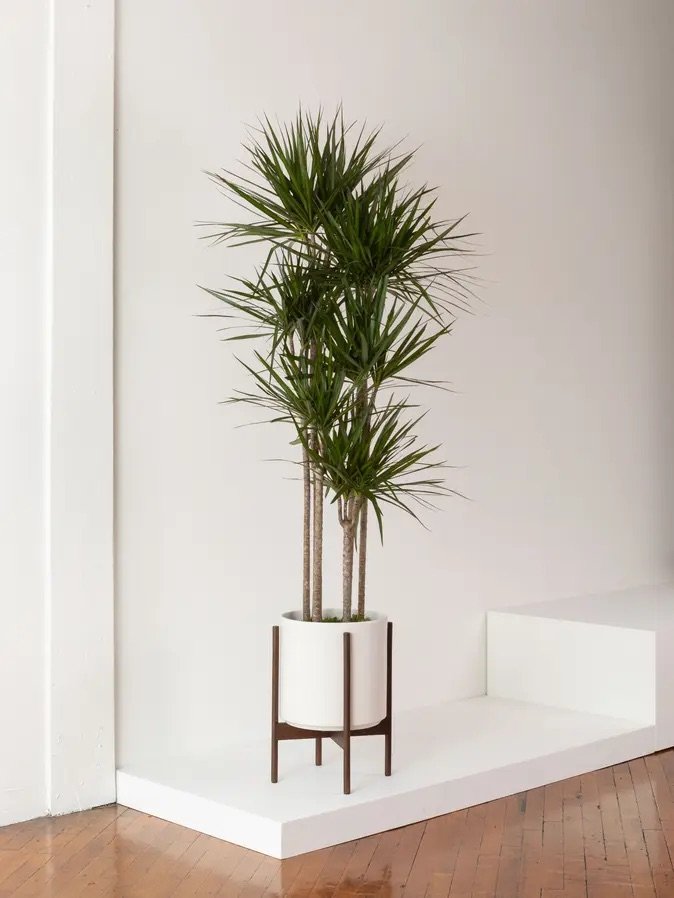
A textural and low-maintenance floor plant, the Dracaena Compacta features slender trunks and a beautifully laddered, lush silhouette. Native to Southeast Africa, the Dracaena Compacta is an ideal easy-care statement plant, with a preference for medium, indirect light.
What type of light do Dracaena Compactas need?
This plant prefers medium to bright indirect light, though it can adjust to lower light environments.
How to Water Your Dracaena Compacta
Water when the top 1-2 inches of soil is dry, taking care not to overwater.
Are Dracaena Compactas fast growers?
Generally a plant with a slower growth rate, Dracaena Compactas typically grow about 4” a year and can grow to a height of 6’ over time
Never overwater your plants with these sleek and simple moisture meters.

MOISTURE METERS
Finally, a moisture meter that actually works.
$29-$39/pack
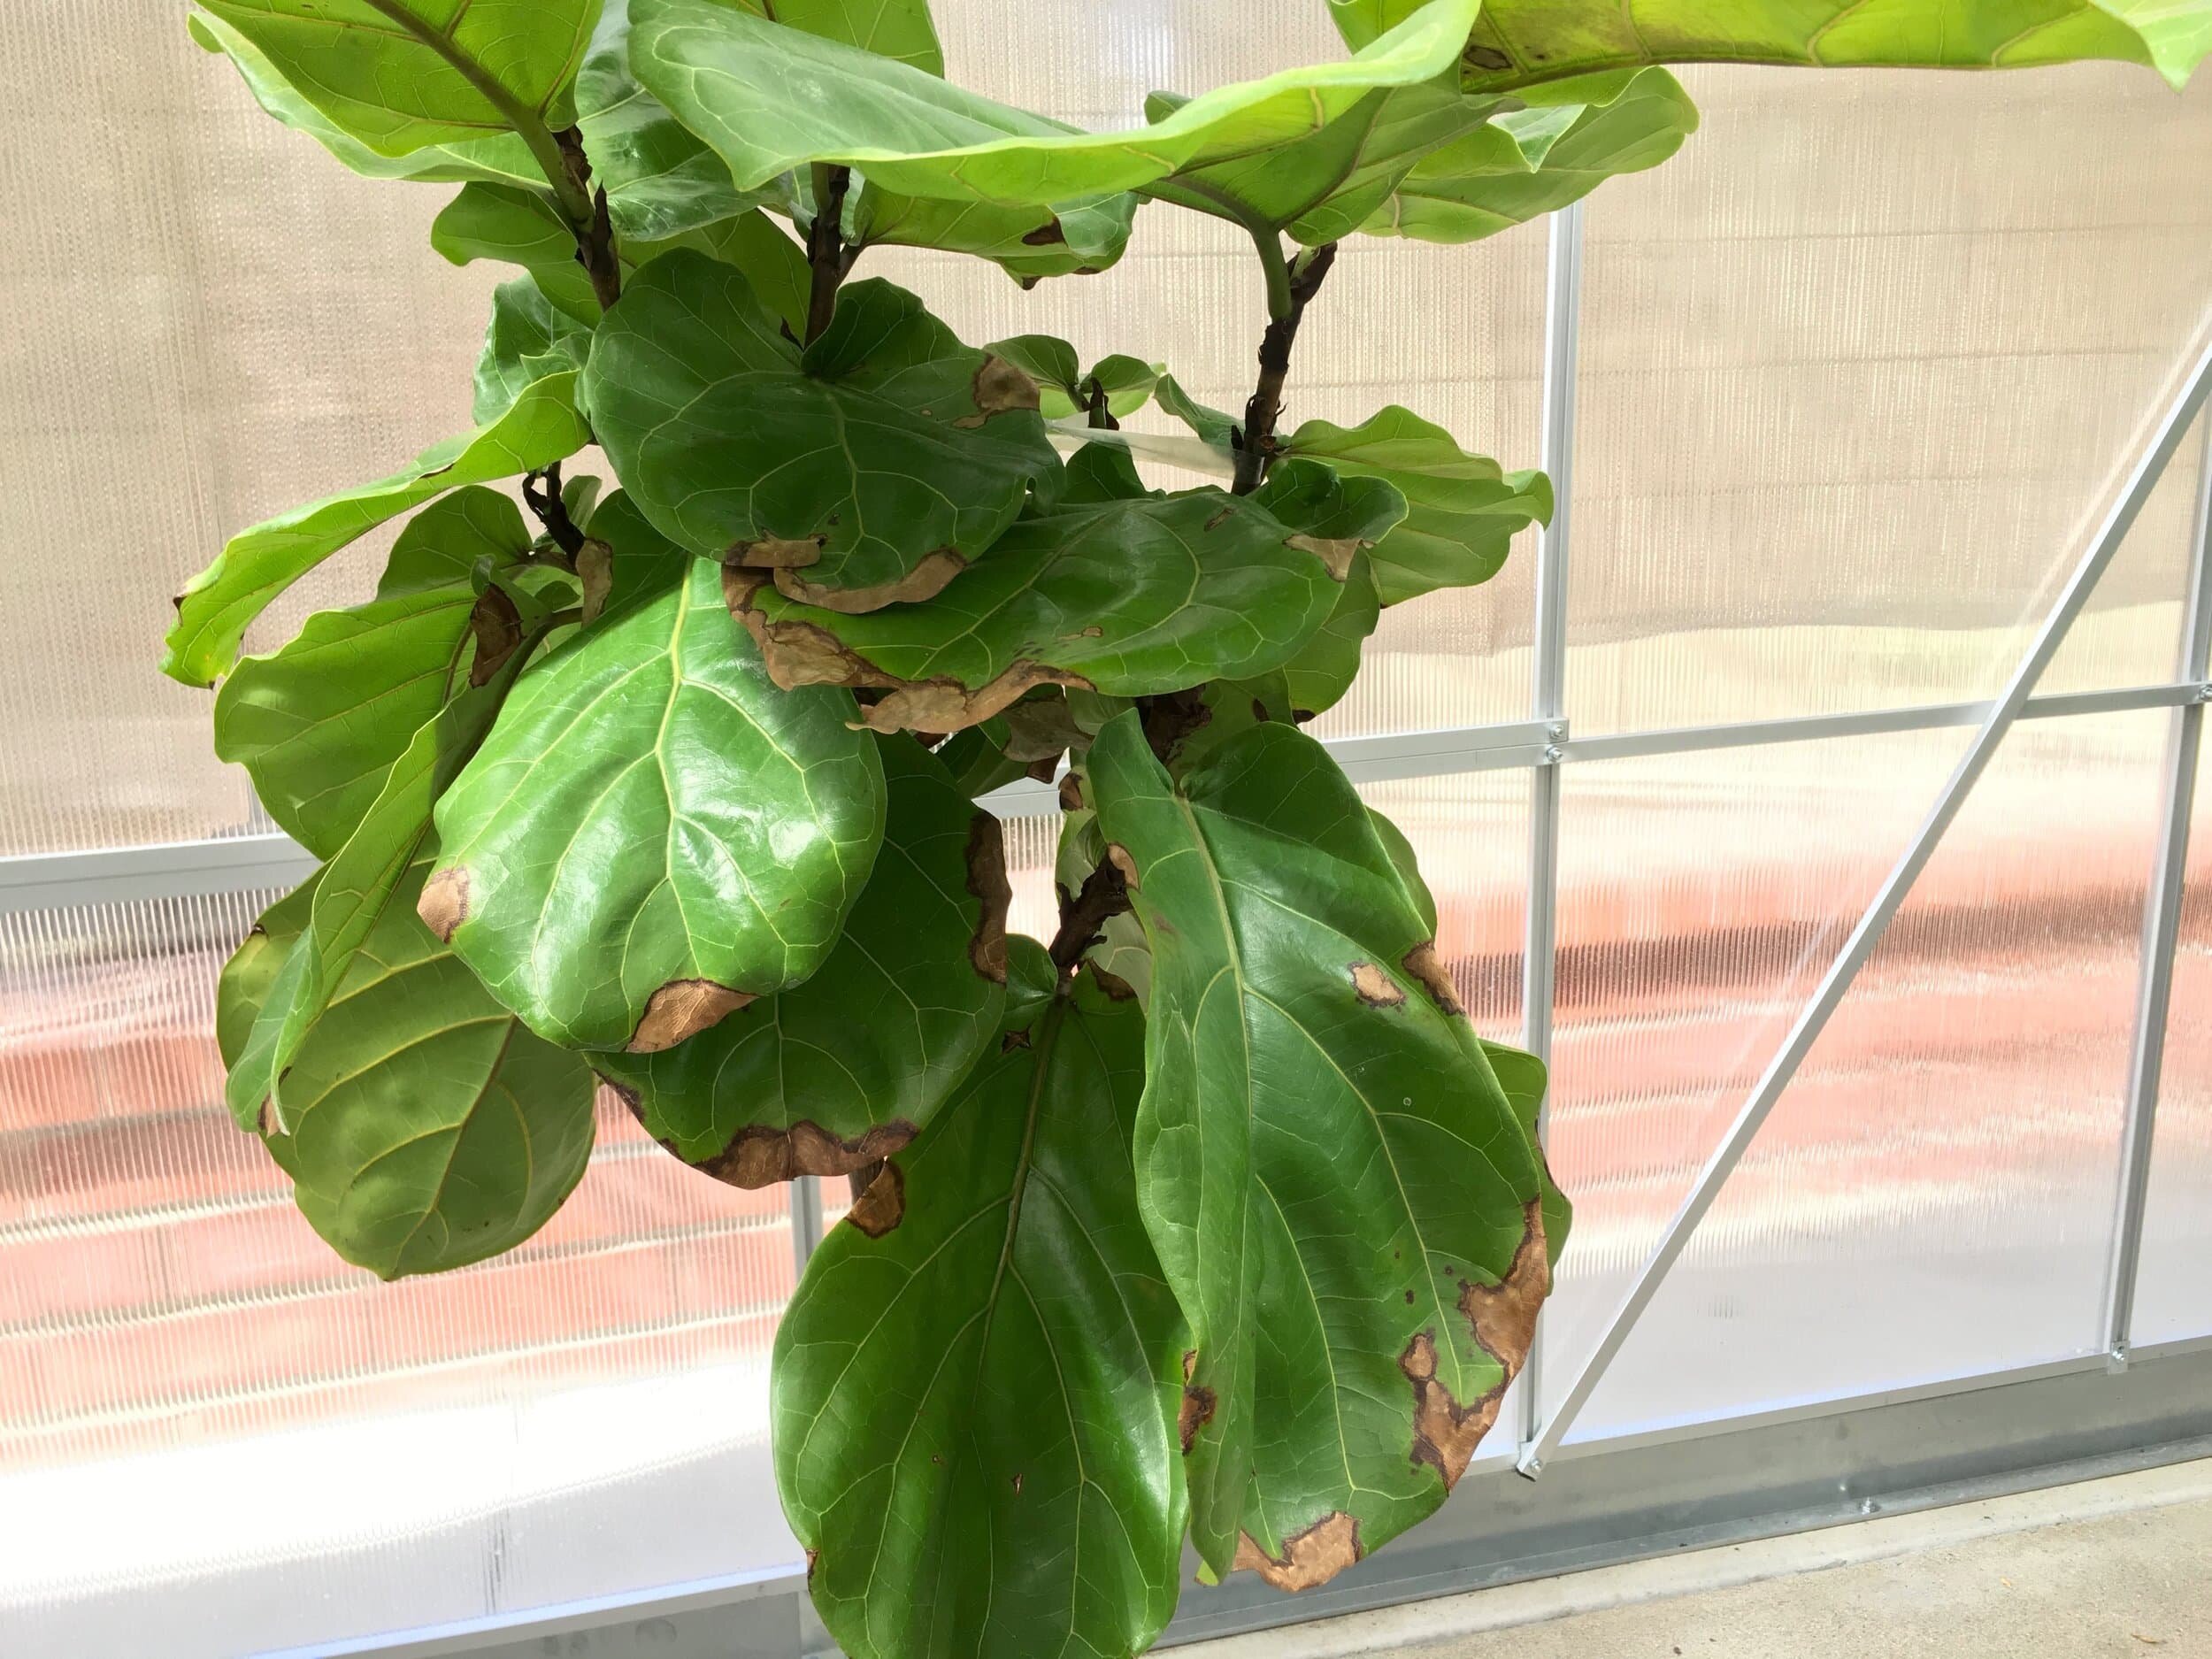
Common problems with the Dracaena Compacta
Browning Leaf Tips - Low Humidity, Dry Environment
Symptom - Leaf tips exhibiting brown tips
Cause - Low humidity, dry environment, plant too near AC unit, heat or drafts
Remedy - Trim brown tips off, mist plant 3-5 times weekly, adjust watering schedule if necessary.
Read more about brown tips on Dracaena Compactas here.
Evidence of Insect Infestation
Symptom - Whitish bumps, indicating scale, or black dots, indicating mites
Cause - Insect infestation
Remedy - Wash all foliage and trunks of Dracaena Compacta with a mixture of gentle soap and water.

How to maintain a beautiful and healthy Dracaena Compacta
Trimming & reshaping Dracaenas
If your Dracaena Compacta experiences browning at its leaf tips, this can be remedied by trimming leaves with clean, sharp scissors or shears. Follow the natural direction of the leaf as you manicure it.
Cleaning
You can clean your Dracaena Compacta’s foliage and trunks by gently wiping it down with a soft cloth, or a mixture of gentle soap and water.
Repotting Your Dracaena
Dracaena Compactas are moderate to slow growers, and repotted is typically not necessary within the first couple years.
When to repot - when your Dracaena Compacta’s roots tightly encircle its pot or many stick out, it may be time to repot.
Pot sizing - if you want your plant to grow taller, select a pot that’s 2” in diameter larger than your Dracaena Compacta’s current pot. If you prefer for your plant to stay the same height, its original nursery pot can be re-used, and the soil simply refreshed.
Get your hands dirty - spread out newspaper on the floor, remove the plant from the pot and shake off as much of the old soil as possible so that you have clean roots. Place the plant in the center of the pot, add new soil and pat down firmly. Water the soil thoroughly and place the plant in an area with bright indirect light. Your plant will take 2-4 weeks to settle from the shock and adjust to its new home.
How to Propagate the Dracaena Compacta
Dracaena Compactas can be propagated from top cuttings. Simply cut a portion from the very top of your plant below a leaf line. Ensure that the portion has at least 4-6 inches of growth. Place the cutting in a container of moist soil, and situate it in a shaded location. When roots form (typically after 4-6 weeks), re-pot into a new container with fresh, moist soil.
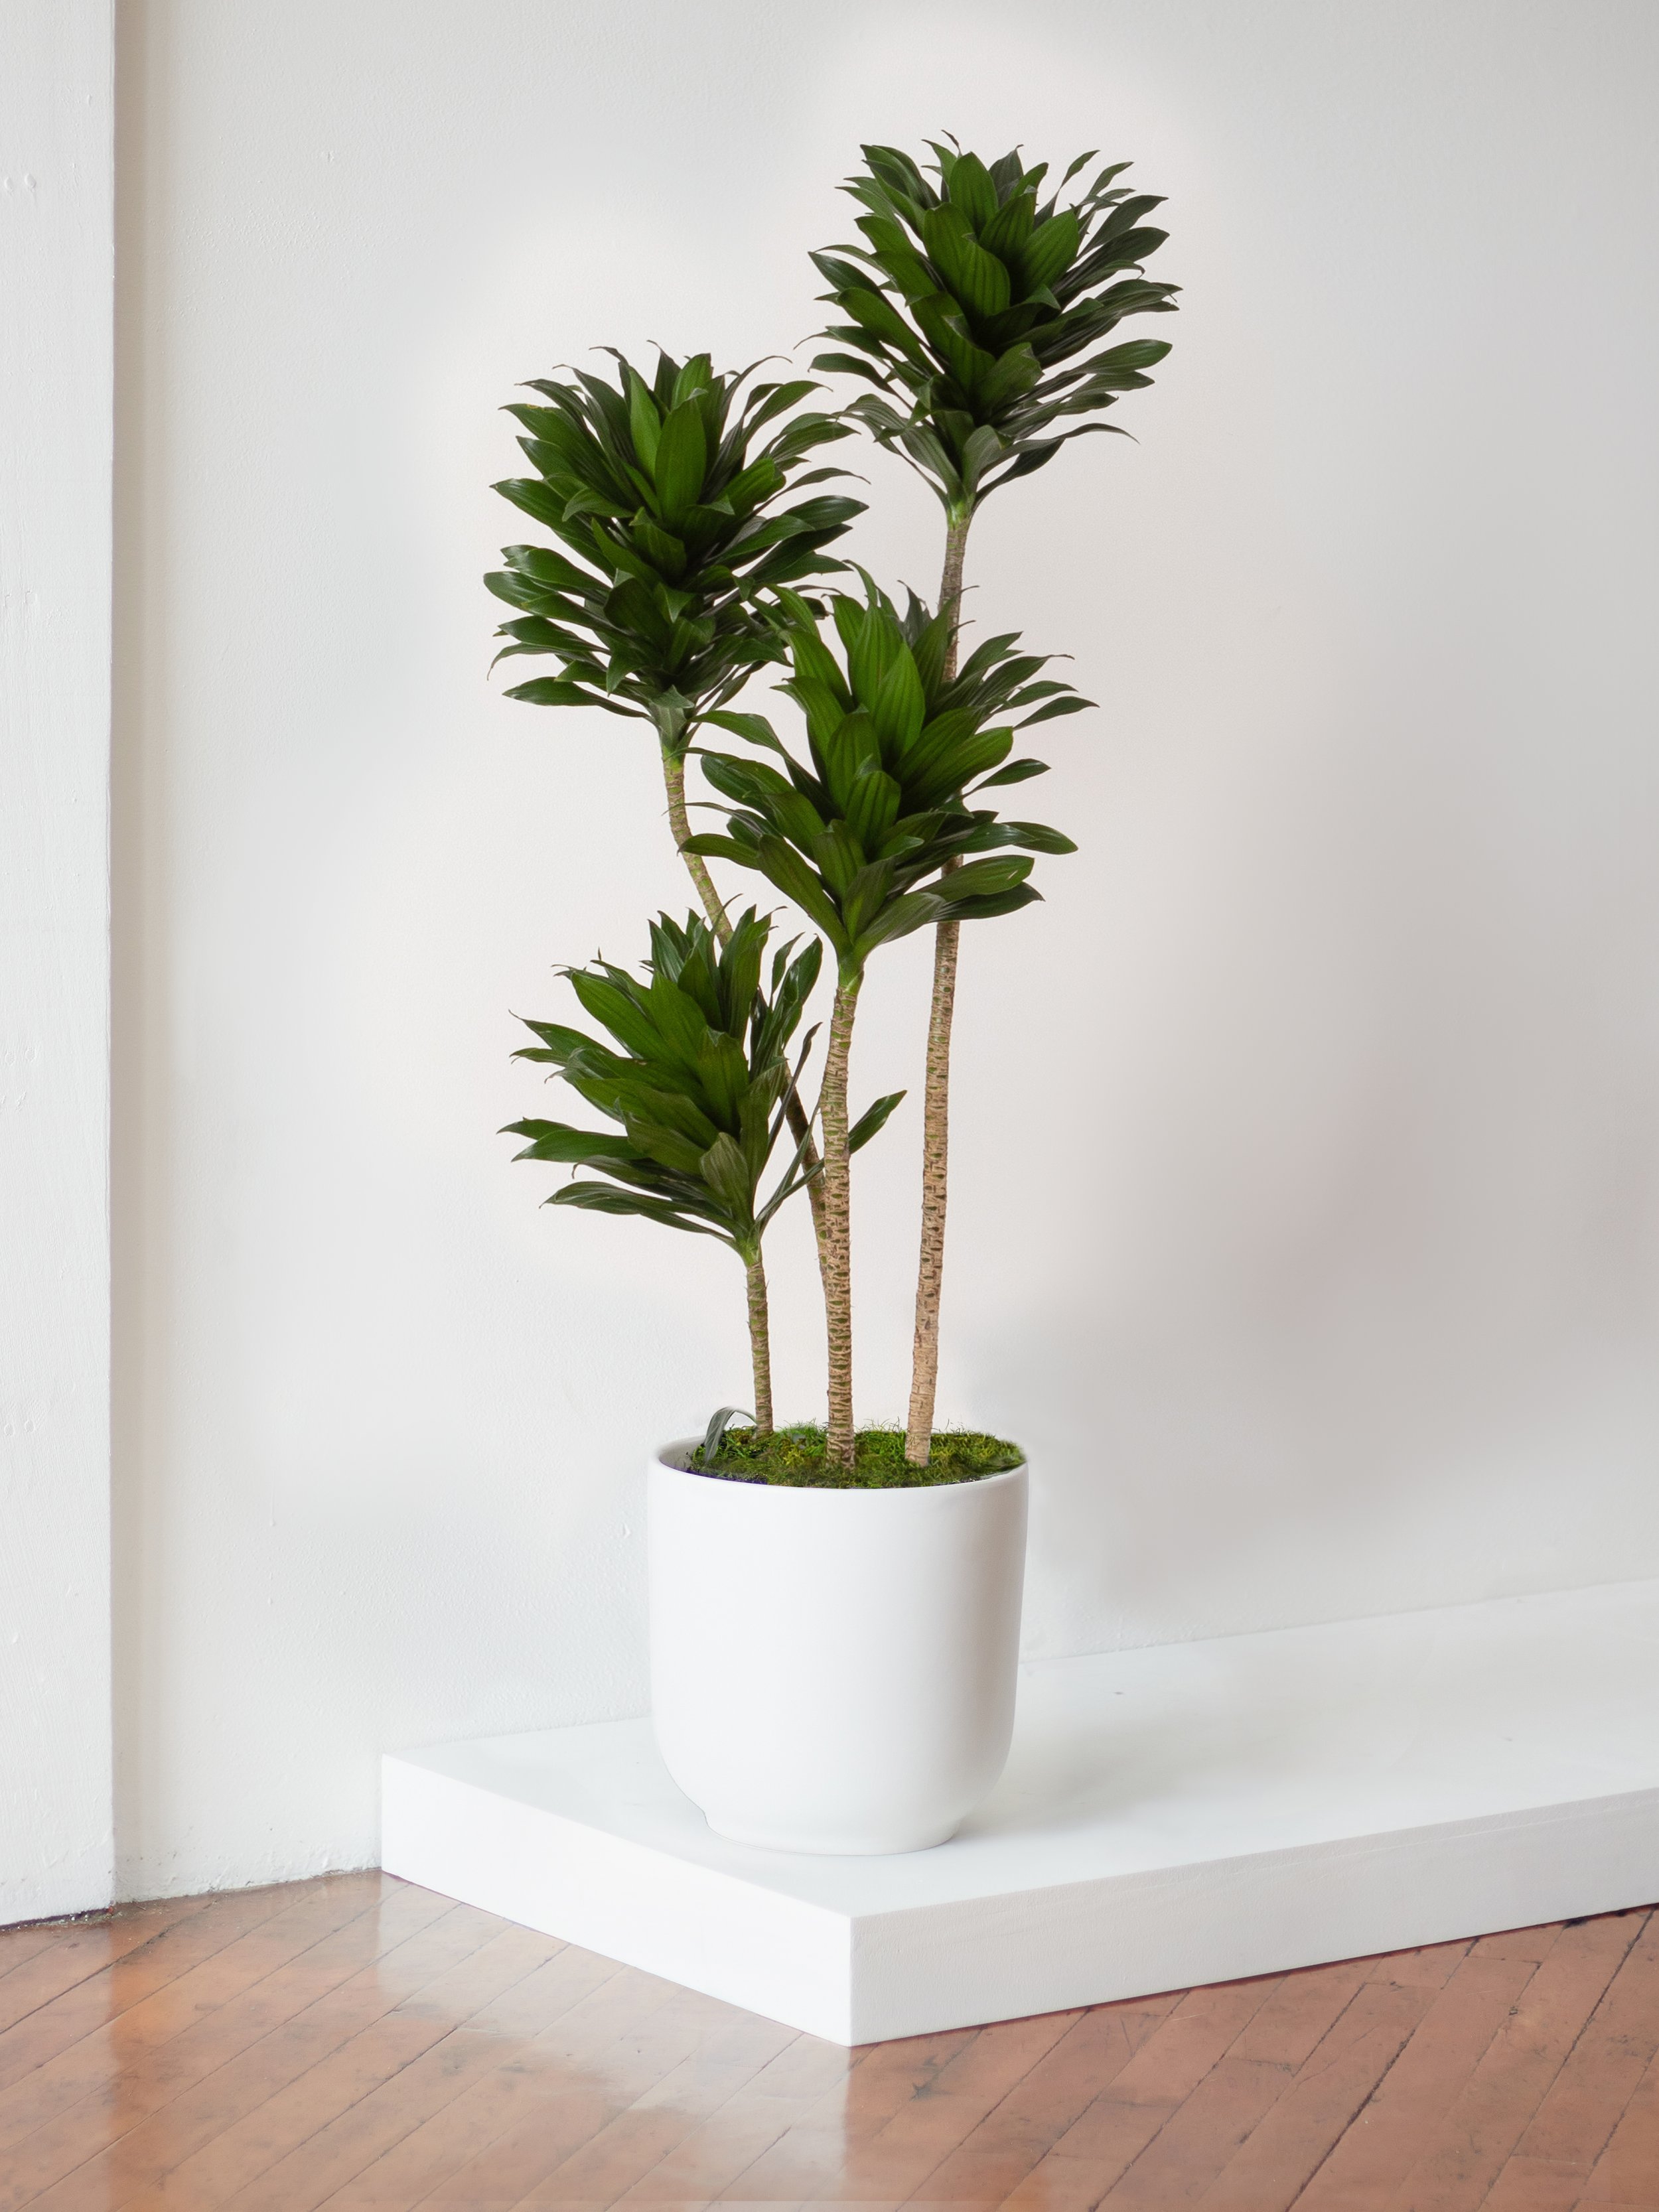
The Dracaena Compacta
A slim and lovely statement floor plant with narrow trunks and laddered emerald foliage, the Dracaena Compacta is a stunning low-maintenance plant for spaces that receive medium, indirect light.