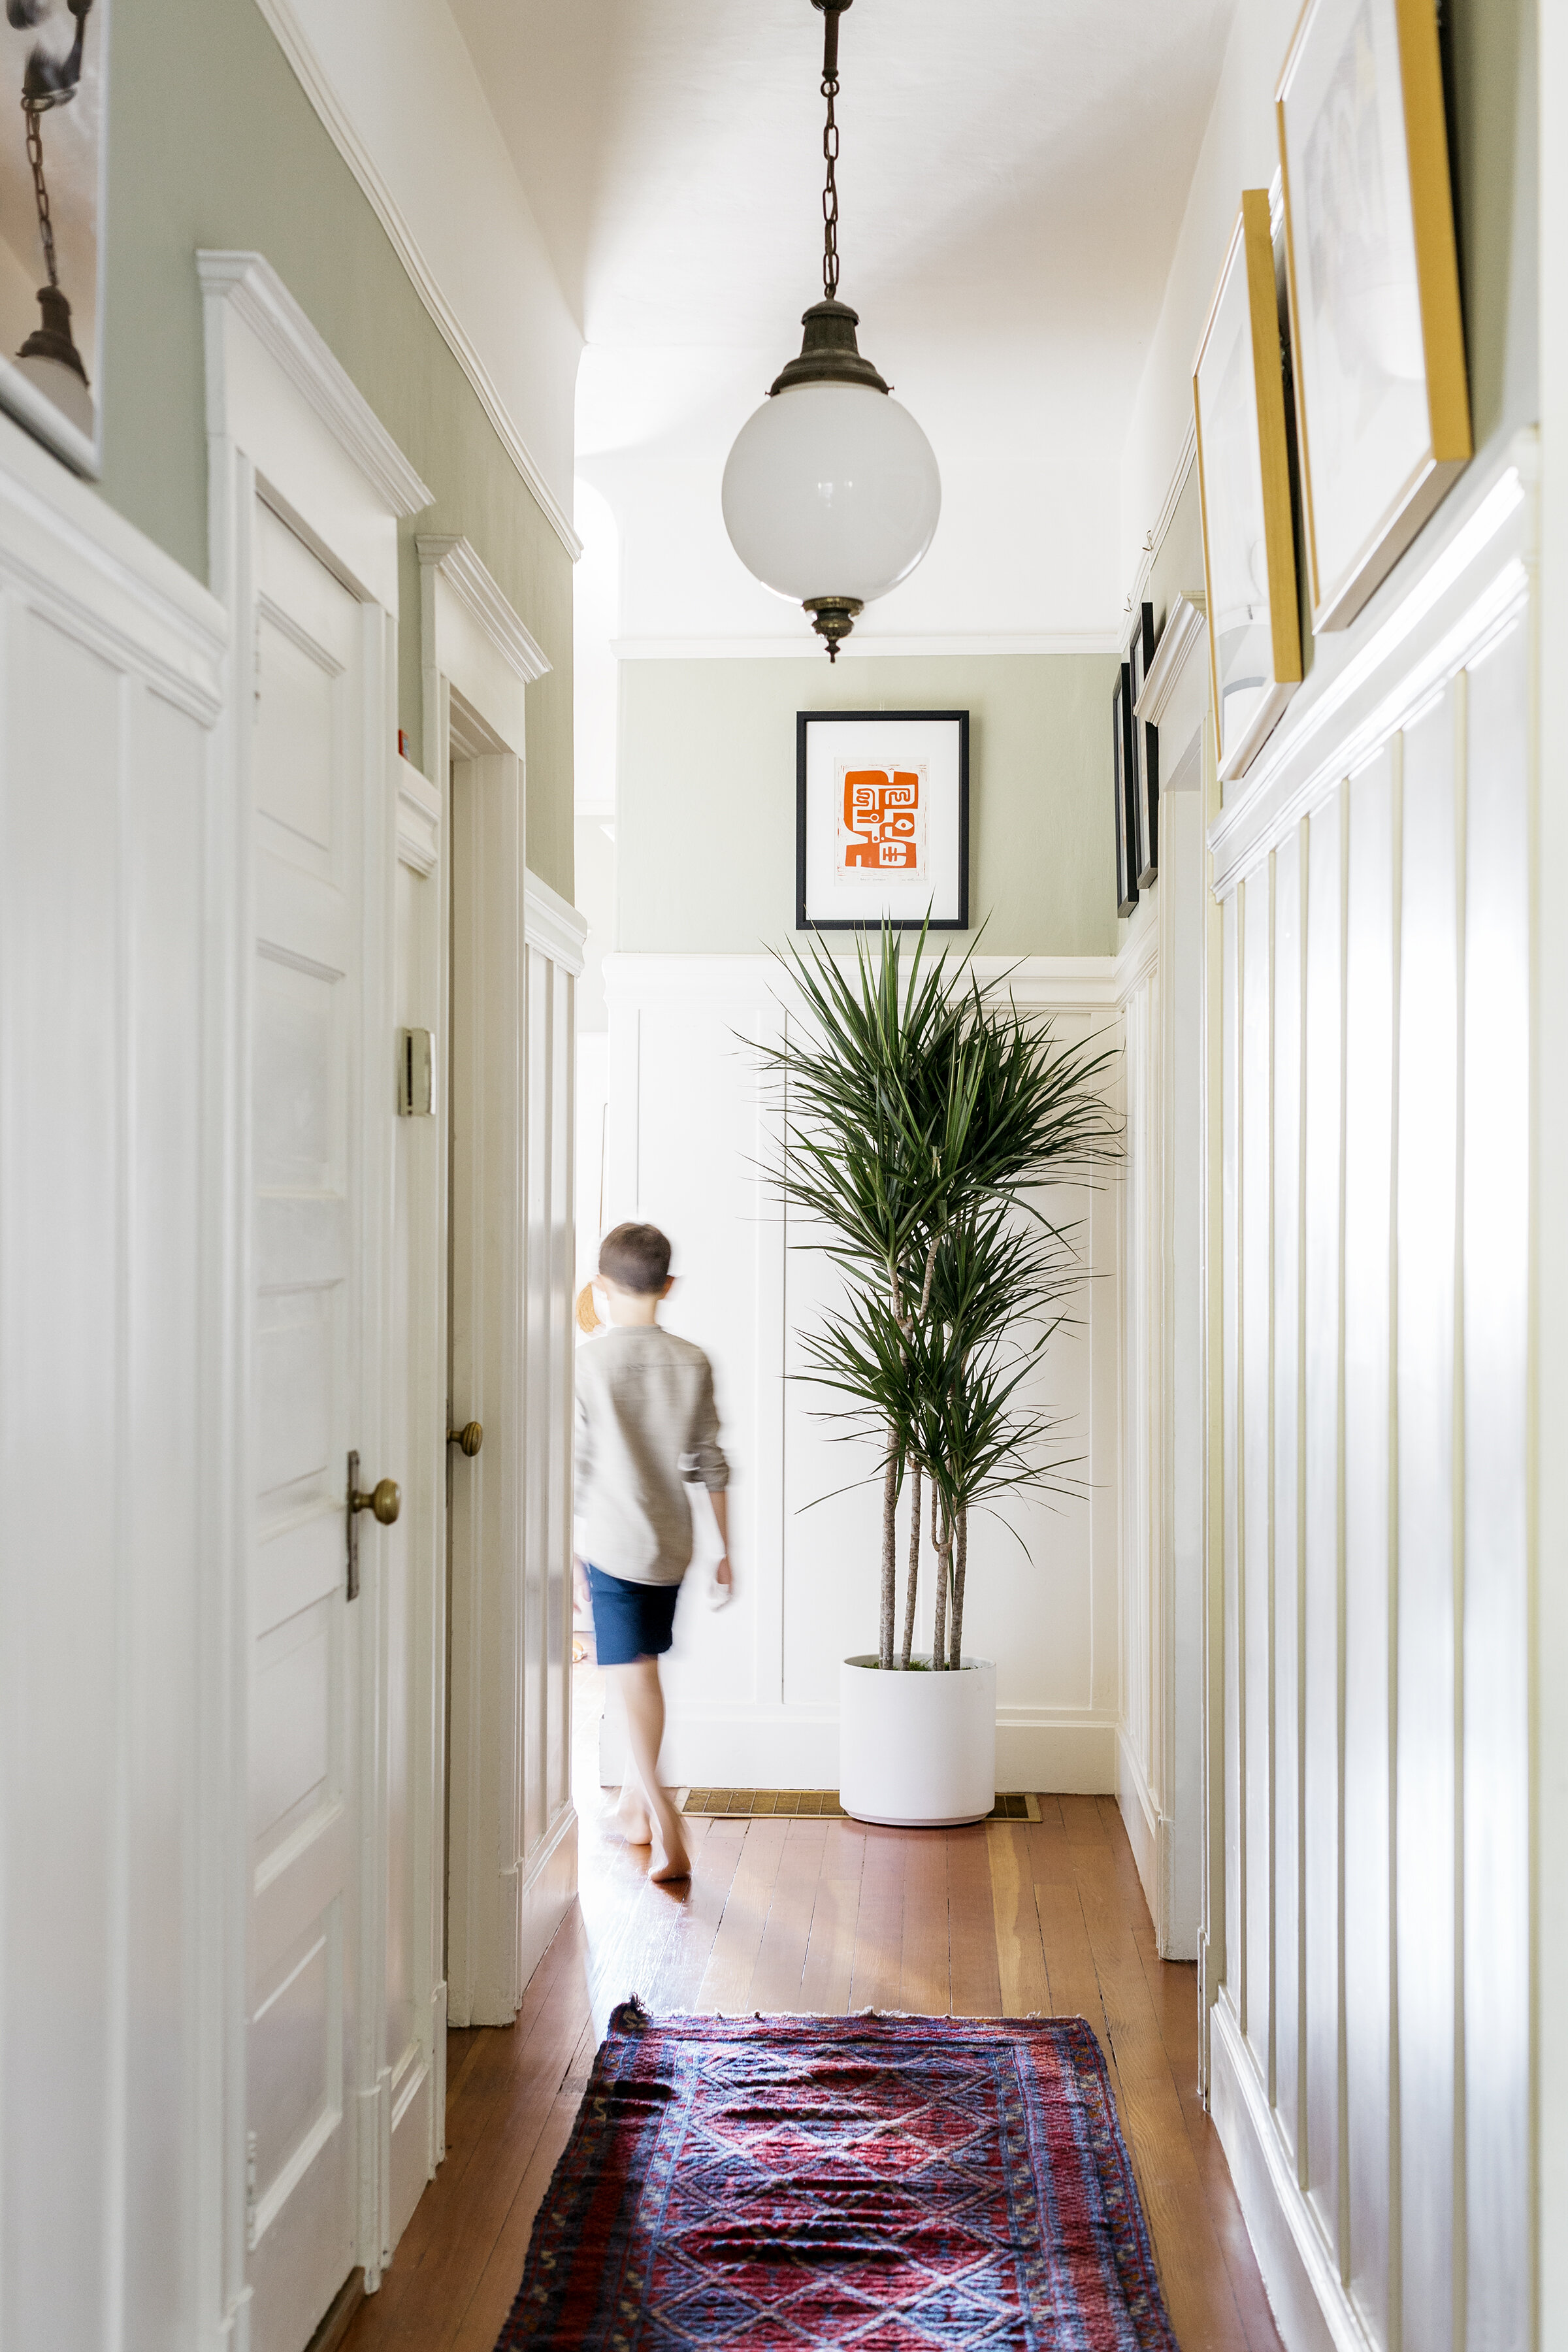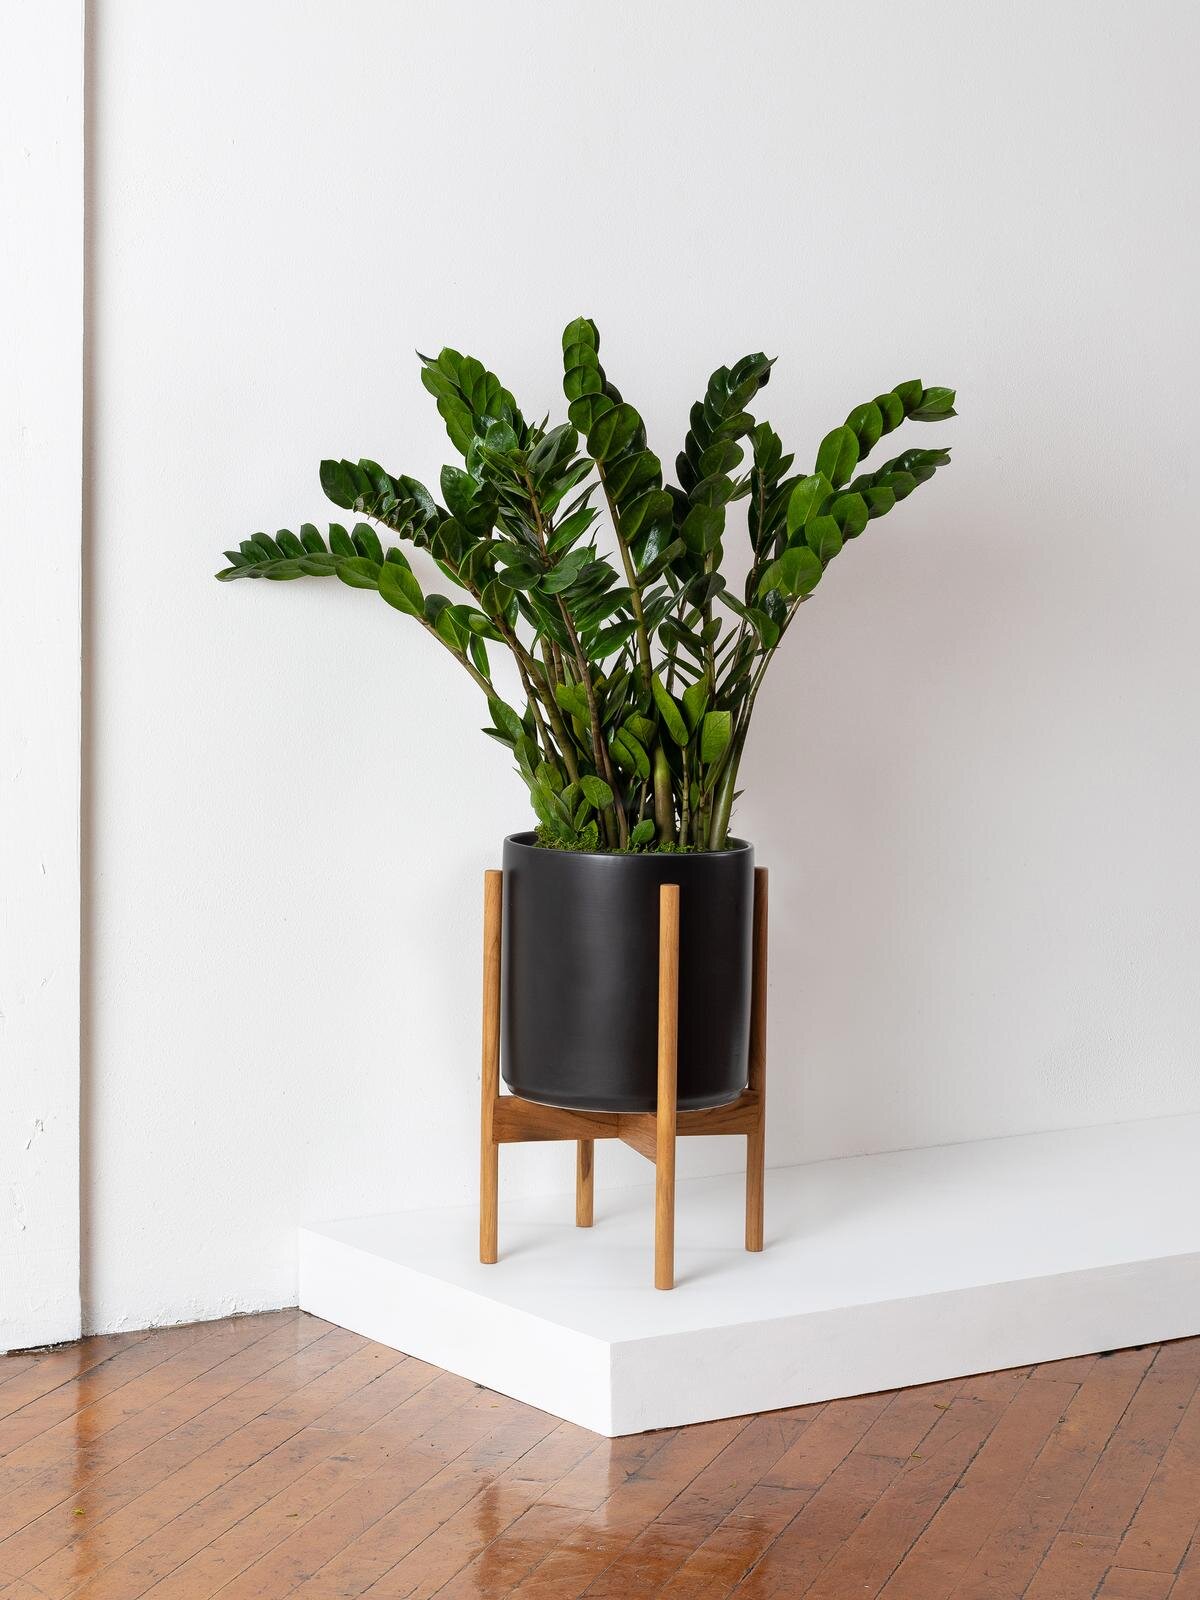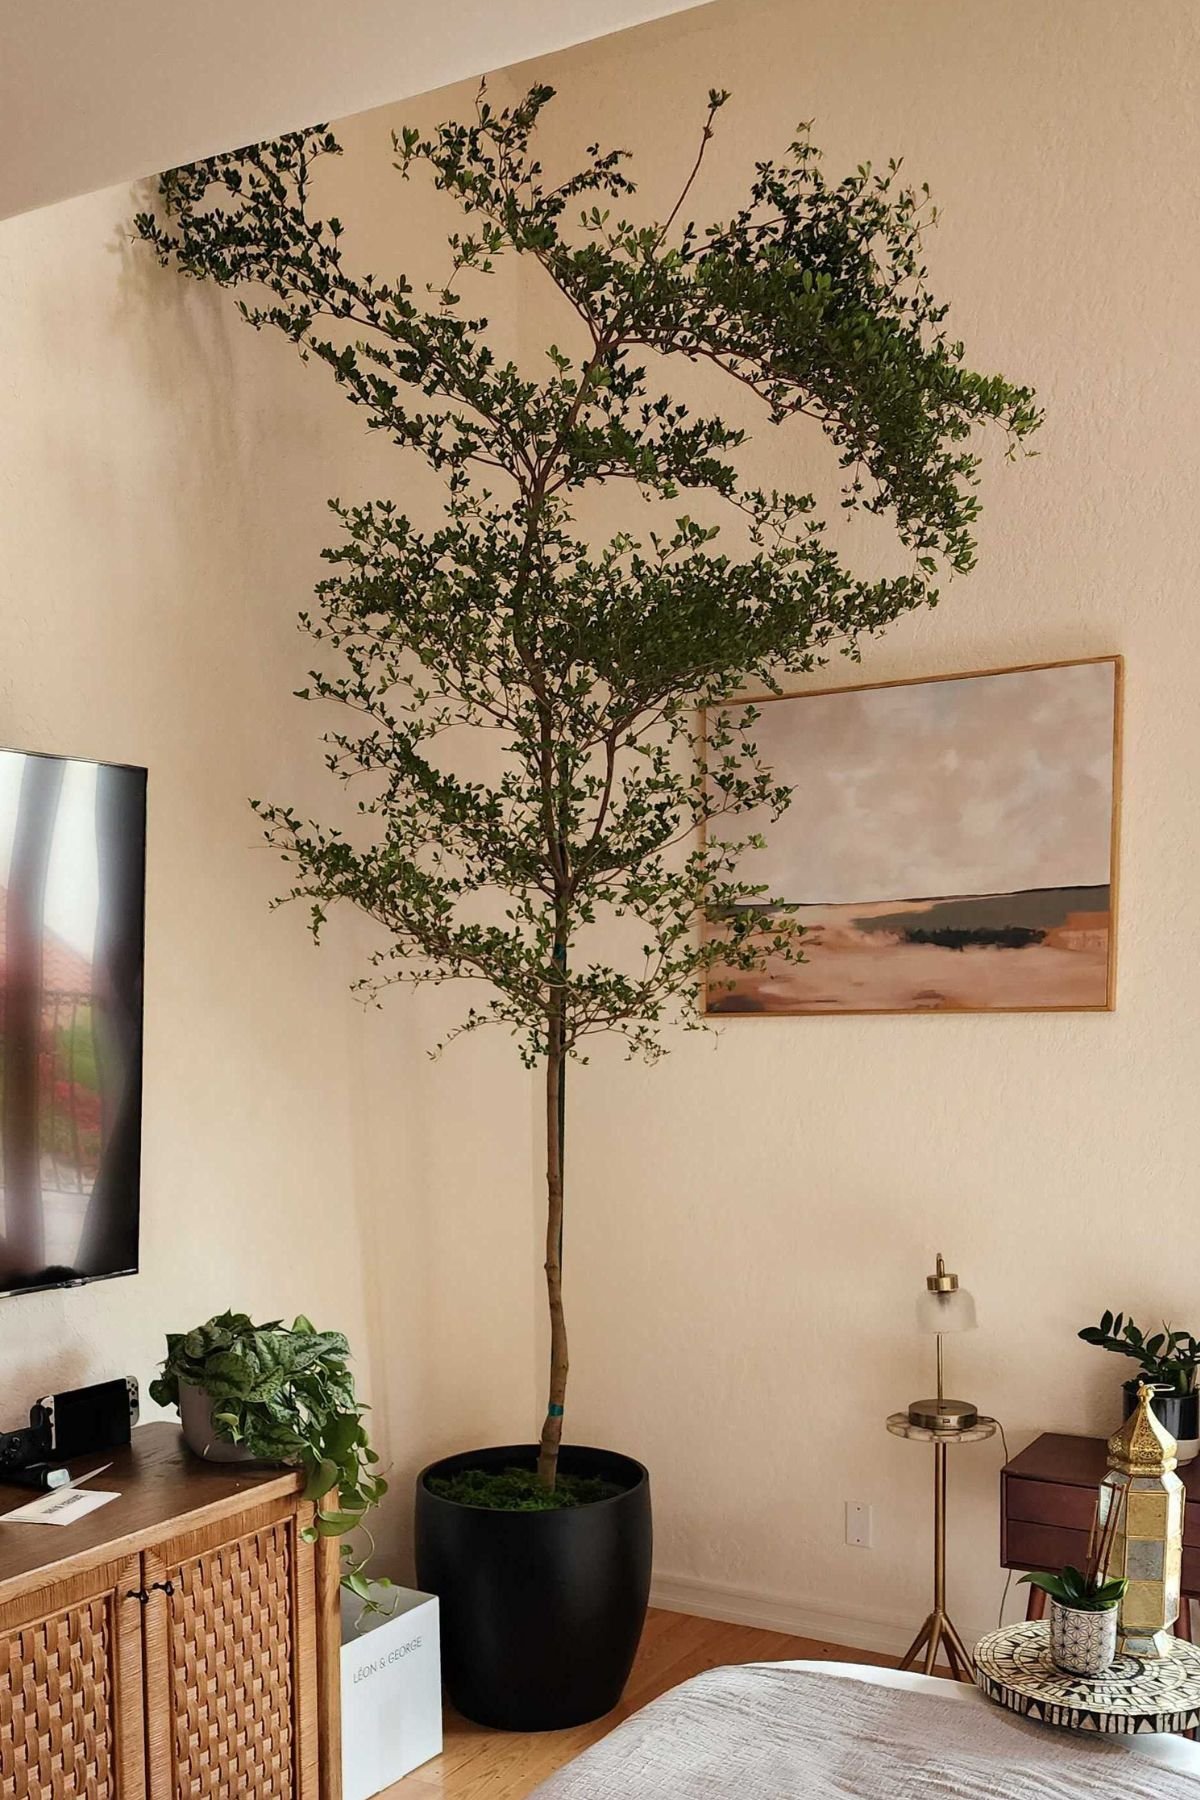
Photo by @jessoliverbaggett for Léon & George
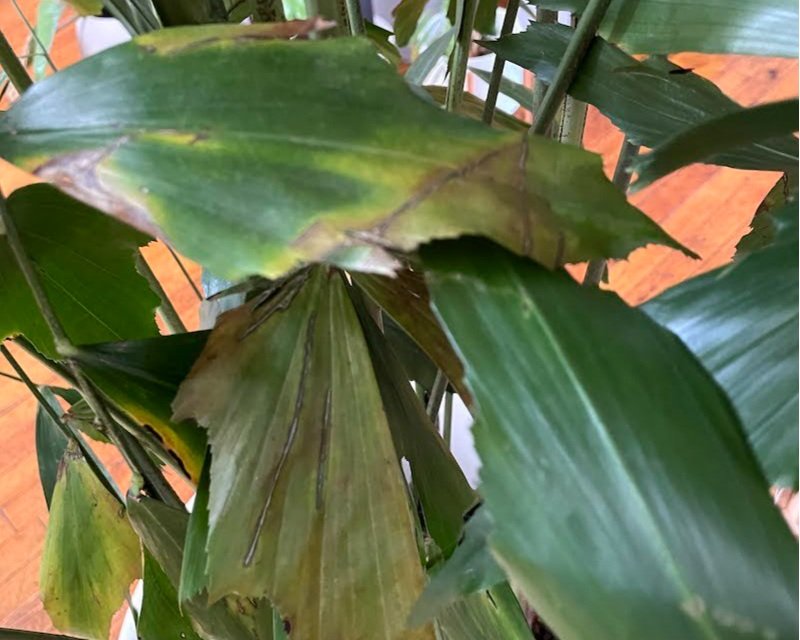
With its distinctive fronds reminiscent of a fish's tail, your Fishtail Palm is undoubtedly a captivating indoor plant addition to your space. However, if you've noticed those elegant leaves starting to turn yellow and brown, it can be a cause for concern. Don't fret just yet—yellow and brown leaves on the Fishtail Palm can be incredibly common, and we’ve got practical solutions to restore your Fishtail Palm to its former glory!
WHAT’S CAUSING Yellow and Brown Leaves ON YOUR FISHTAIL PALM
Yellowing and browning leaves on your Fishtail Palm are usually a sign that something isn't quite right. Several factors can contribute to this issue, and understanding the root cause is the first step towards nursing your palm back to health.
New environment: If your Fishtail Palm is new or has recently been moved, it is very likely that the brown and yellow leaves are simply the result of your plant adapting to its new environment. Unfortunately there is not much you can do in this scenario other than be patient and wait for it to adjust. In the meantime, you may remove some of the damaged fronds, taking care to never remove more than 30% of the plant in one go. Read our full guide on helping your Fishtail Palm adapt to its new home.
Overwatering: One of the most common culprits behind yellow and brown leaves is overwatering. Fishtail Palms prefer moisture-rich conditions, but will not tolerate soggy soil or as they say “wet feet”.
Inadequate Light: Fishtail Palms thrive in bright, indirect light and will also tolerate some direct sunlight. If your palm isn't getting enough light or is exposed to too much harsh direct sunlight, it can stress the plant and lead to leaf damage.
Humidity Levels: The Fishtail Palm loves spaces with high humidity. If the air in your home is too dry, it can cause the leaves to dry out and turn brown.
Temperature Fluctuations: Fishtail Palms are sensitive to temperature changes. Sudden drops in temperature or exposure to drafts can result in leaf discoloration.
Nutrient Deficiency: If you’ve had your Fishtail Palm for some time, consider if your plant may be lacking in essential nutrients, especially nitrogen and magnesium, which can manifest as yellowing leaves. This may be the case if it’s been over two years since you’ve repotted, or if you don’t fertilize regularly. Consider adding fertilizing to your care routine.
Remedies to Revive Your Fishtail Palm
Now that you've identified some potential causes, here are effective remedies to address the issue and bring your Fishtail Palm back to life:
1. Adjust Your Watering Routine:
Allow the top inch of the soil to dry out between waterings, and consider using a moisture meter.
Ensure your pot has proper drainage to prevent waterlogging.
2. Optimize Lighting:
Place your Fishtail Palm in a location with plenty of bright, indirect sunlight.
Shield it from harsh direct sun exposure, which can scorch the leaves.
Never place your Fishtail Palm in low light areas.
3. Boost Humidity:
Group your Fishtail Palm with other plants to increase humidity levels.
Use a humidity tray or a room humidifier to maintain moisture around the plant.
4. Temperature Control:
Keep your Fishtail Palm away from drafts and maintain a consistent room temperature.
Avoid placing it near heaters, air conditioning vents, or cold windows.
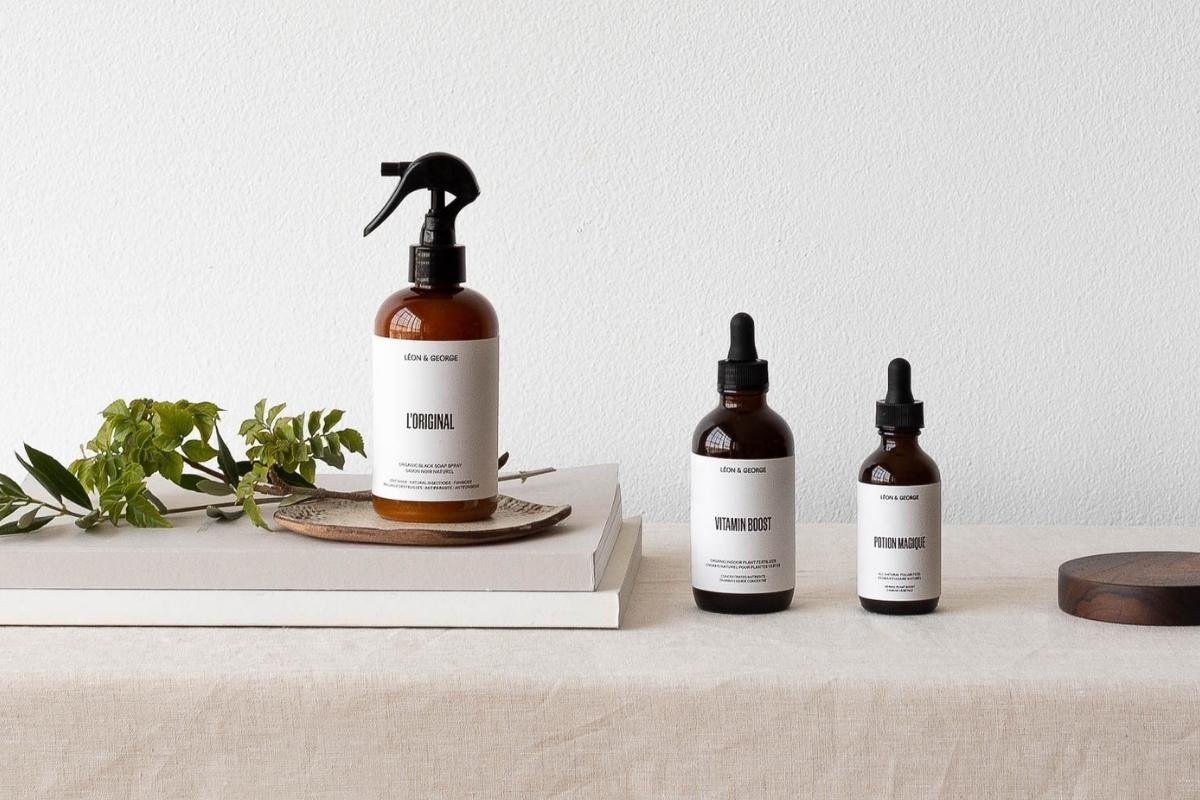
5. Fertilize Appropriately:
Feed your Fishtail Palm with a balanced, water-soluble fertilizer during the growing season (spring and summer).
Follow the recommended dosage on the fertilizer packaging.
6. Pruning and Maintenance:
Remove damaged and yellowed leaves with clean, sharp scissors or pruning shears. Watch this video on how to prune the Fishtail Palm. Make sure to never remove more than 30% of your plant at time.
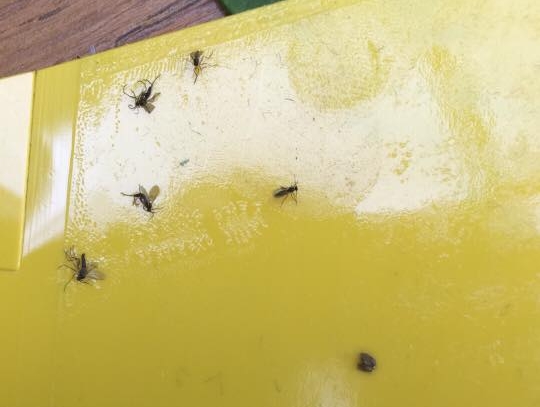
Regularly inspect your palm for signs of pests, as they can also contribute to leaf discoloration.
By addressing these factors and providing your Fishtail Palm with the care it needs, you can bring your plant back to its lush former state! While you cannot reverse the yellow and brown leaves, you can slowly remove them and wait for the plant to put out new growth. With patience and proper attention, your Fishtail Palm will once again flourish, gracing your living space with its unique and vibrant foliage.

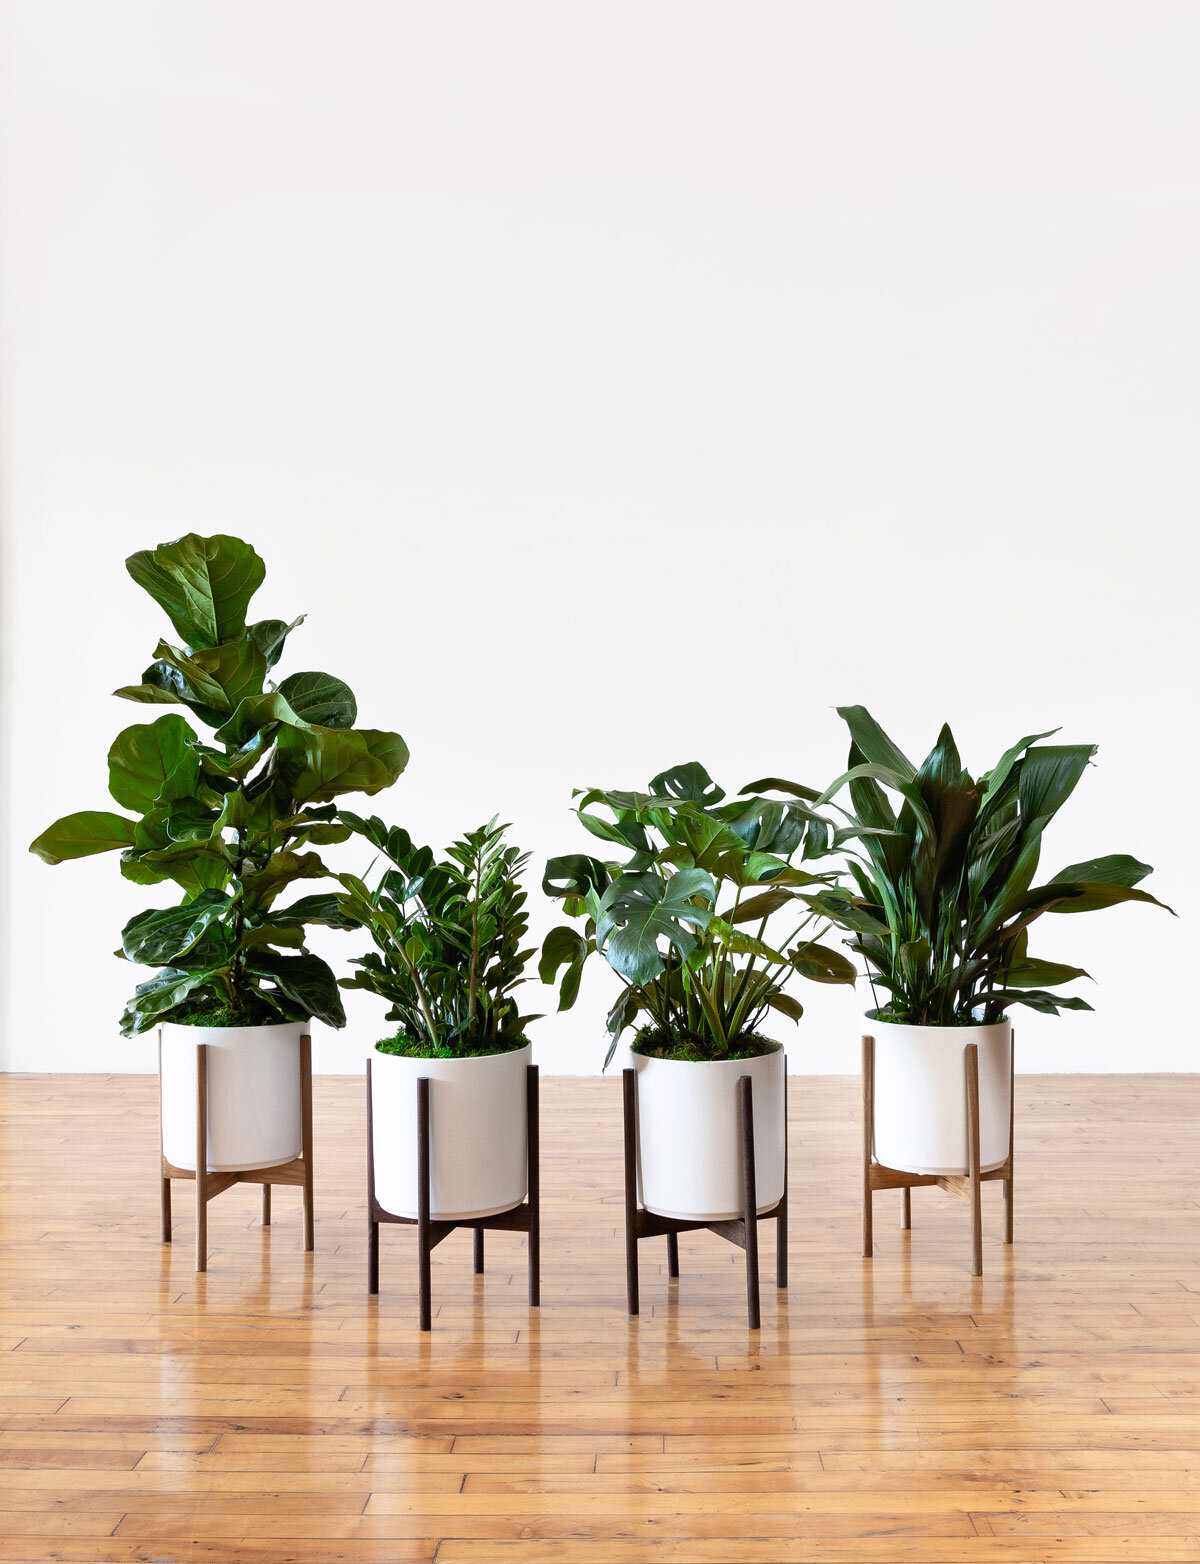
designed to thrive
Premium plants paired with stylish ceramics, plus lifetime plant care support. Order online at leonandgeorge.com