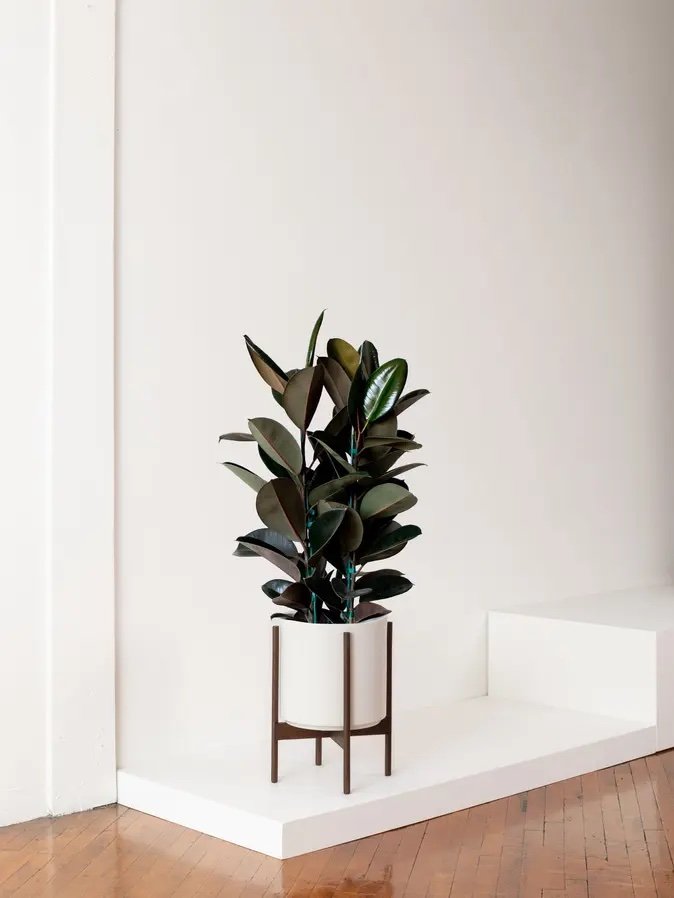
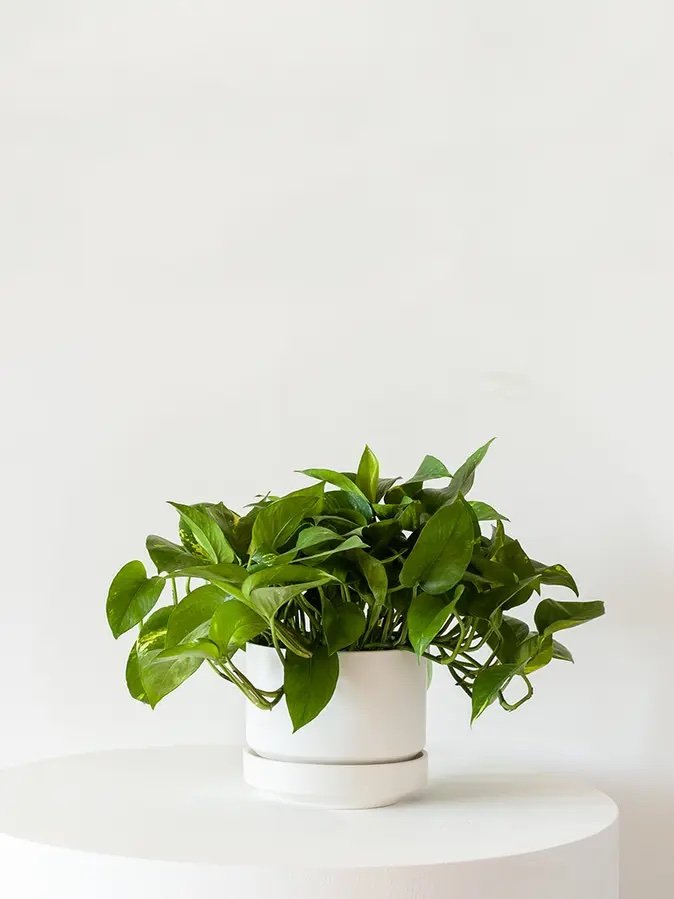
A Zanzibar Gem like the one pictured above can survive with next to no light, but some artificial light will definitely help!
All plants need at least some light to survive, but does it need to be natural light? For those of us with limited sunlight in our homes, owning our favorite indoor plants can be tough. But luckily, having our favorite sun-loving plants in low light places is in fact possible, and that’s where artificial light comes into play.
Growing indoor plants with artificial light
First things first, not all artificial light is created equal. The typical lightbulbs in your home, for example, generally do not contribute much in the way of photosynthesis, especially if they aren’t on for 12+ hours a day. Low-light plants will grow just fine in areas with nothing more than overhead lights or lamps, but others will quickly deteriorate without proper grow lights.
What makes a good grow light?
So what is a proper grow light? The world of grow lights can seem technical and confusing, but it doesn’t have to be! When using artificial light for indoor plants, the goal is to simulate the light of the sun. You may see the words “full spectrum”, “cool light”, and “warm light”, and effective grow lights are simply full spectrum bulbs: bulbs that generate all useful wavelengths for plants with a mixture of cool (blue) and warm (red) light. While you can get extra specific about the exact needs of your plant, generally speaking a balanced ratio of cool and warm is just fine for indoor houseplants.
There are many different types of bulbs you can use to supplement your plant’s light intake and growth, but most would agree that LEDs are not only highly effective but also by far more efficient than their counterparts like incandescent, fluorescent, or high intensity discharge (HID) lights.
And as a tip: you don’t necessarily need an entire fixture to get the job done. The lamps in your home, if positioned correctly, will work just fine with the right bulbs.
Top grow lights for indoor plants
There are hundreds if options when it comes to great grow lights, but not all of them are attractive or take your home’s decor into account. Truth be told, grow lights up until recently were mostly manufactured for commercial purposes and not necessarily residential homes or offices.
Our favorite grow lights are ones that complement your style rather than detracting from it, such as Soltech Solutions for sleek, modern looks, or Modern Sprout for colorful and creative lights.

Indoor plants, potted & delivered
Premium plants paired with stylish ceramics, plus lifetime plant care support. Order online at leonandgeorge.com