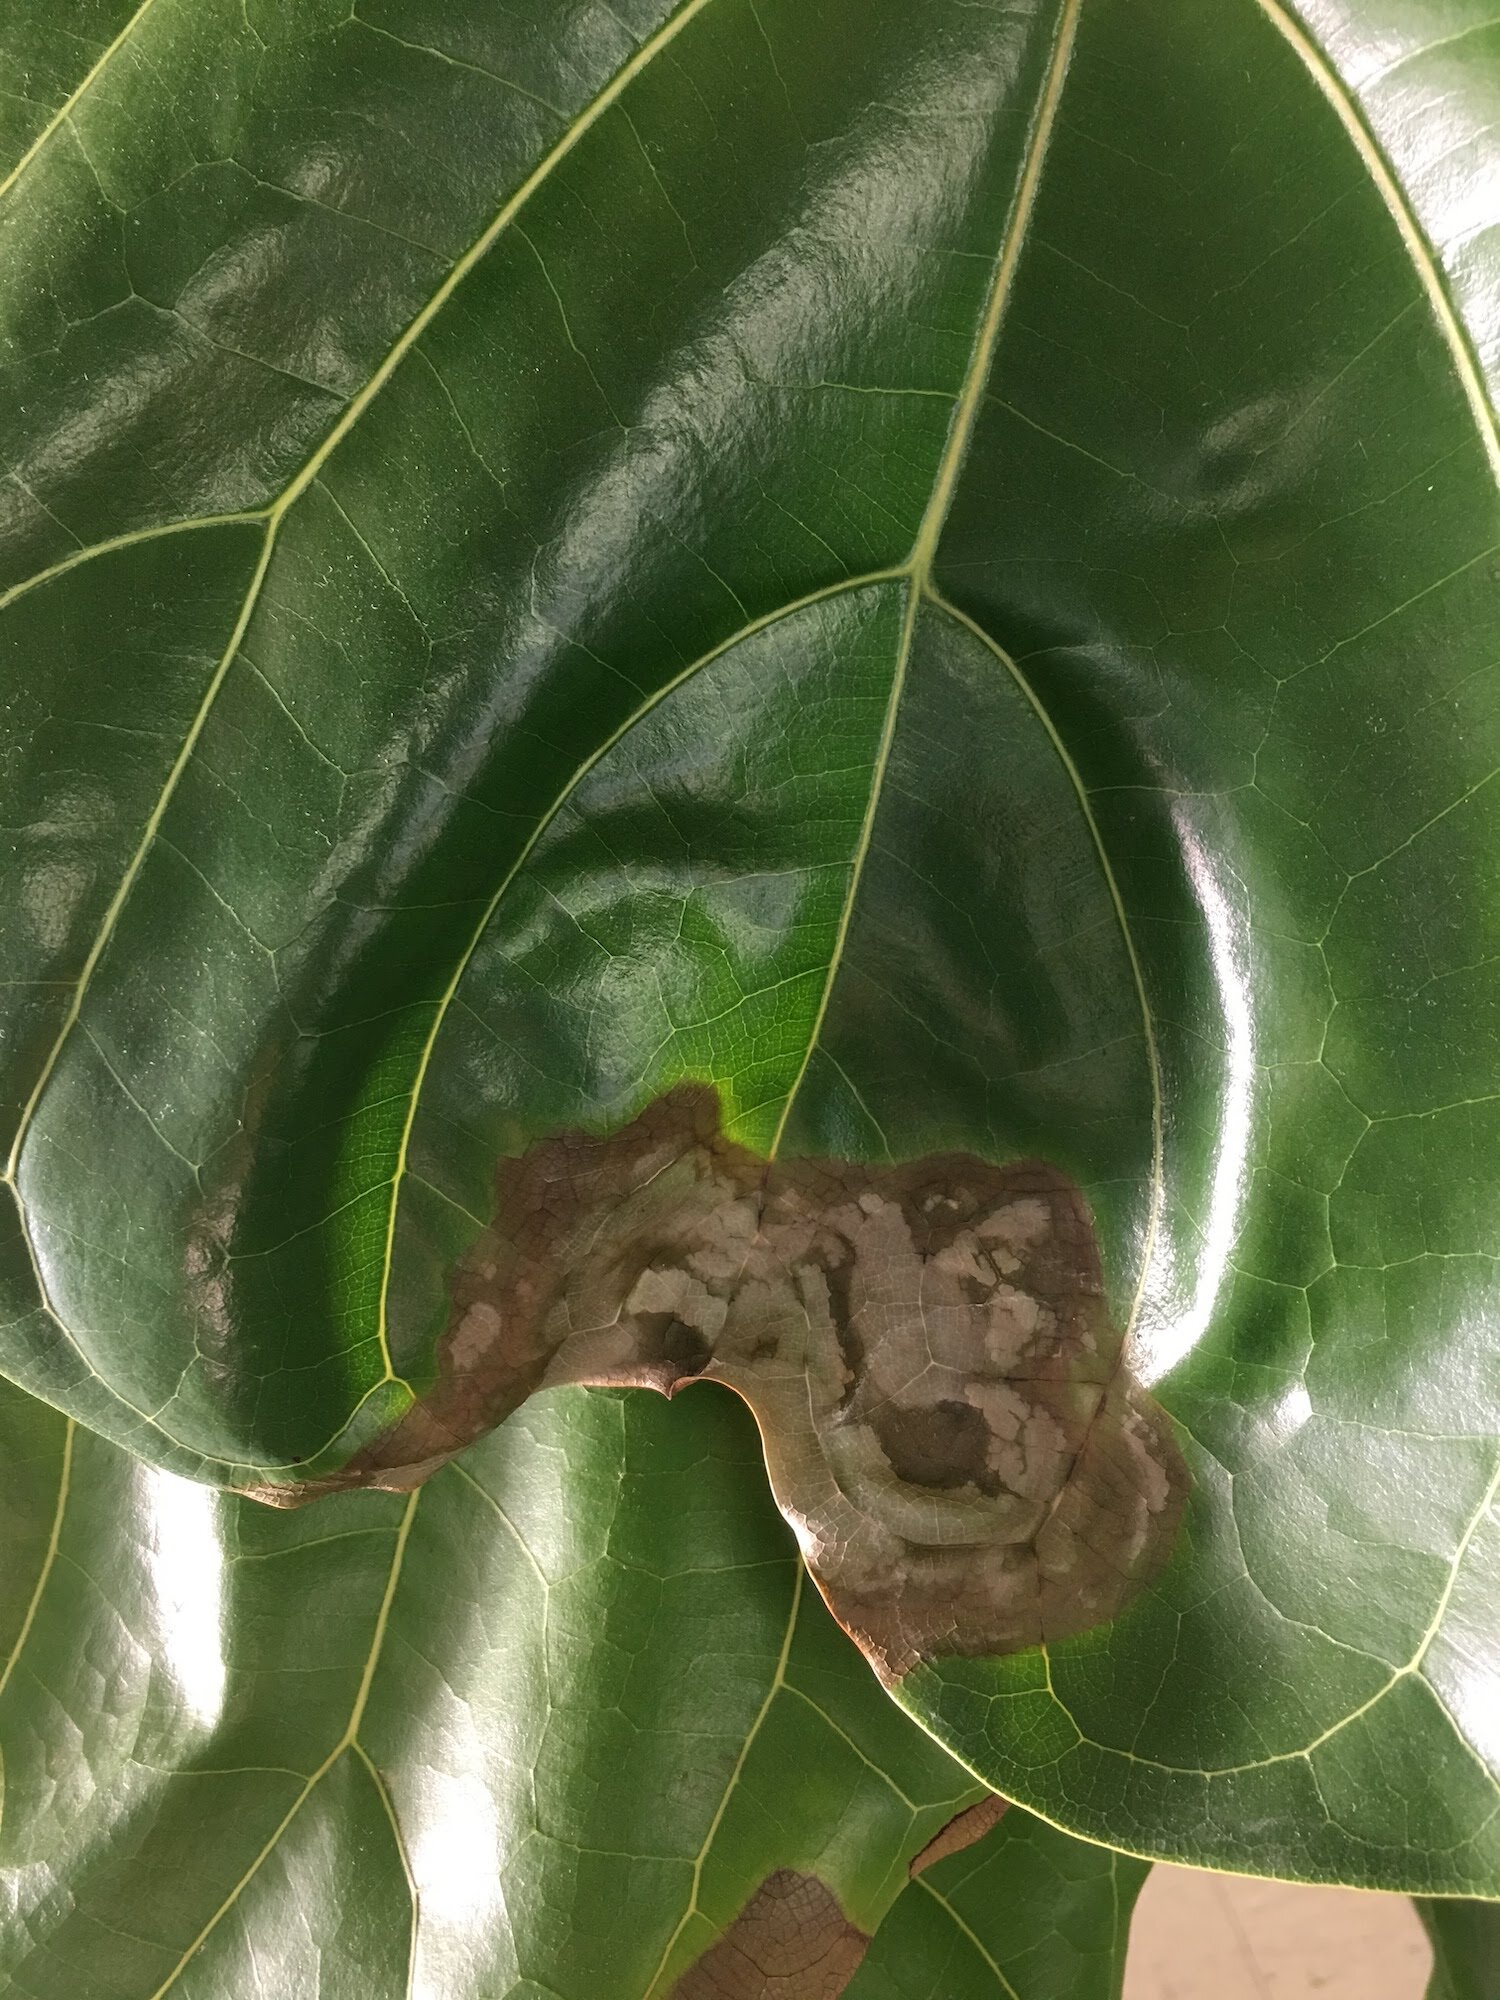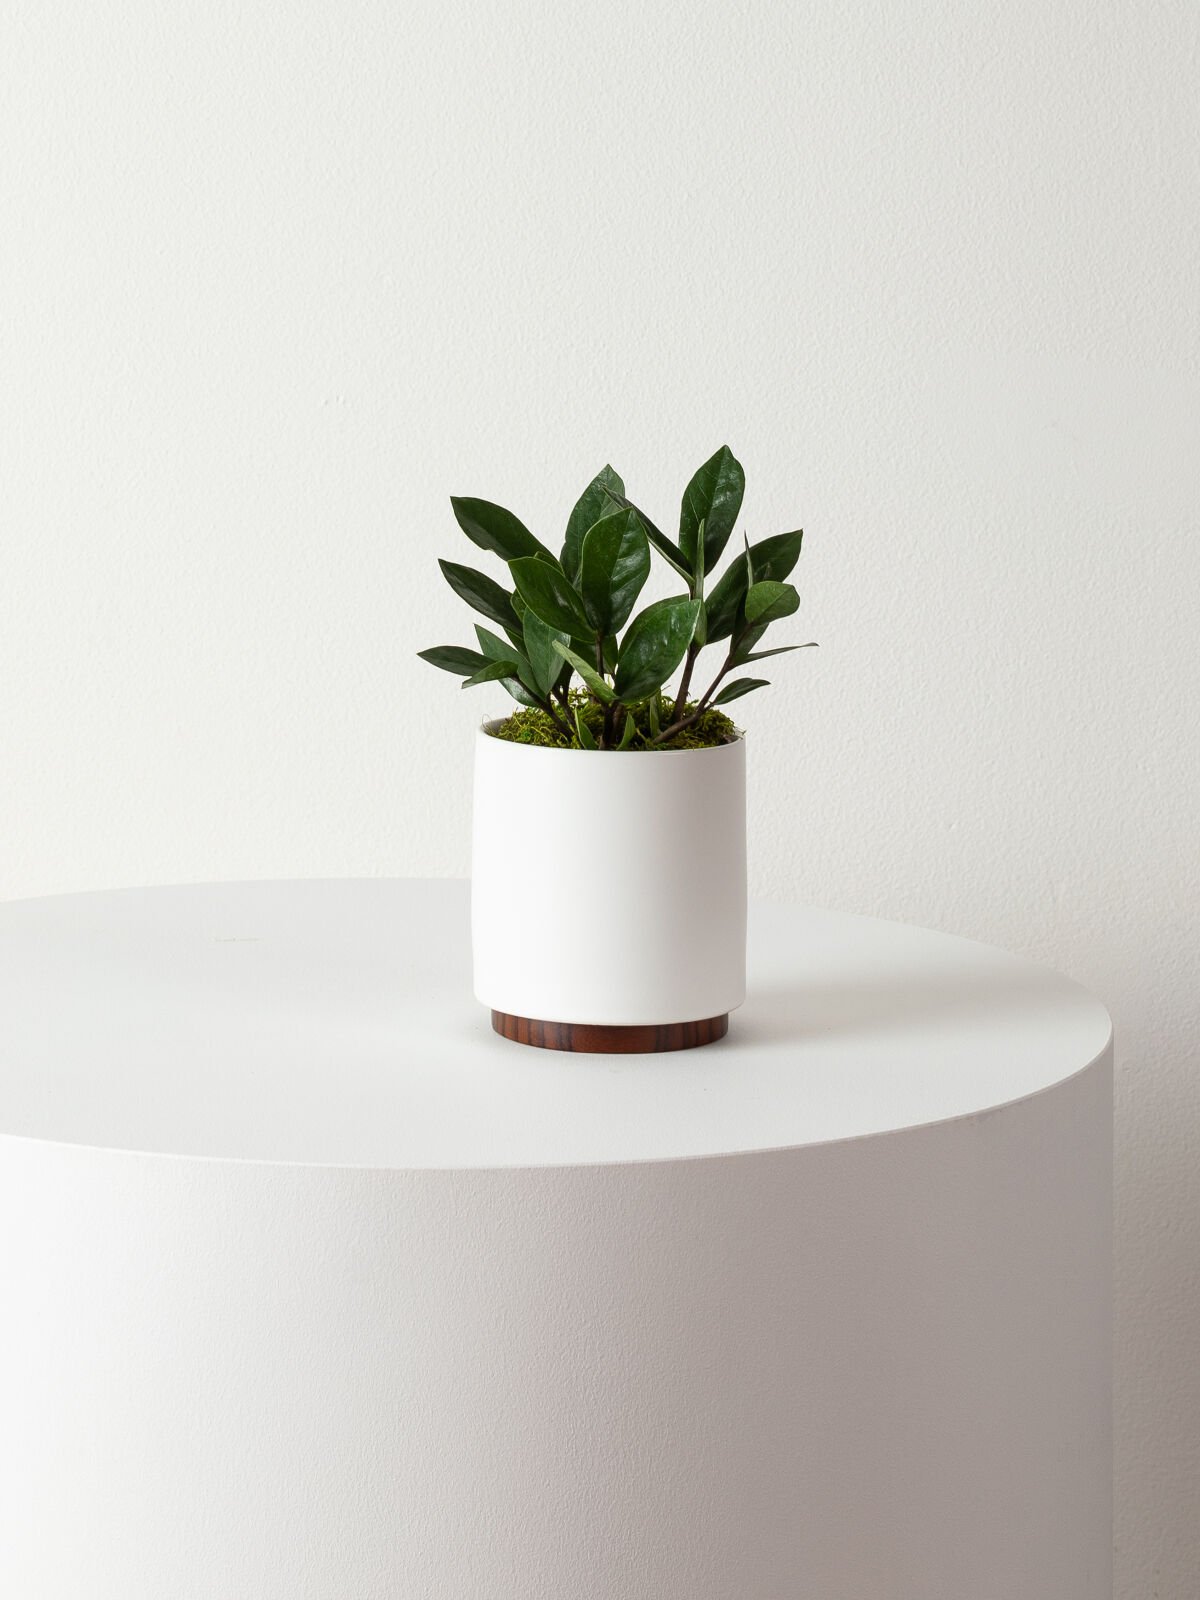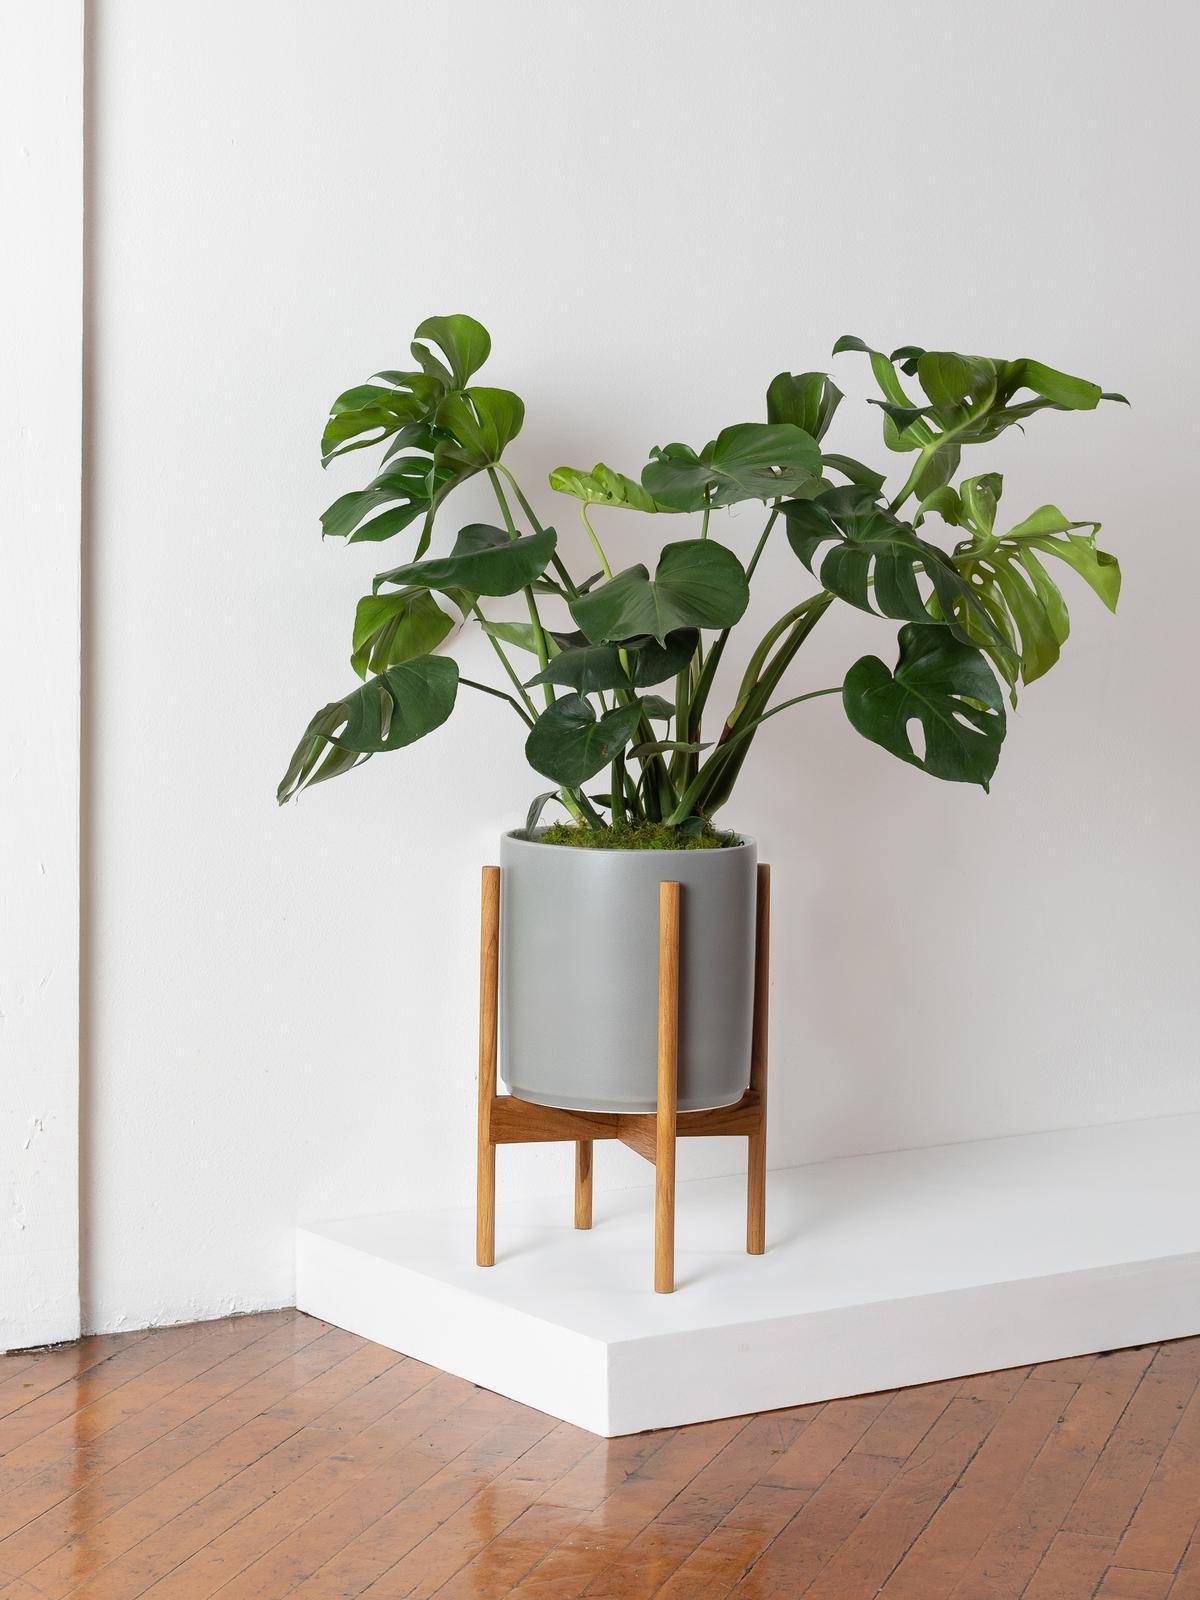
We all know that plants clean our air, but did you know that some are especially good at filtering toxins found in everyday materials like household cleaners, carpet, and paint? With our environments sometimes even more polluted indoors than out, it’s no wonder that more and more companies are choosing plants to help improve their office air quality. Read on to learn about one of the many benefits of plants in the workplace, and which plants will give you the most bang for your buck in terms of air-purification!
The Best Air-Purifying Plants
When it comes to removing harmful toxins from the air, some plants just pack a really good punch! Here are some of the top-rated air-purifiers according to Nasa:
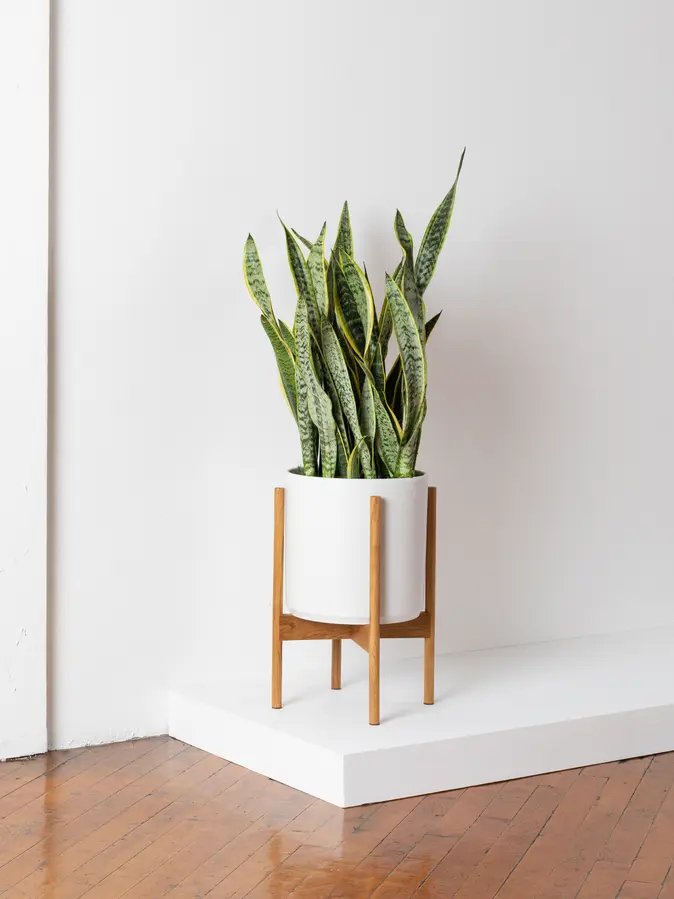
Snake Plant

The Snake Plant can thrive virtually anywhere.
Of all the great air-purifying plants, none performs quite as well as the Snake Plant according to a clean air study by Nasa. What also makes this plant great for an office is that it is nearly indestructible — it’s adaptable to almost any light conditions, and can withstand long periods of neglect.
Rubber Tree
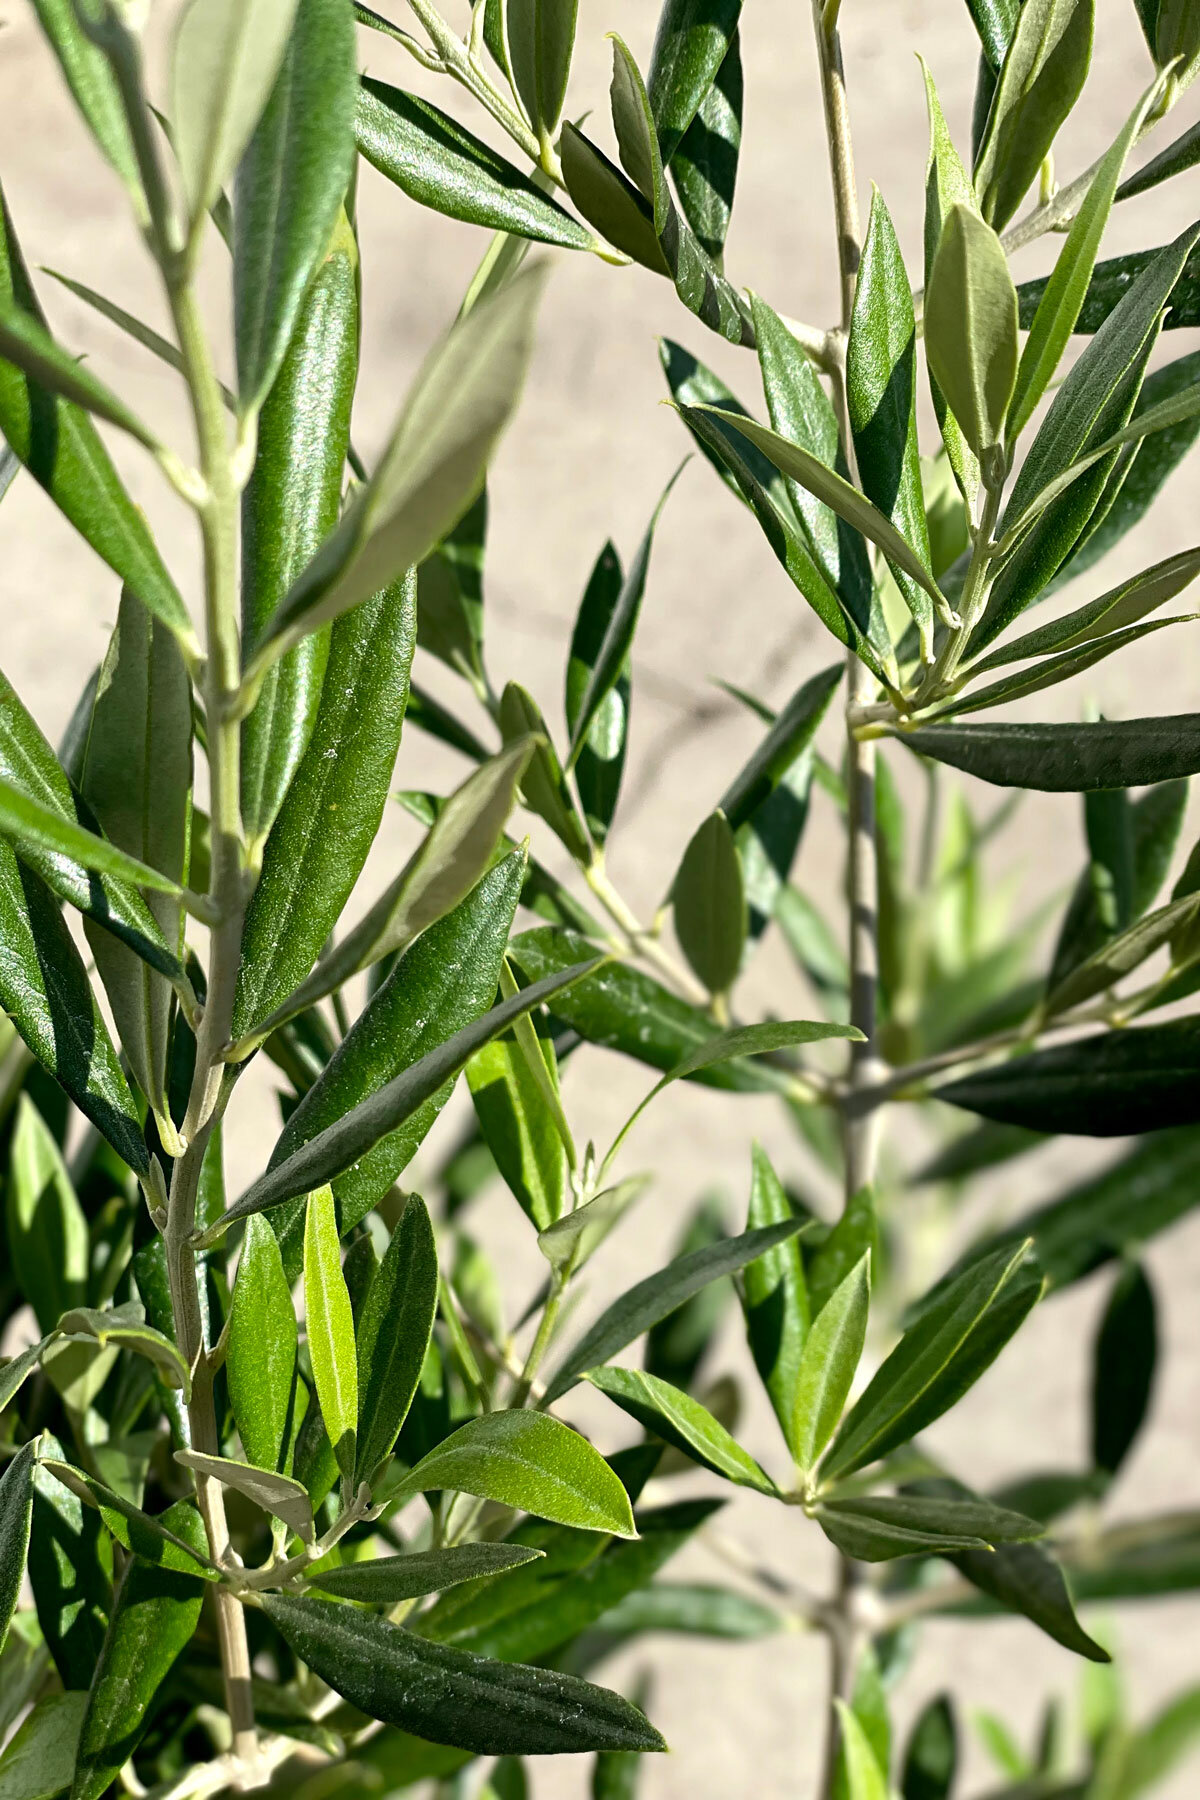
The Rubber Tree, also known as ficus elastica, is yet another wonderful air-purifier, particularly known for removing formaldehyde from our environment. And best yet — of all the ficus family members, the Rubber Tree is probably the sturdiest one out there. Go for the classic deep burgundy foliage, or the Pink Rubber Tree, which reflects pink hues off its leaves all year long.

A dark, glossy head-turner: The Rubber Tree.
Tall Air-Purifying Plants

The Dragon Tree: tall, lean, and easy-going.
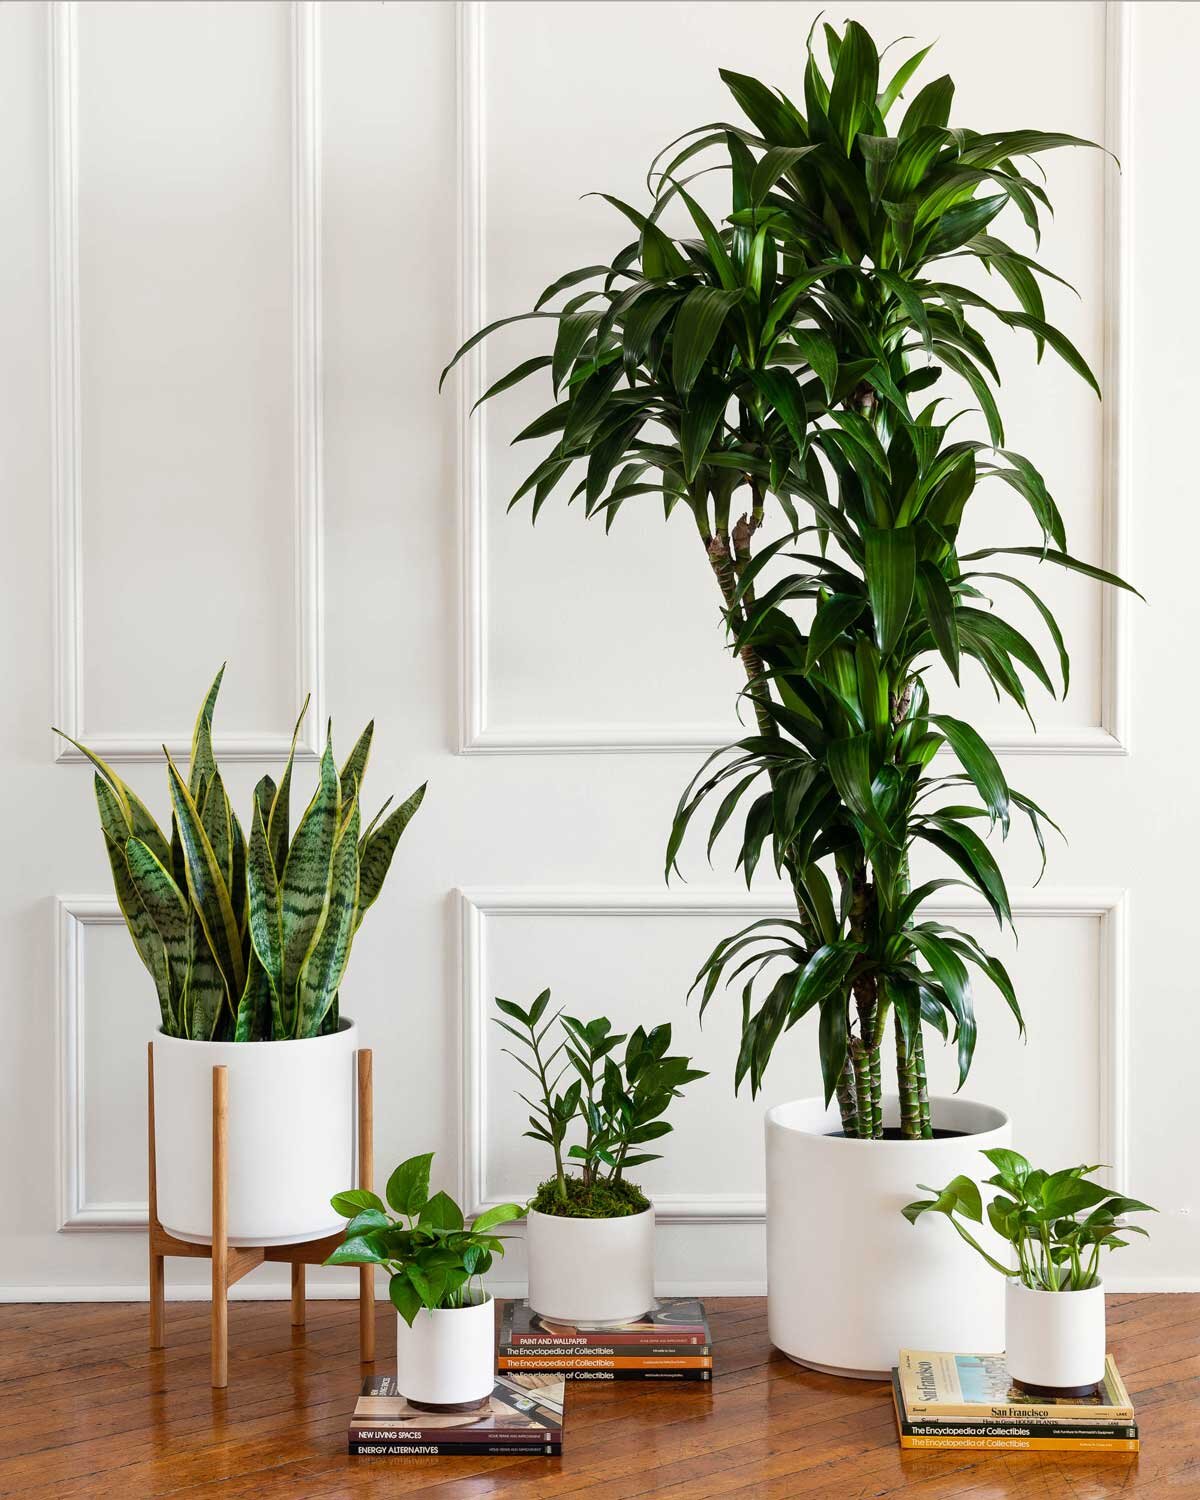
Dragon Tree
Plants that belong to the Dracaena family are known to be great air-purifiers, and the Dragon Tree is no exception. Lean and tall, this plant is not only a head-turner, but also does wonders in removing toxins like xylene and formaldehyde, which are found in everyday items like hairspray and furniture varnish.
Kentia Palm
Looking for an instant jungle? The Kentia Palm will bring vacation vibes all year long to your office, while also working to release moisture into the air and remove harmful toxins, most notable benzene which is commonly found in paints, varnishes, gasoline, and detergents.

The best air-purifying plants for the workplace: the Kentia Palm.
Dracaena Compacta

The Dracaena Compacta, a quirky floor plant that requires little maintenance.
The Dracaena Compacta is another powerhouse when it comes to air-purification. Just one of these potent little houseplants will quickly filter out 90% of the toxins in a 100 square foot space! A unique houseplant that seems to have come straight out of a fairytale, the JC Compacta.is popular not only for its unique shape and foliage but also because it works wonders in cleaning our air.
Popular Desk Plants
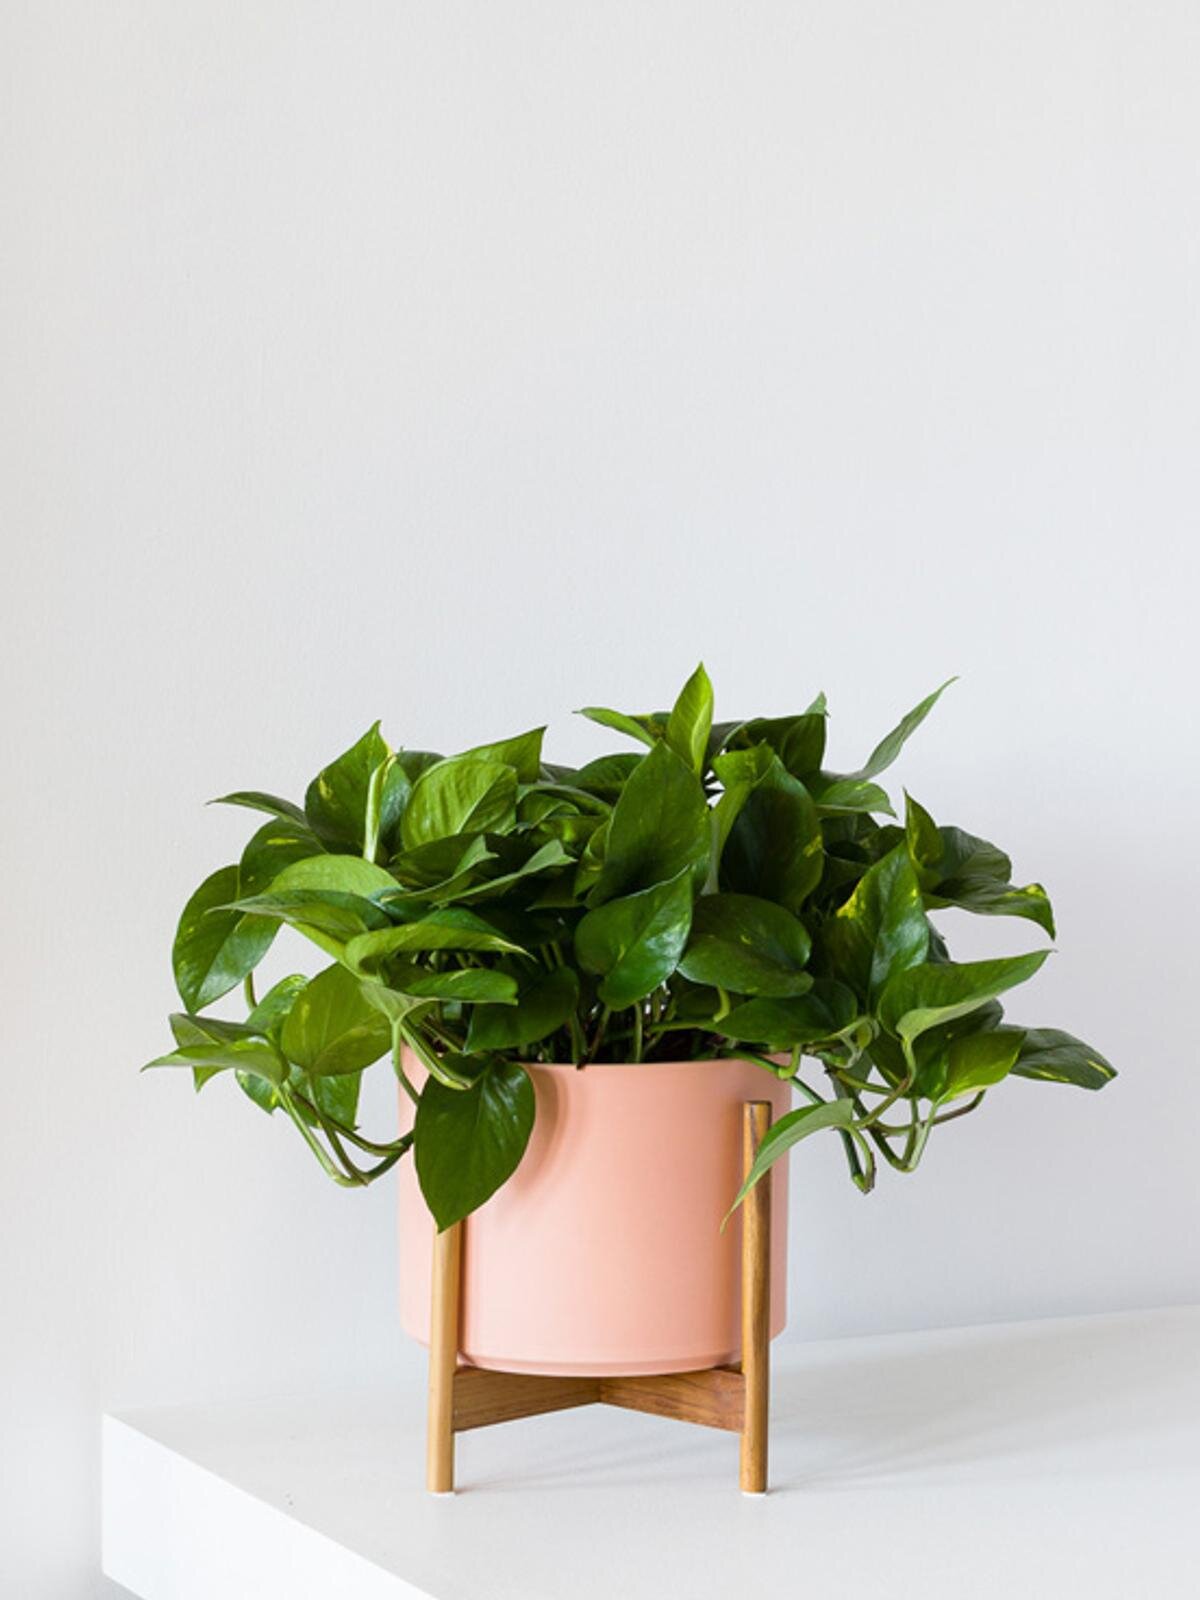
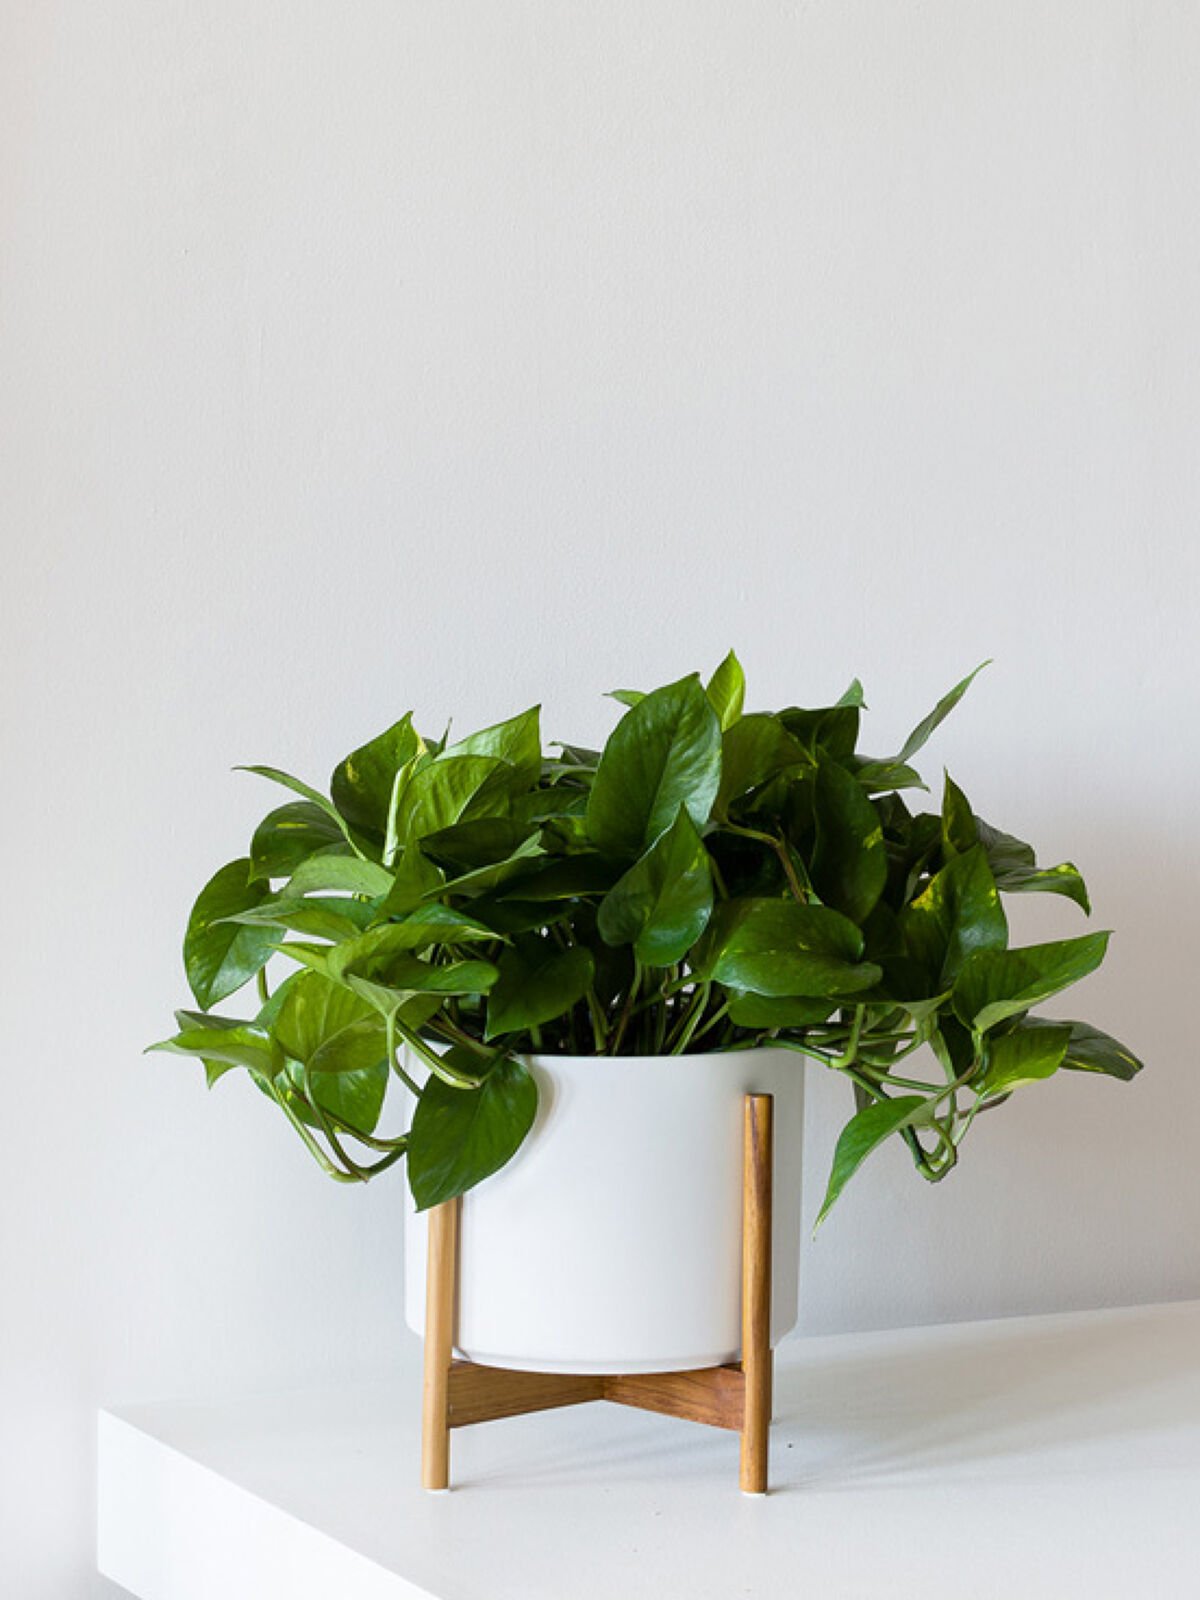
Cascading Pothos
The Cascading Pothos is a gorgeously voluptuous houseplant that not only can survive with little to note natural light, but also is an excellent plant for filtering out things like benzene, formaldehyde, and carbon monoxide.

The Cascading Pothos is popular for offices due to its ability to thrive in low light and its lush, trailing tendrils.
Braided Money Tree

The Braided Money Tree: a plant thought to bring good luck and prosperity to its owners.
The Braided Money Tree is one of the most popular office plants around, thanks to its reputation for bringing good fortune, prosperity and clean air to its owners!
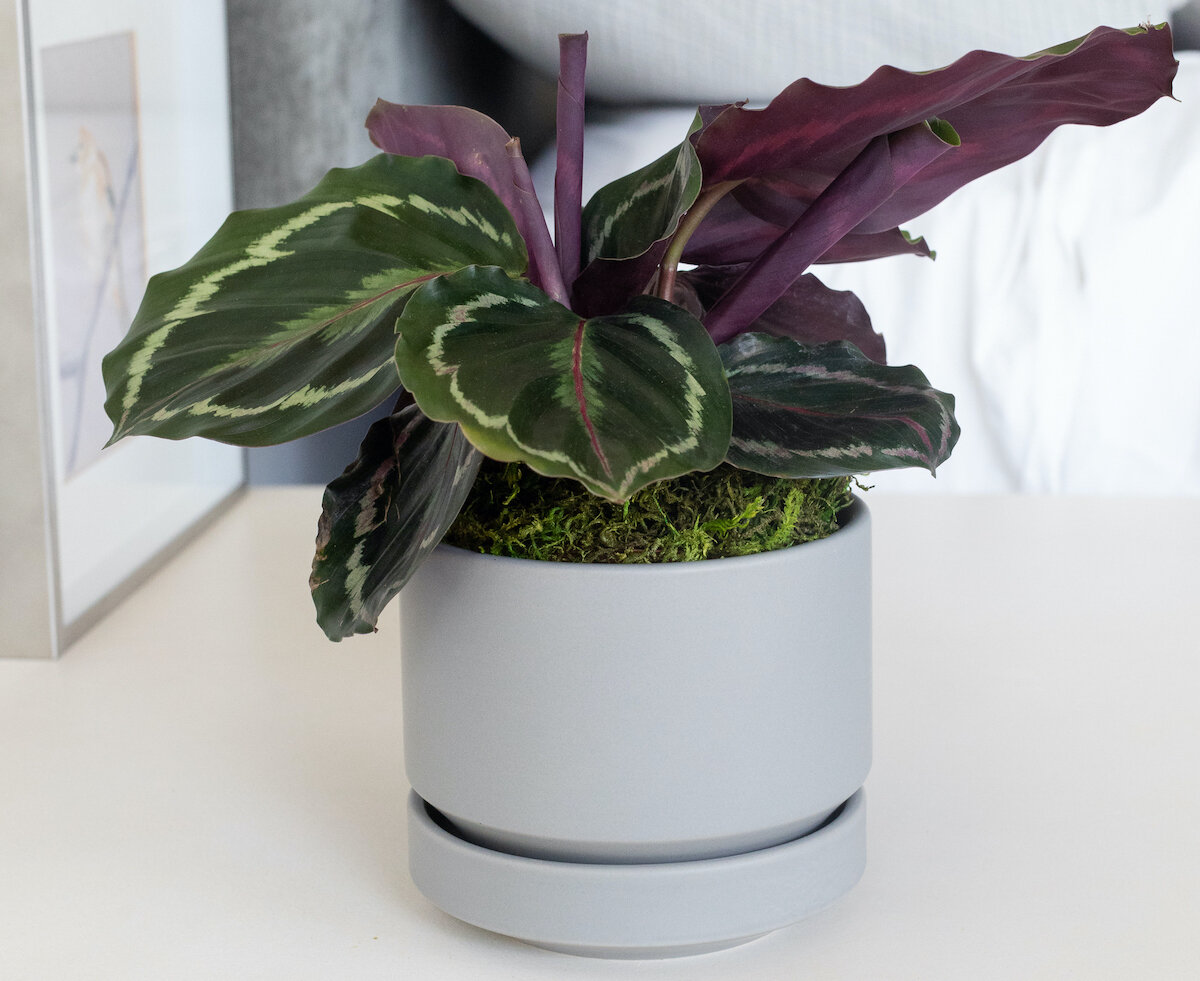
Philodendron Brasil
An adorable trailing plant with bright, multi-colored leaves, the Philodendron Brasil is known for removing formaldehyde from the air.
Check out our full collection of air-purifying plants, and order for your office today!
xl easy care office bundle
A full set of office plants, in just a few clicks. Our easy care office bundle was designed with workspaces in mind and is an easy and instant way to bring your space to life.