Humans have an innate connection to nature, and having houseplants in our home or office can have incredibly beneficial impact on our mental and physical wellbeing. Curious about the benefits of houseplants? Read on to learn why they are so good to have in our homes, offices, and other interior spaces.
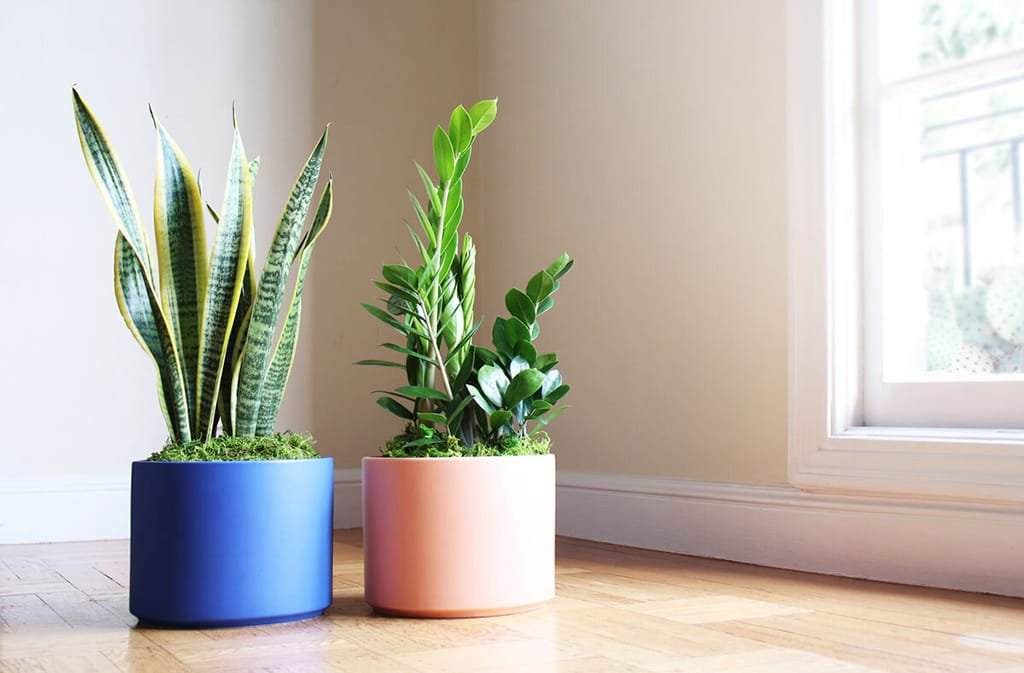
1. Air purification
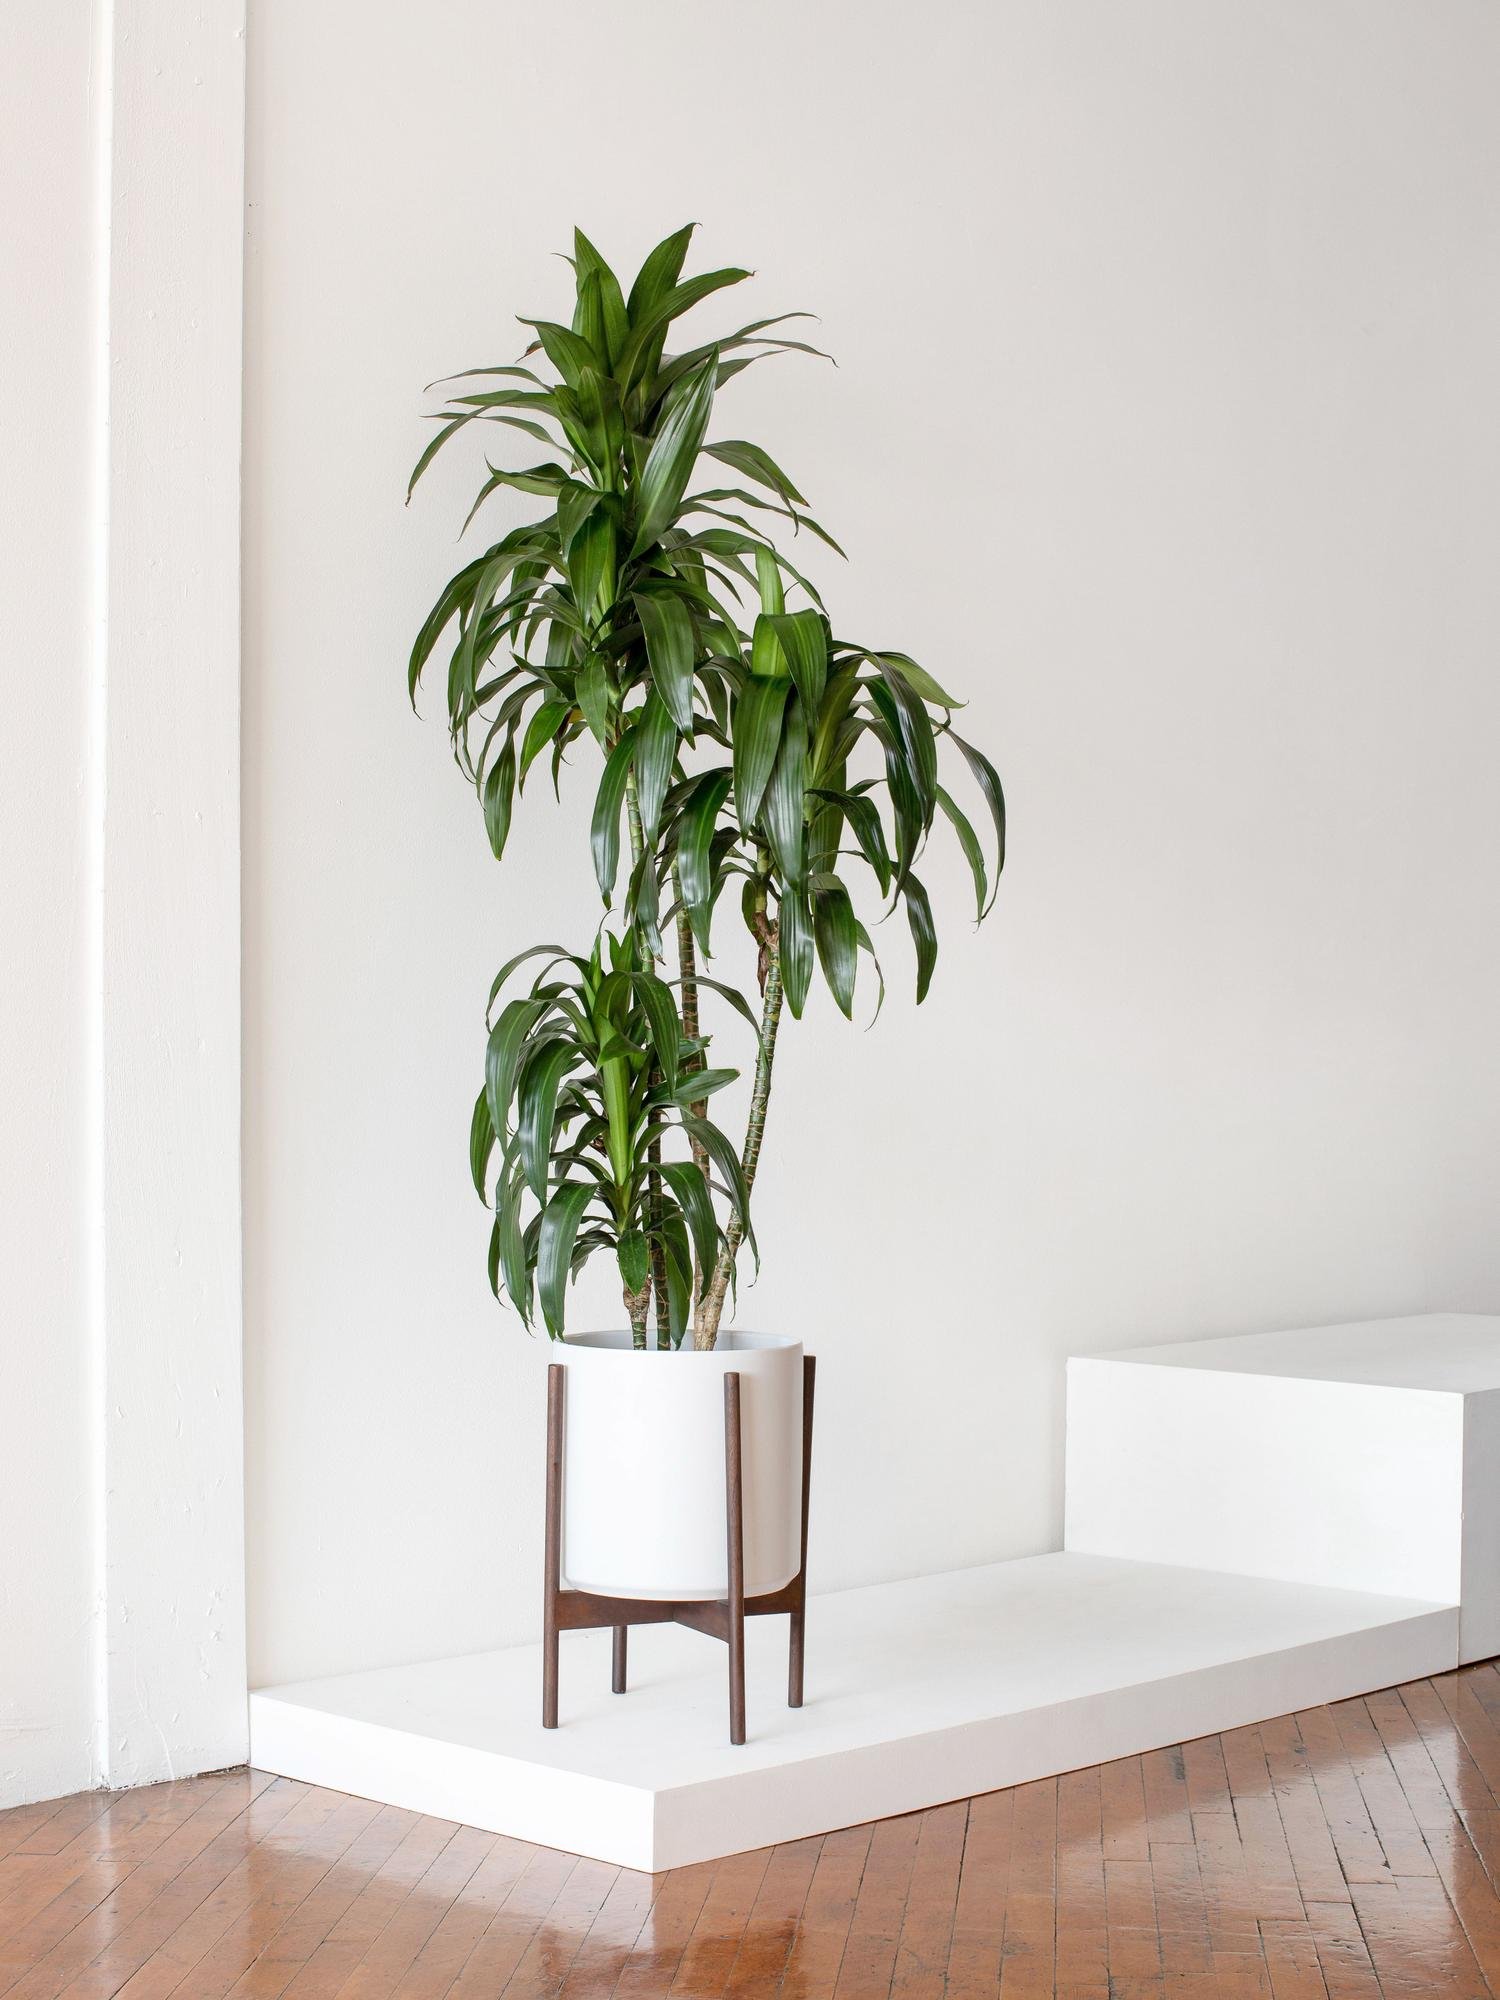
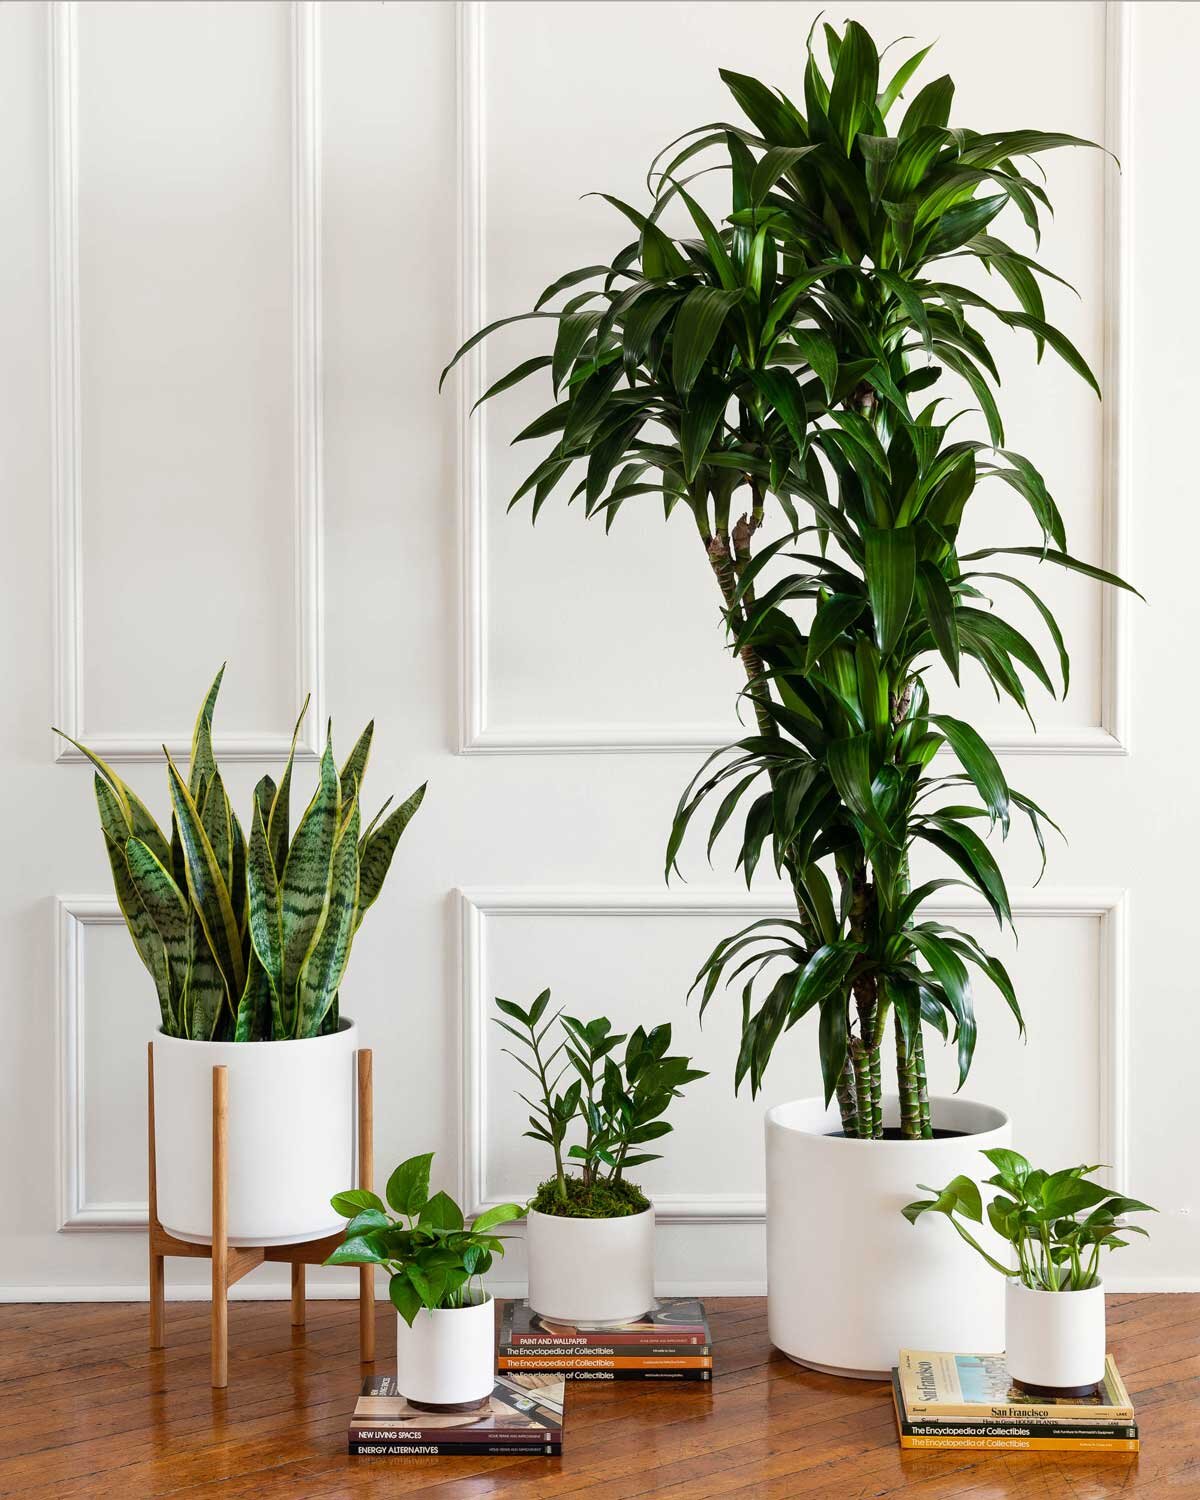
In 1989 NASA conducted a research study on how to best clean the air inside its space station. It concluded that certain common houseplants like the Snake Plant or Parlor Palm are highly effective at removing toxins like benzene and formaldehyde from the air. And of course, plants also convert carbon dioxide into oxygen as part of their photosynthesis process and are great for reducing the effects of sick building syndrome, which is basically the bad feeling you get when you’ve spent too much time indoors. And don’t forget the Snake Plant, which not only purifies the air but also releases oxygen at night (while you sleep!), making it the perfect plant for the bedroom.
While it generally takes quite a few plants to noticeably purify the air of toxins, having just a few in your home certainly can’t hurt!
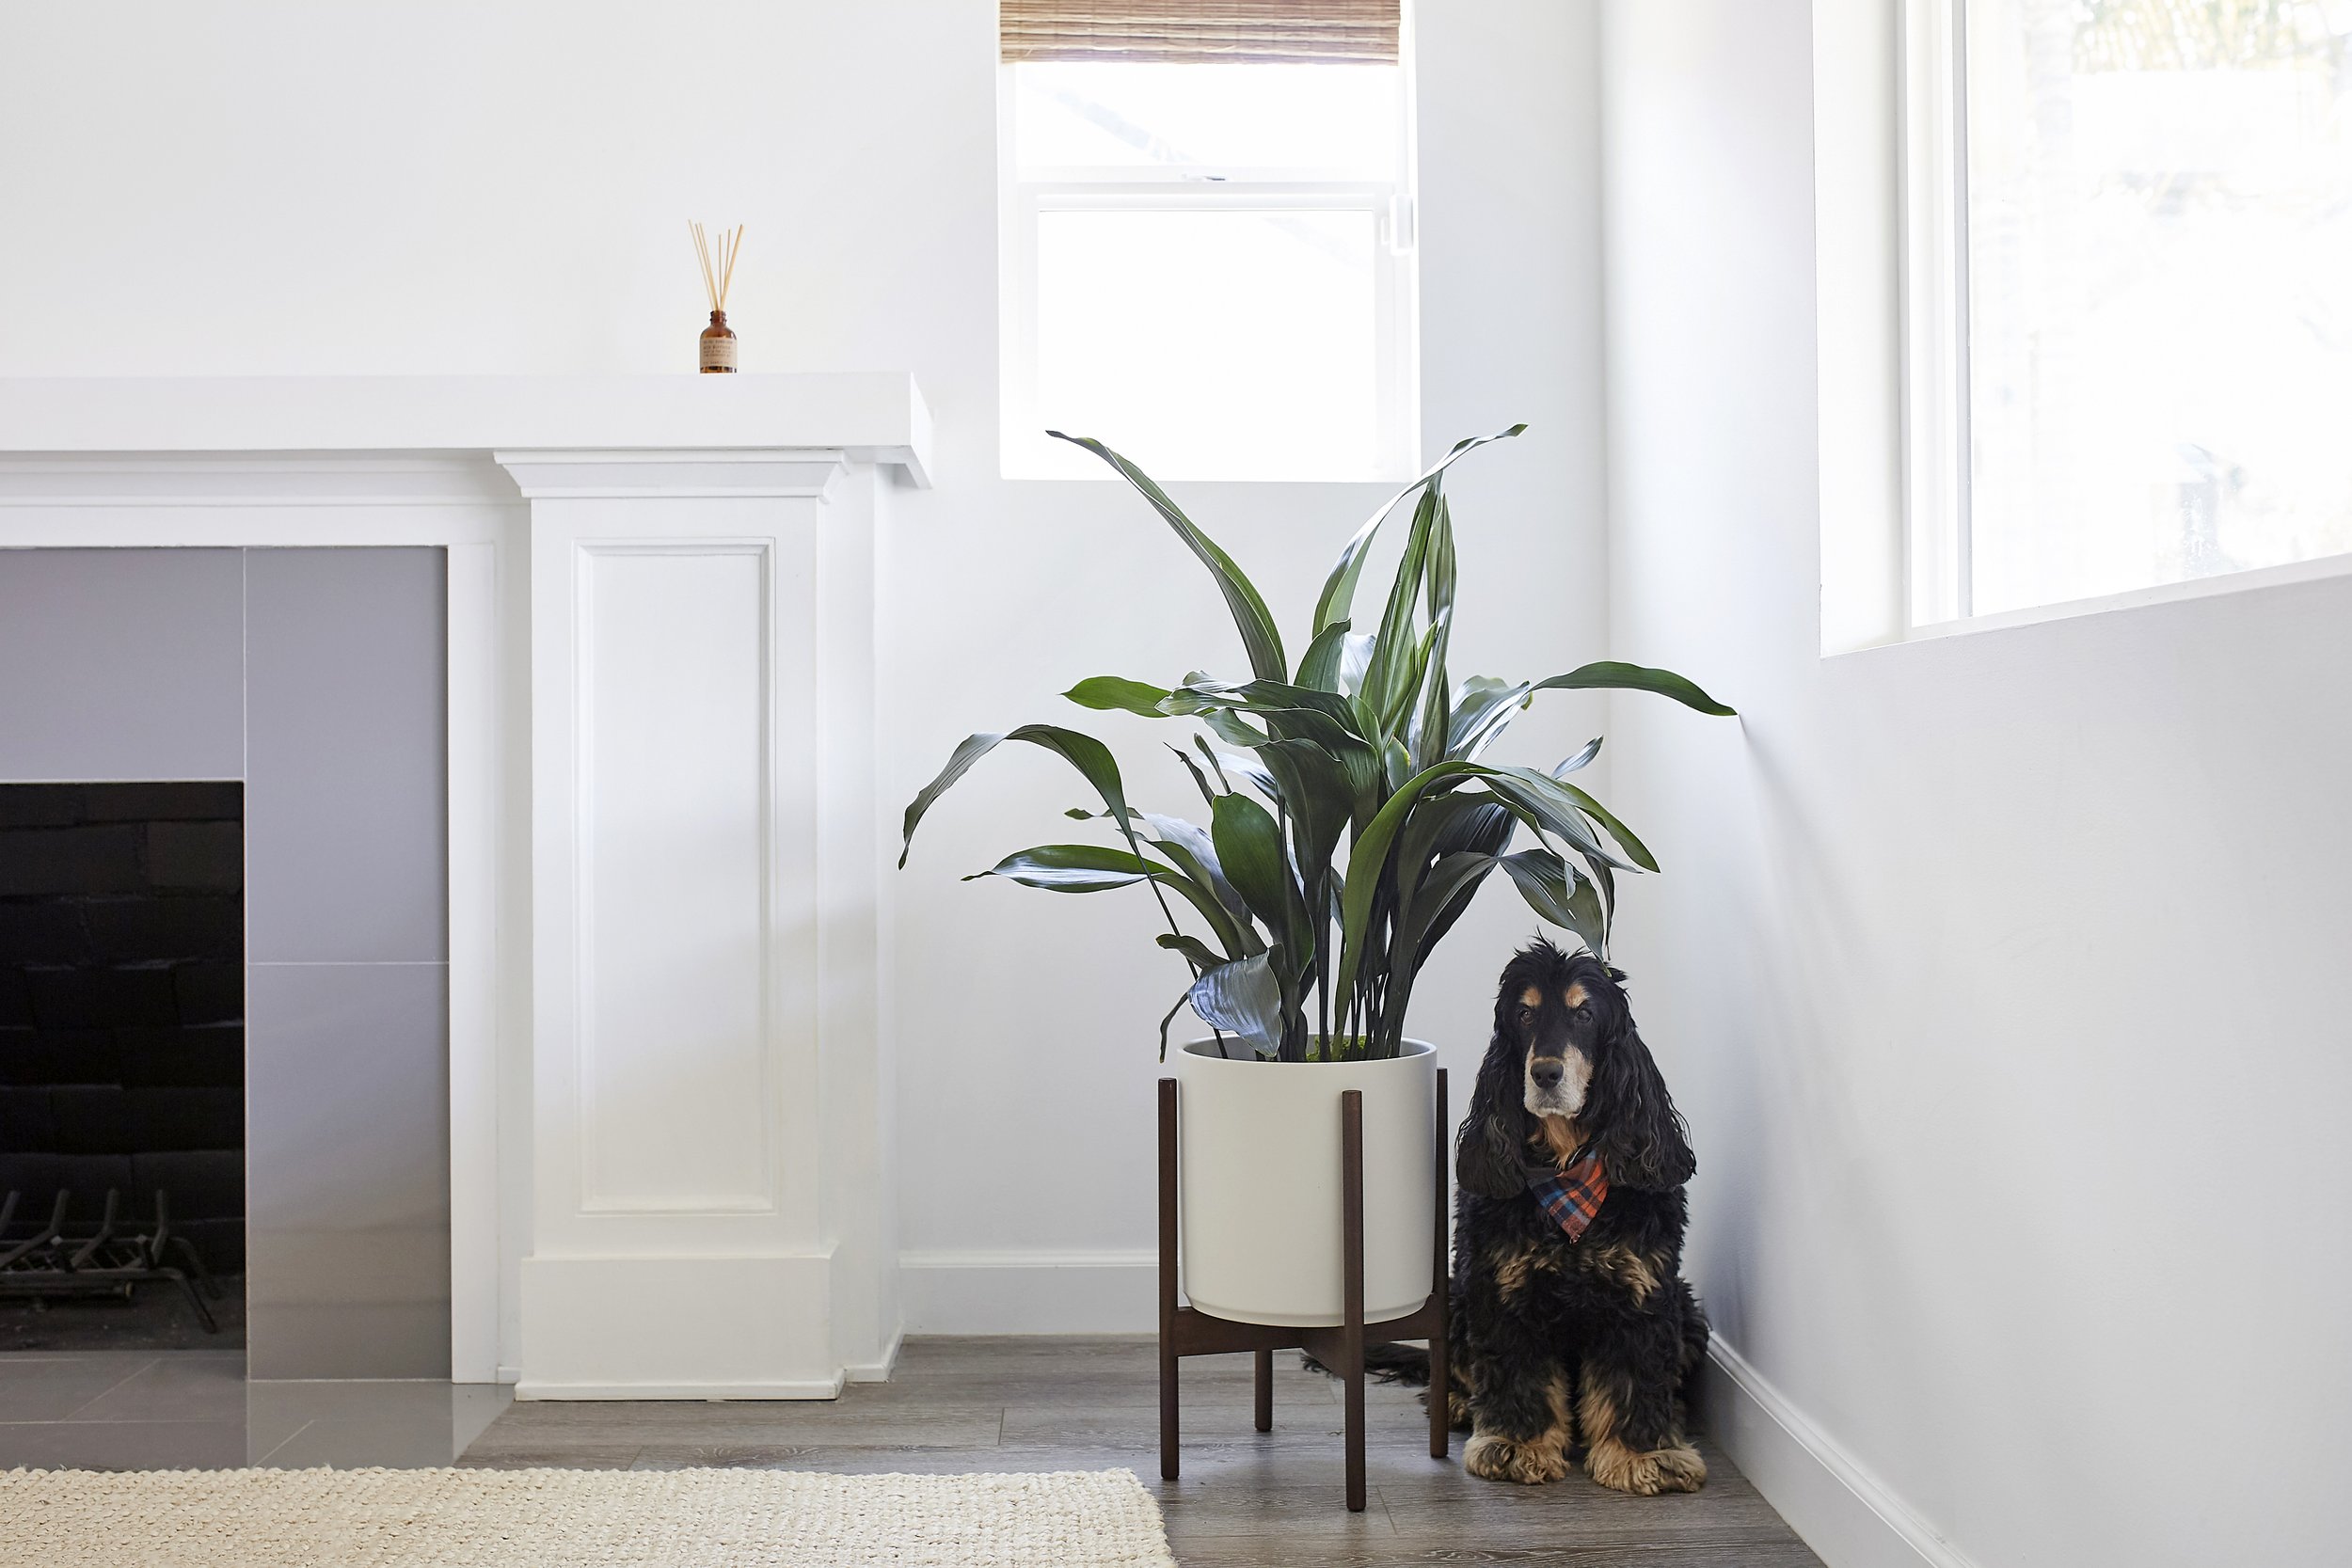
2. Increased happiness and well-being
Beyond the health effects of just breathing cleaner air, studies have proven that plants in indoor spaces are associated with “increased pleasantness, lower anxiety, and lower blood pressure.” They also help people heal, and it’s been shown that patients in hospitals recover faster and use fewer painkillers in rooms with live plants. Imagine that kind of effect in your everyday life!
And what about benefits of plants in the workspace? It is no secret that they are said to help us concentrate and improve productivity. Check out this excellent TED talk where Kamal Meattle speaks about how he increased productivity at his company by introducing plants in his employee’s workspaces.
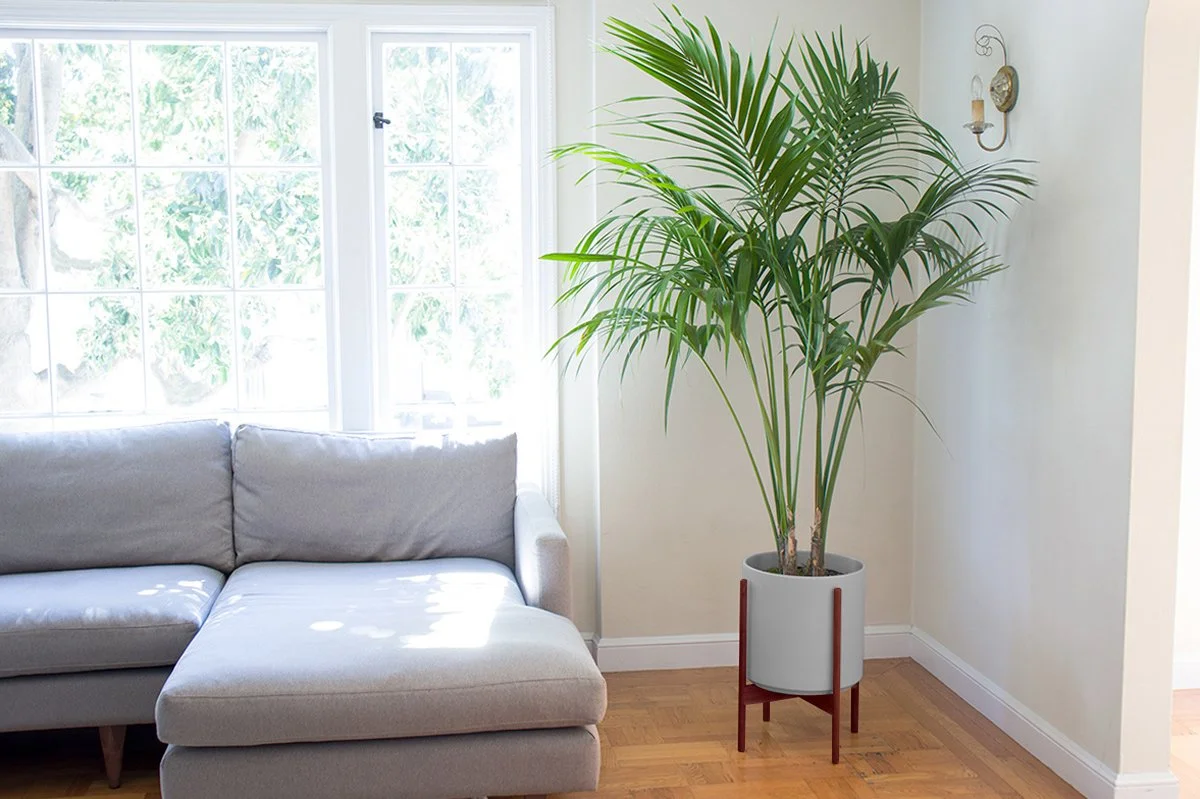
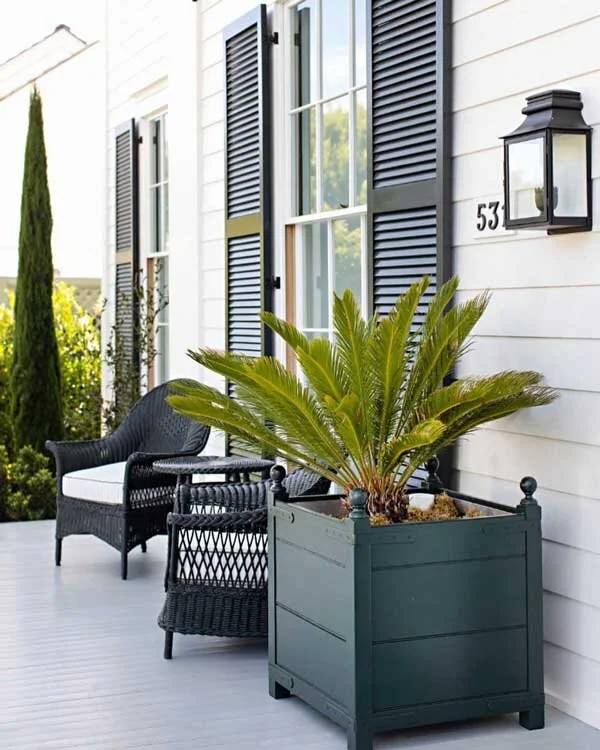
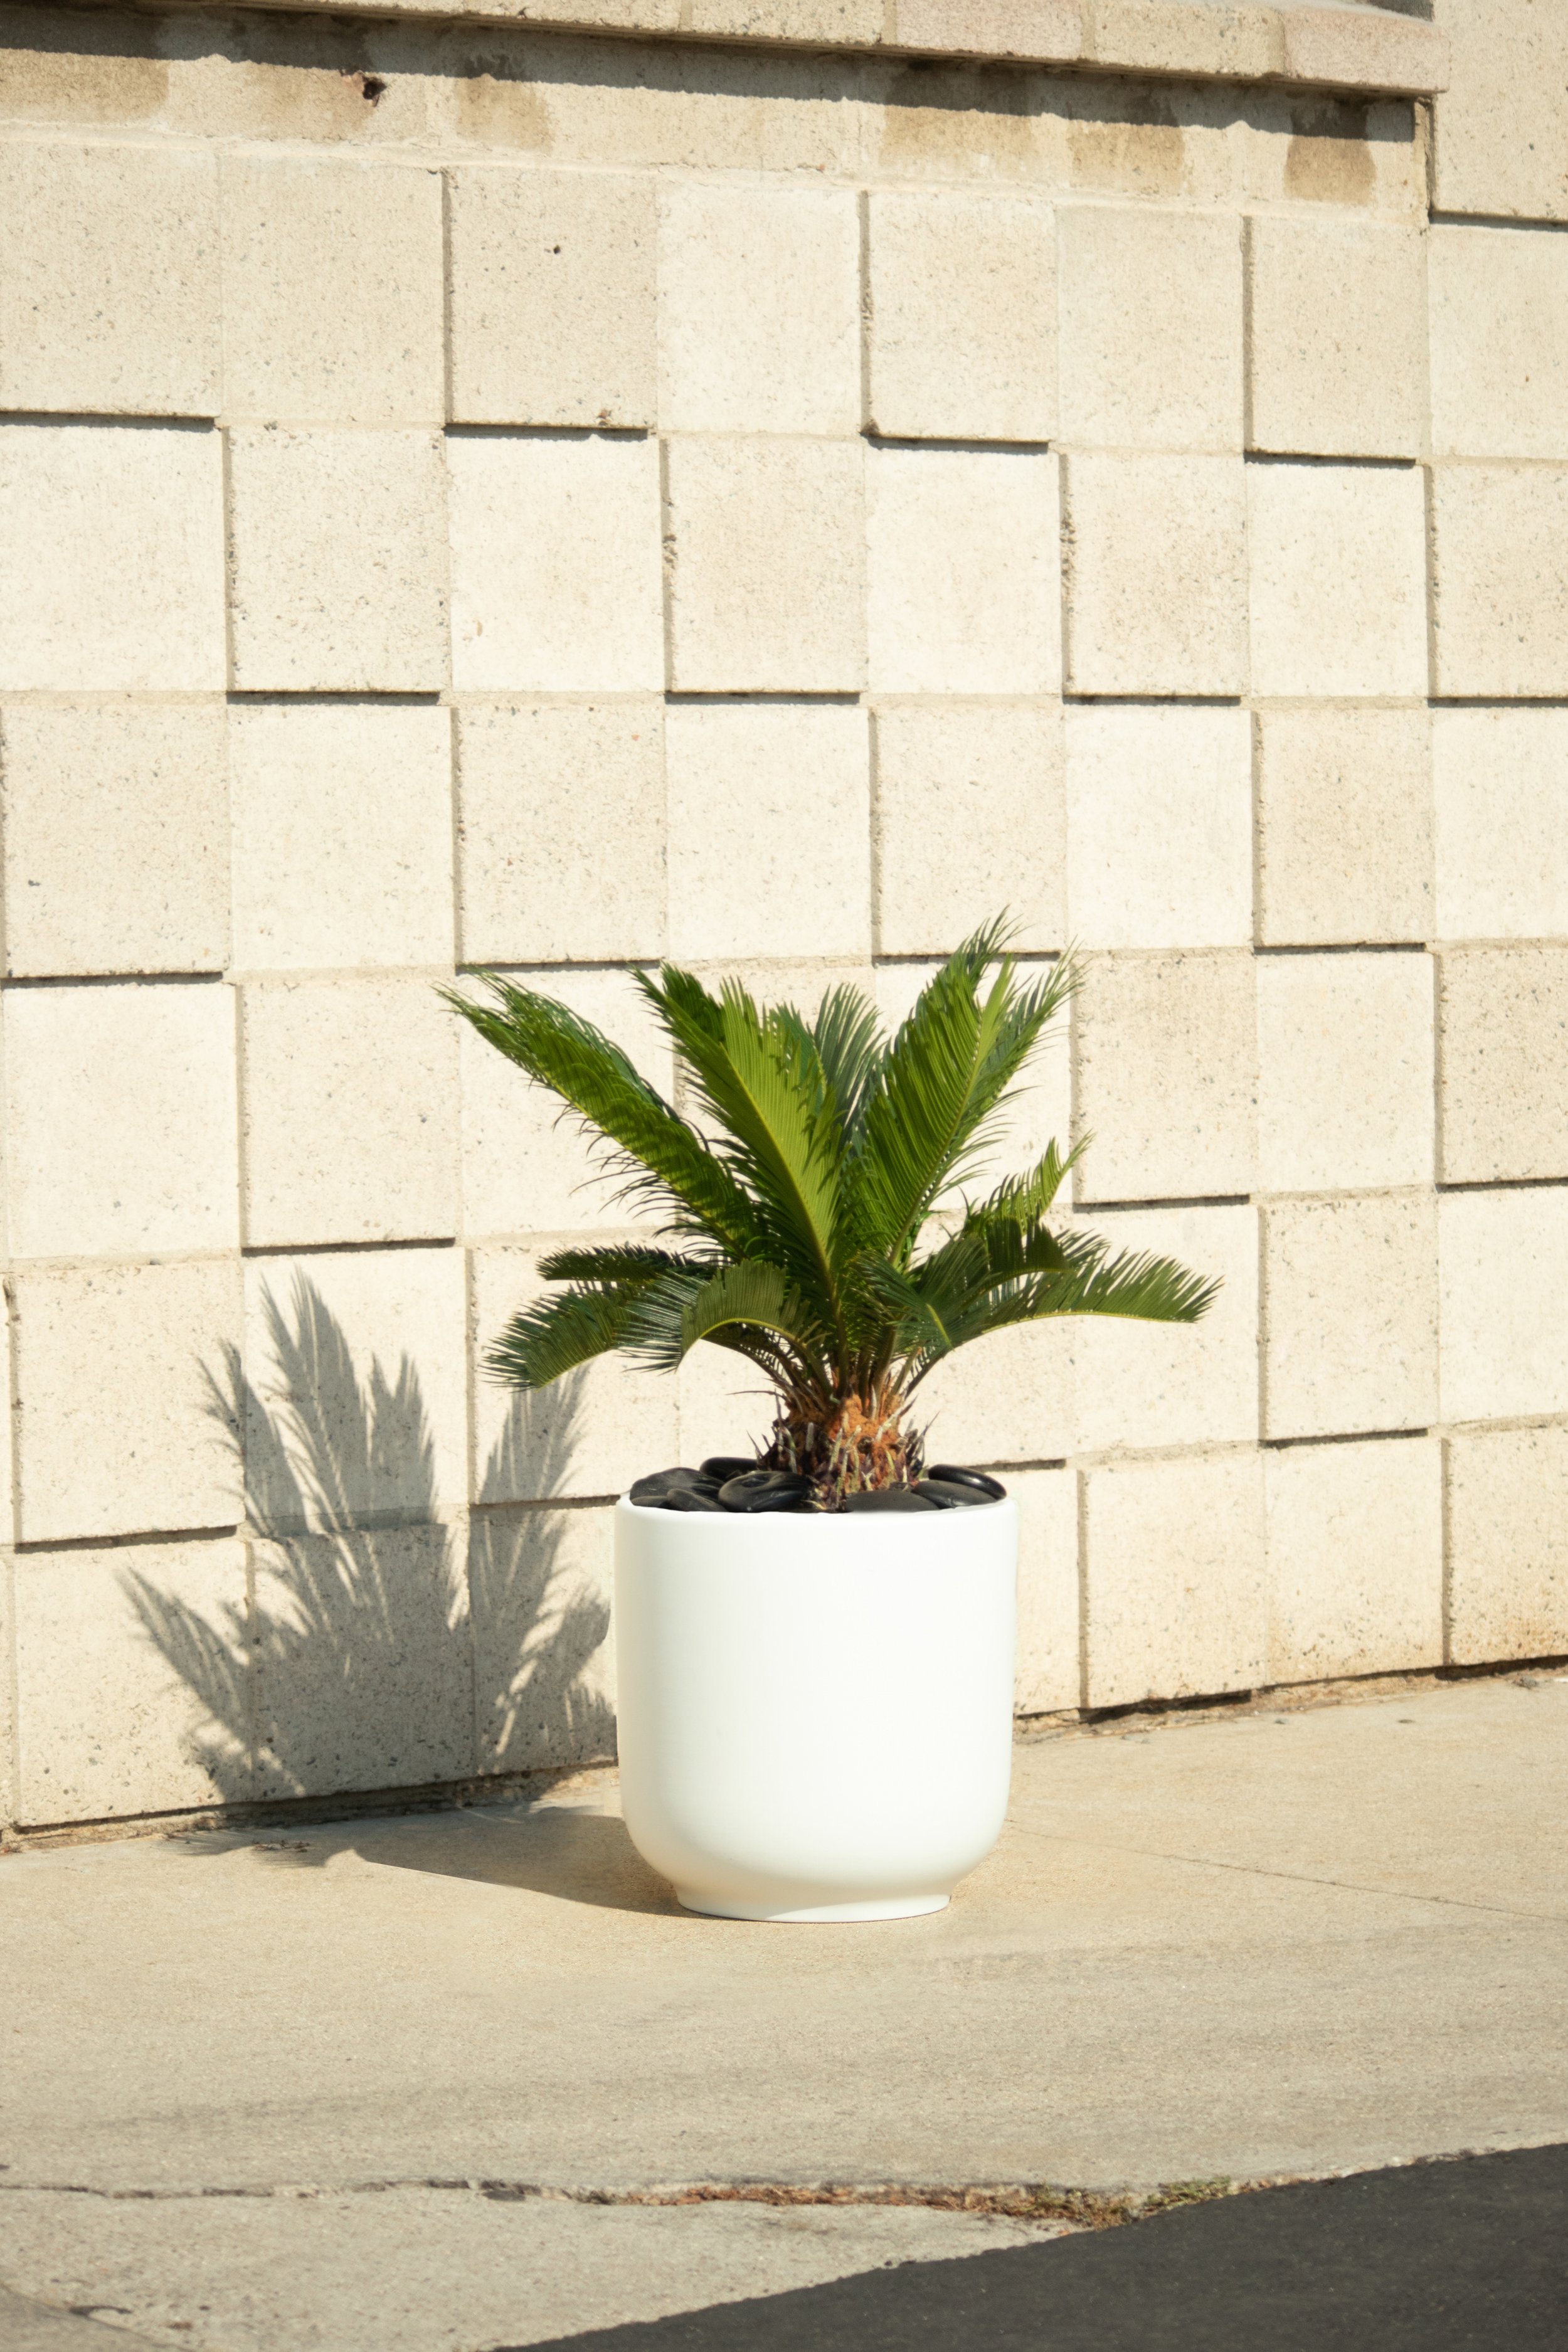
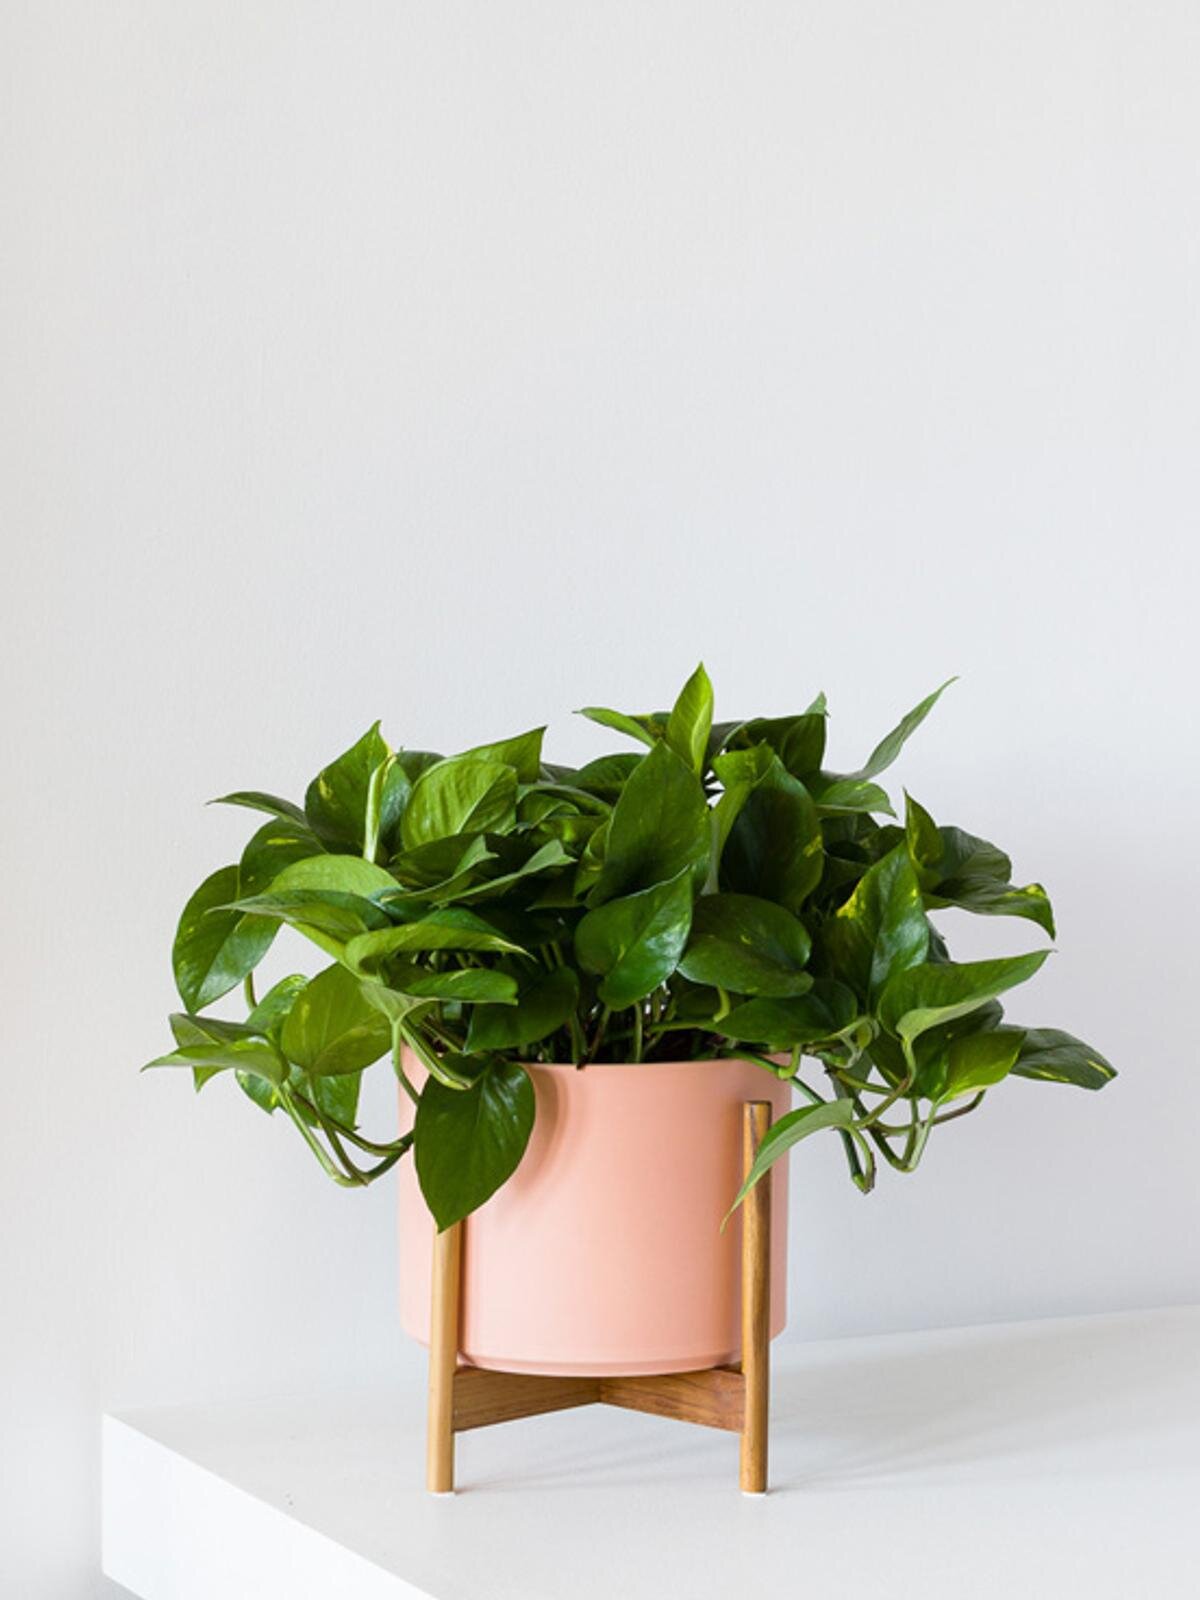
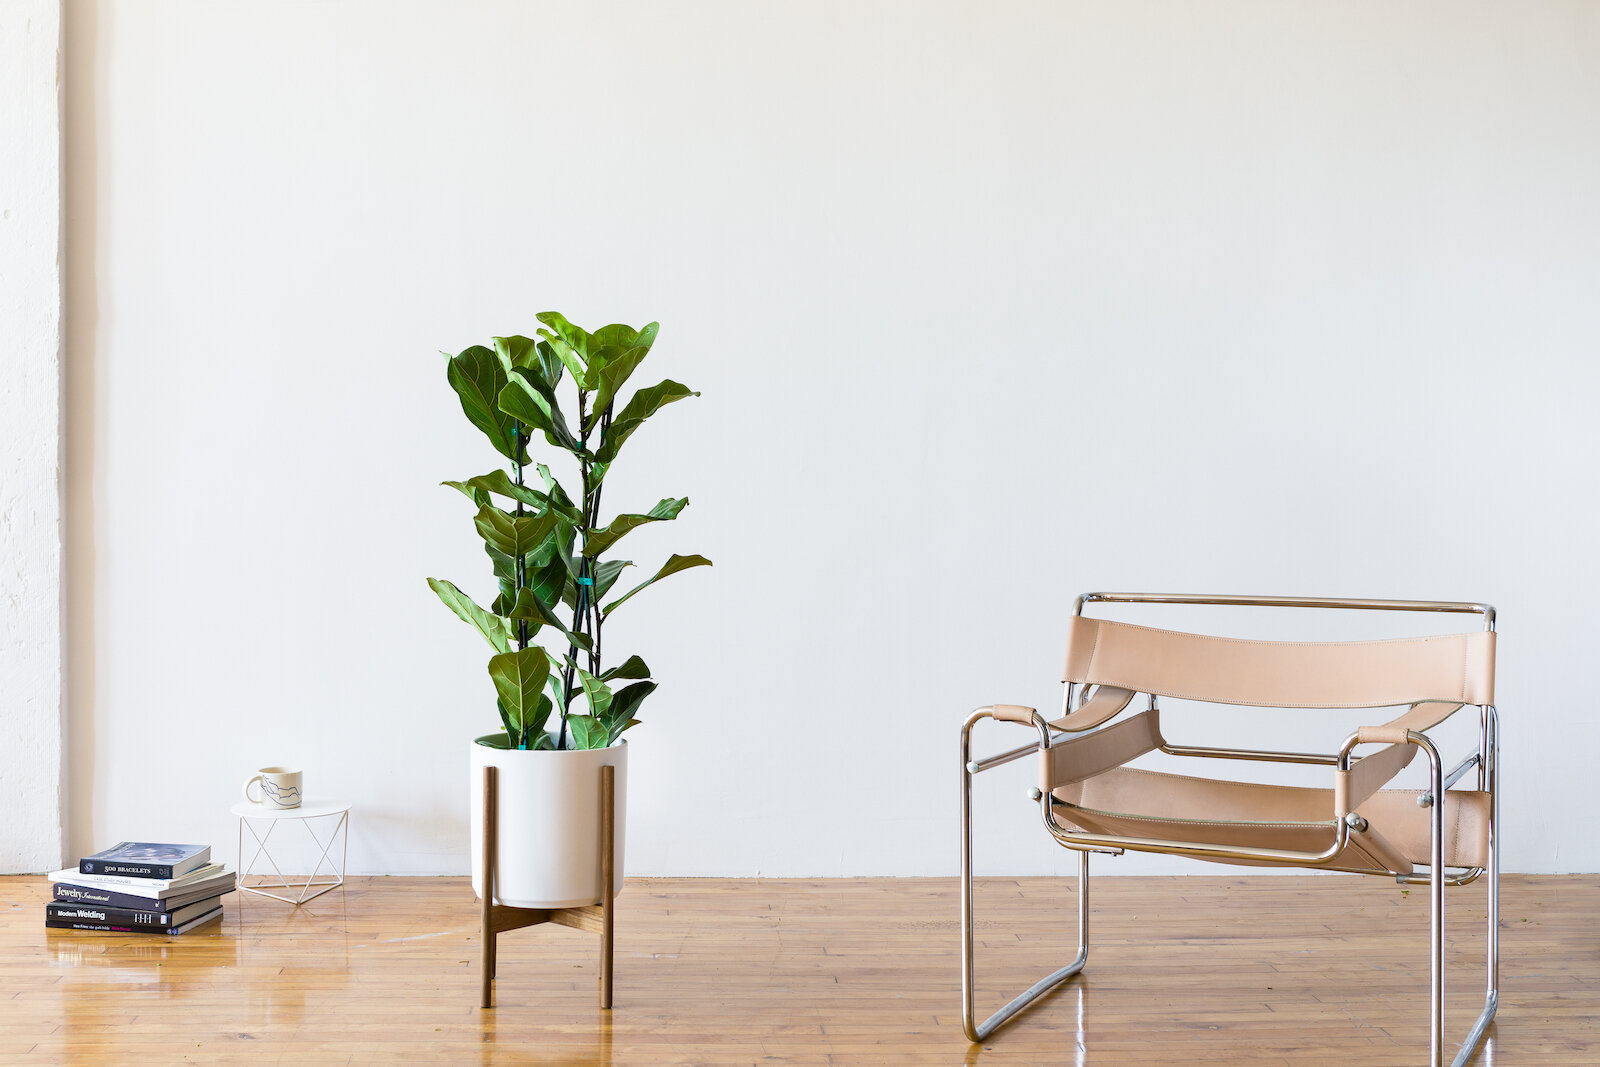
3. Instant decor upgrade
Every interior decorator knows there’s nothing like plants to instantly boost the appeal of an indoor space, and no home is complete without a bit of greenery. Even if you take plants on their aesthetic value alone, they are very effective at making a place feel vibrant and lively. Think of them like living art— they bring color and life to our homes, and make them feel more welcoming.
It’s clear our lives are better and more beautiful with plants in them! So what are you waiting for? Get some greenery into your space stat!
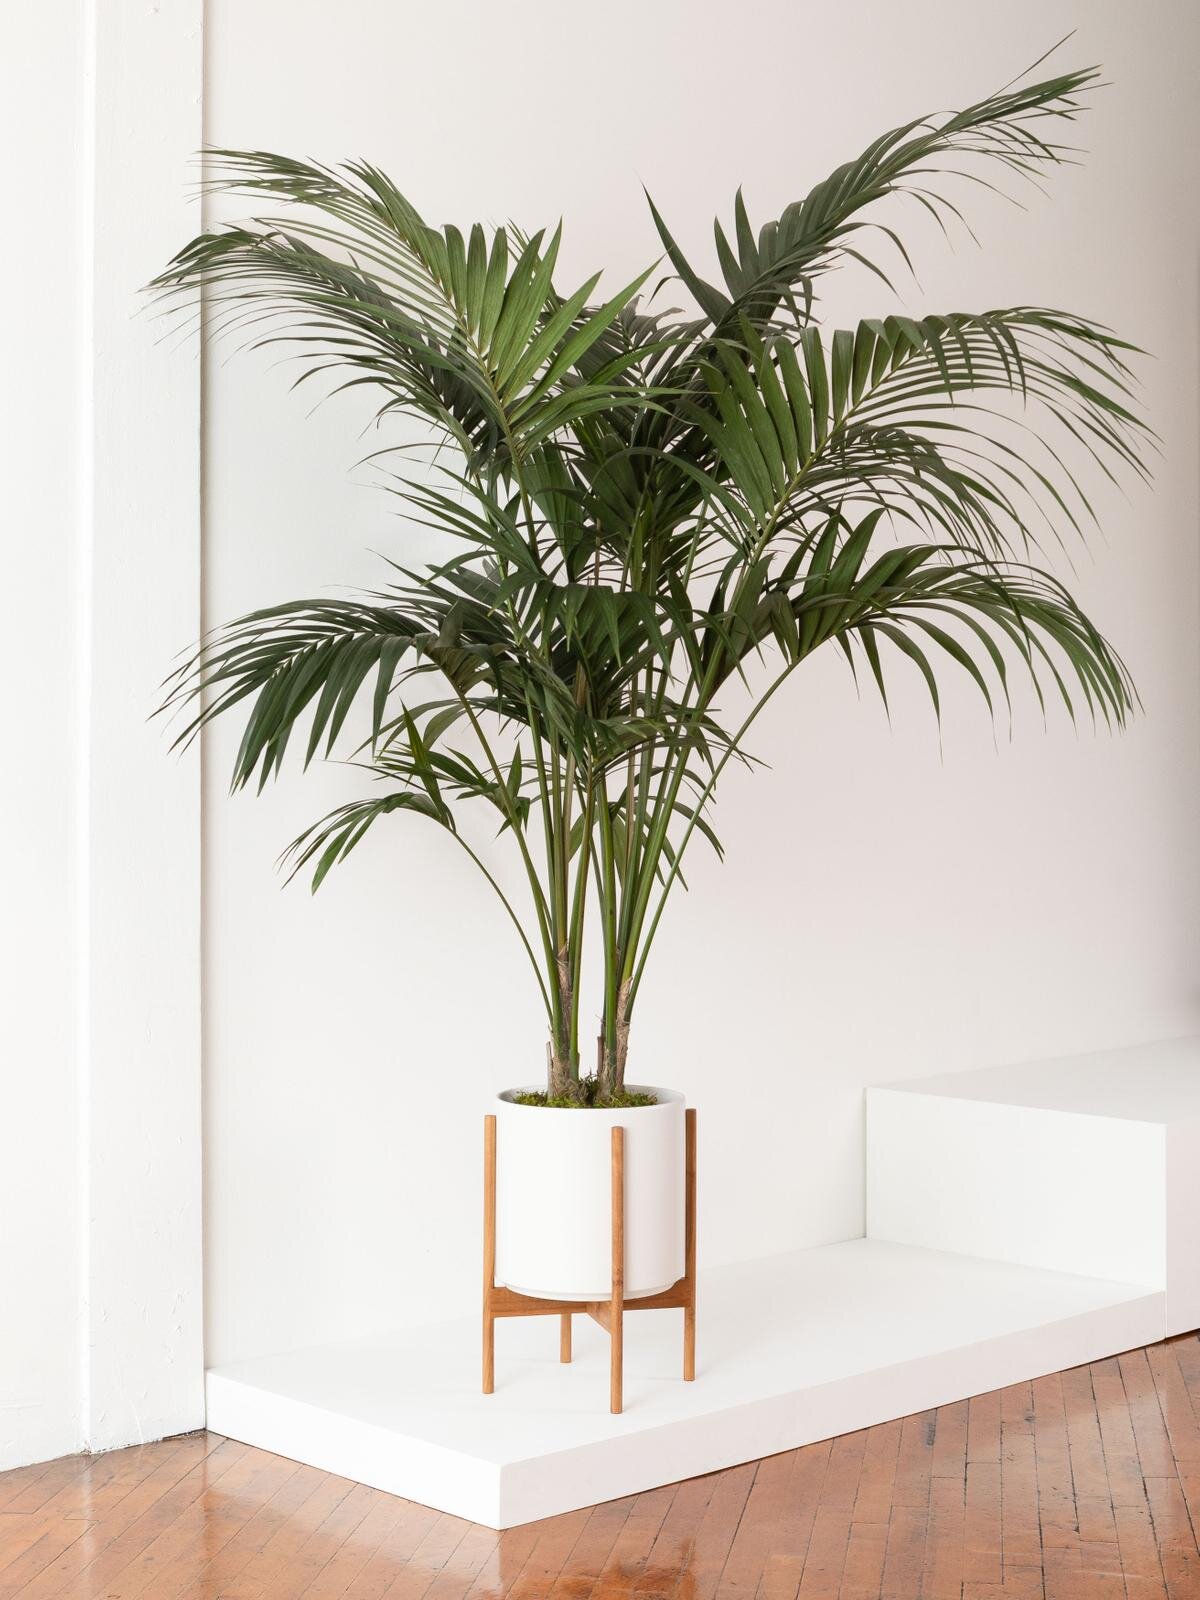
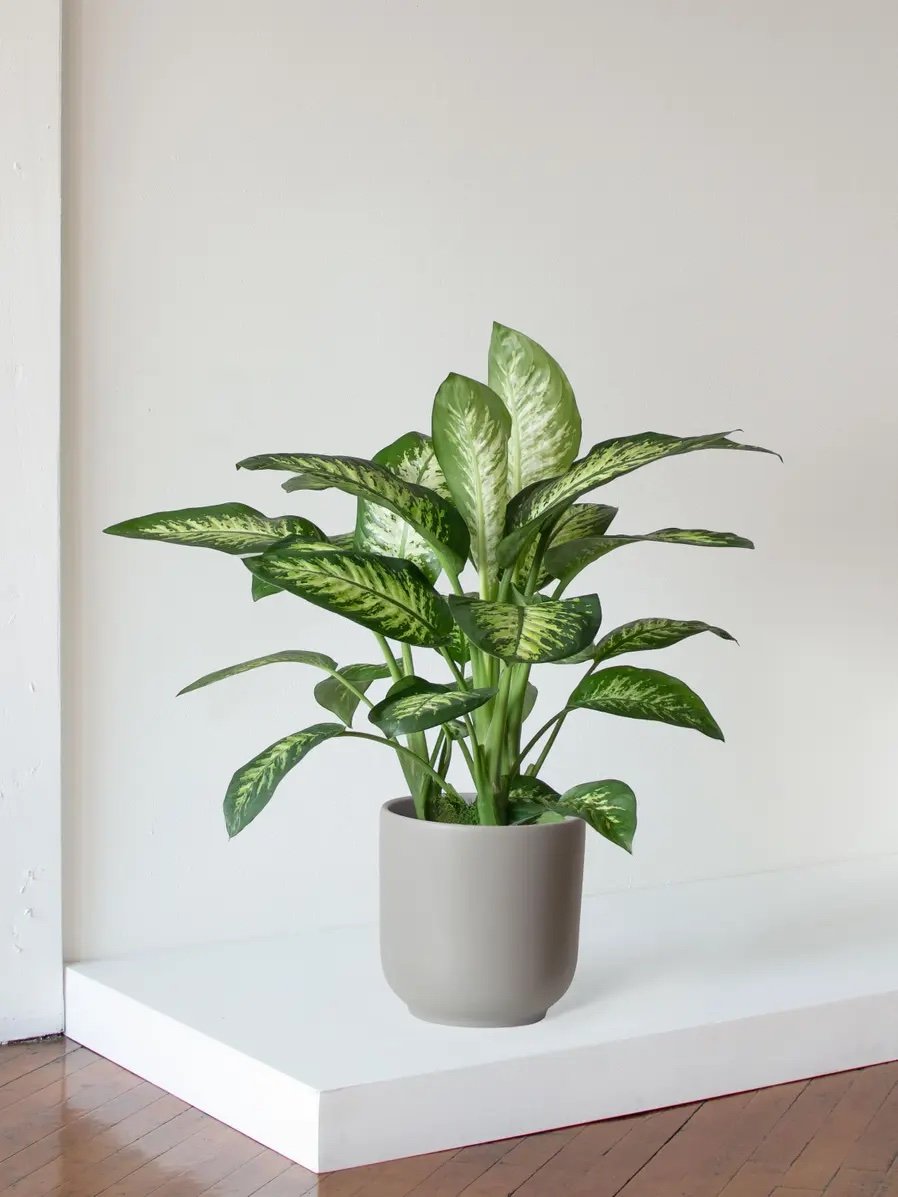
Indoor plants, potted & delivered
Premium plants paired with stylish ceramics, plus lifetime plant care support. Order online at leonandgeorge.com