Dive into the world of Snake Plants, perfect for any house plant lover. Elevate your space with these beauties in chic Mid-Century pots.
The Snake Plant is also known as Mother-in-Law’s Tongue or Sansevieria. As avid indoor plant enthusiasts and horticulture lovers, we understand the allure of these popular houseplants, revered for their striking upright foliage, sword-like leaves, and air-purifying power. In this guide, we'll delve into the world of Sansevierias, sharing our favorite varieties and expert tips on how to grow and care for these resilient indoor plants. Whether you're a seasoned gardener or a novice grower, join us as we explore the fascinating world of Snake Plant types, beloved for their tolerance to various conditions and their undeniable charm as foliage plants.
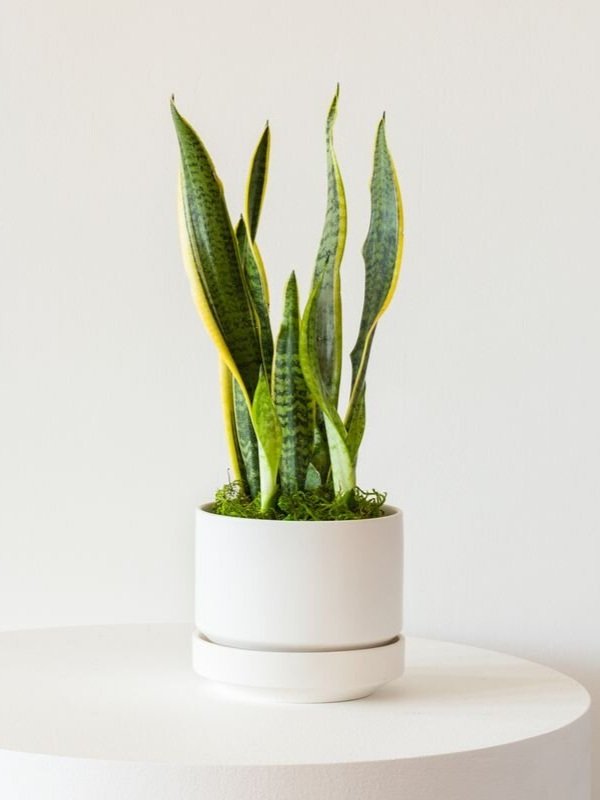
Sanseviera Laurentii
Apart from its vibrant lemon lime hues, the Sansevieria Laurentii stands out as one of the very best air-purifiers among all living houseplants, other Snake Plant varieties included. In a study performed by Nasa, this Snake Plant variety came out as not only one of the best air-purifying plants among Snake Plants in general, but among houseplants in general as well. The Sansevieria Launretii can tolerate low-light and is easy-to-grow and boasts green leaves with bright yellow edges, making this Snake Plant stand out from the rest.

Get It Delivered
Hardy and perfect for beginners, the Snake Plant Laurentii requires little care to thrive.
Shop gorgeously potted Snake Plants at leonandgeorge.com
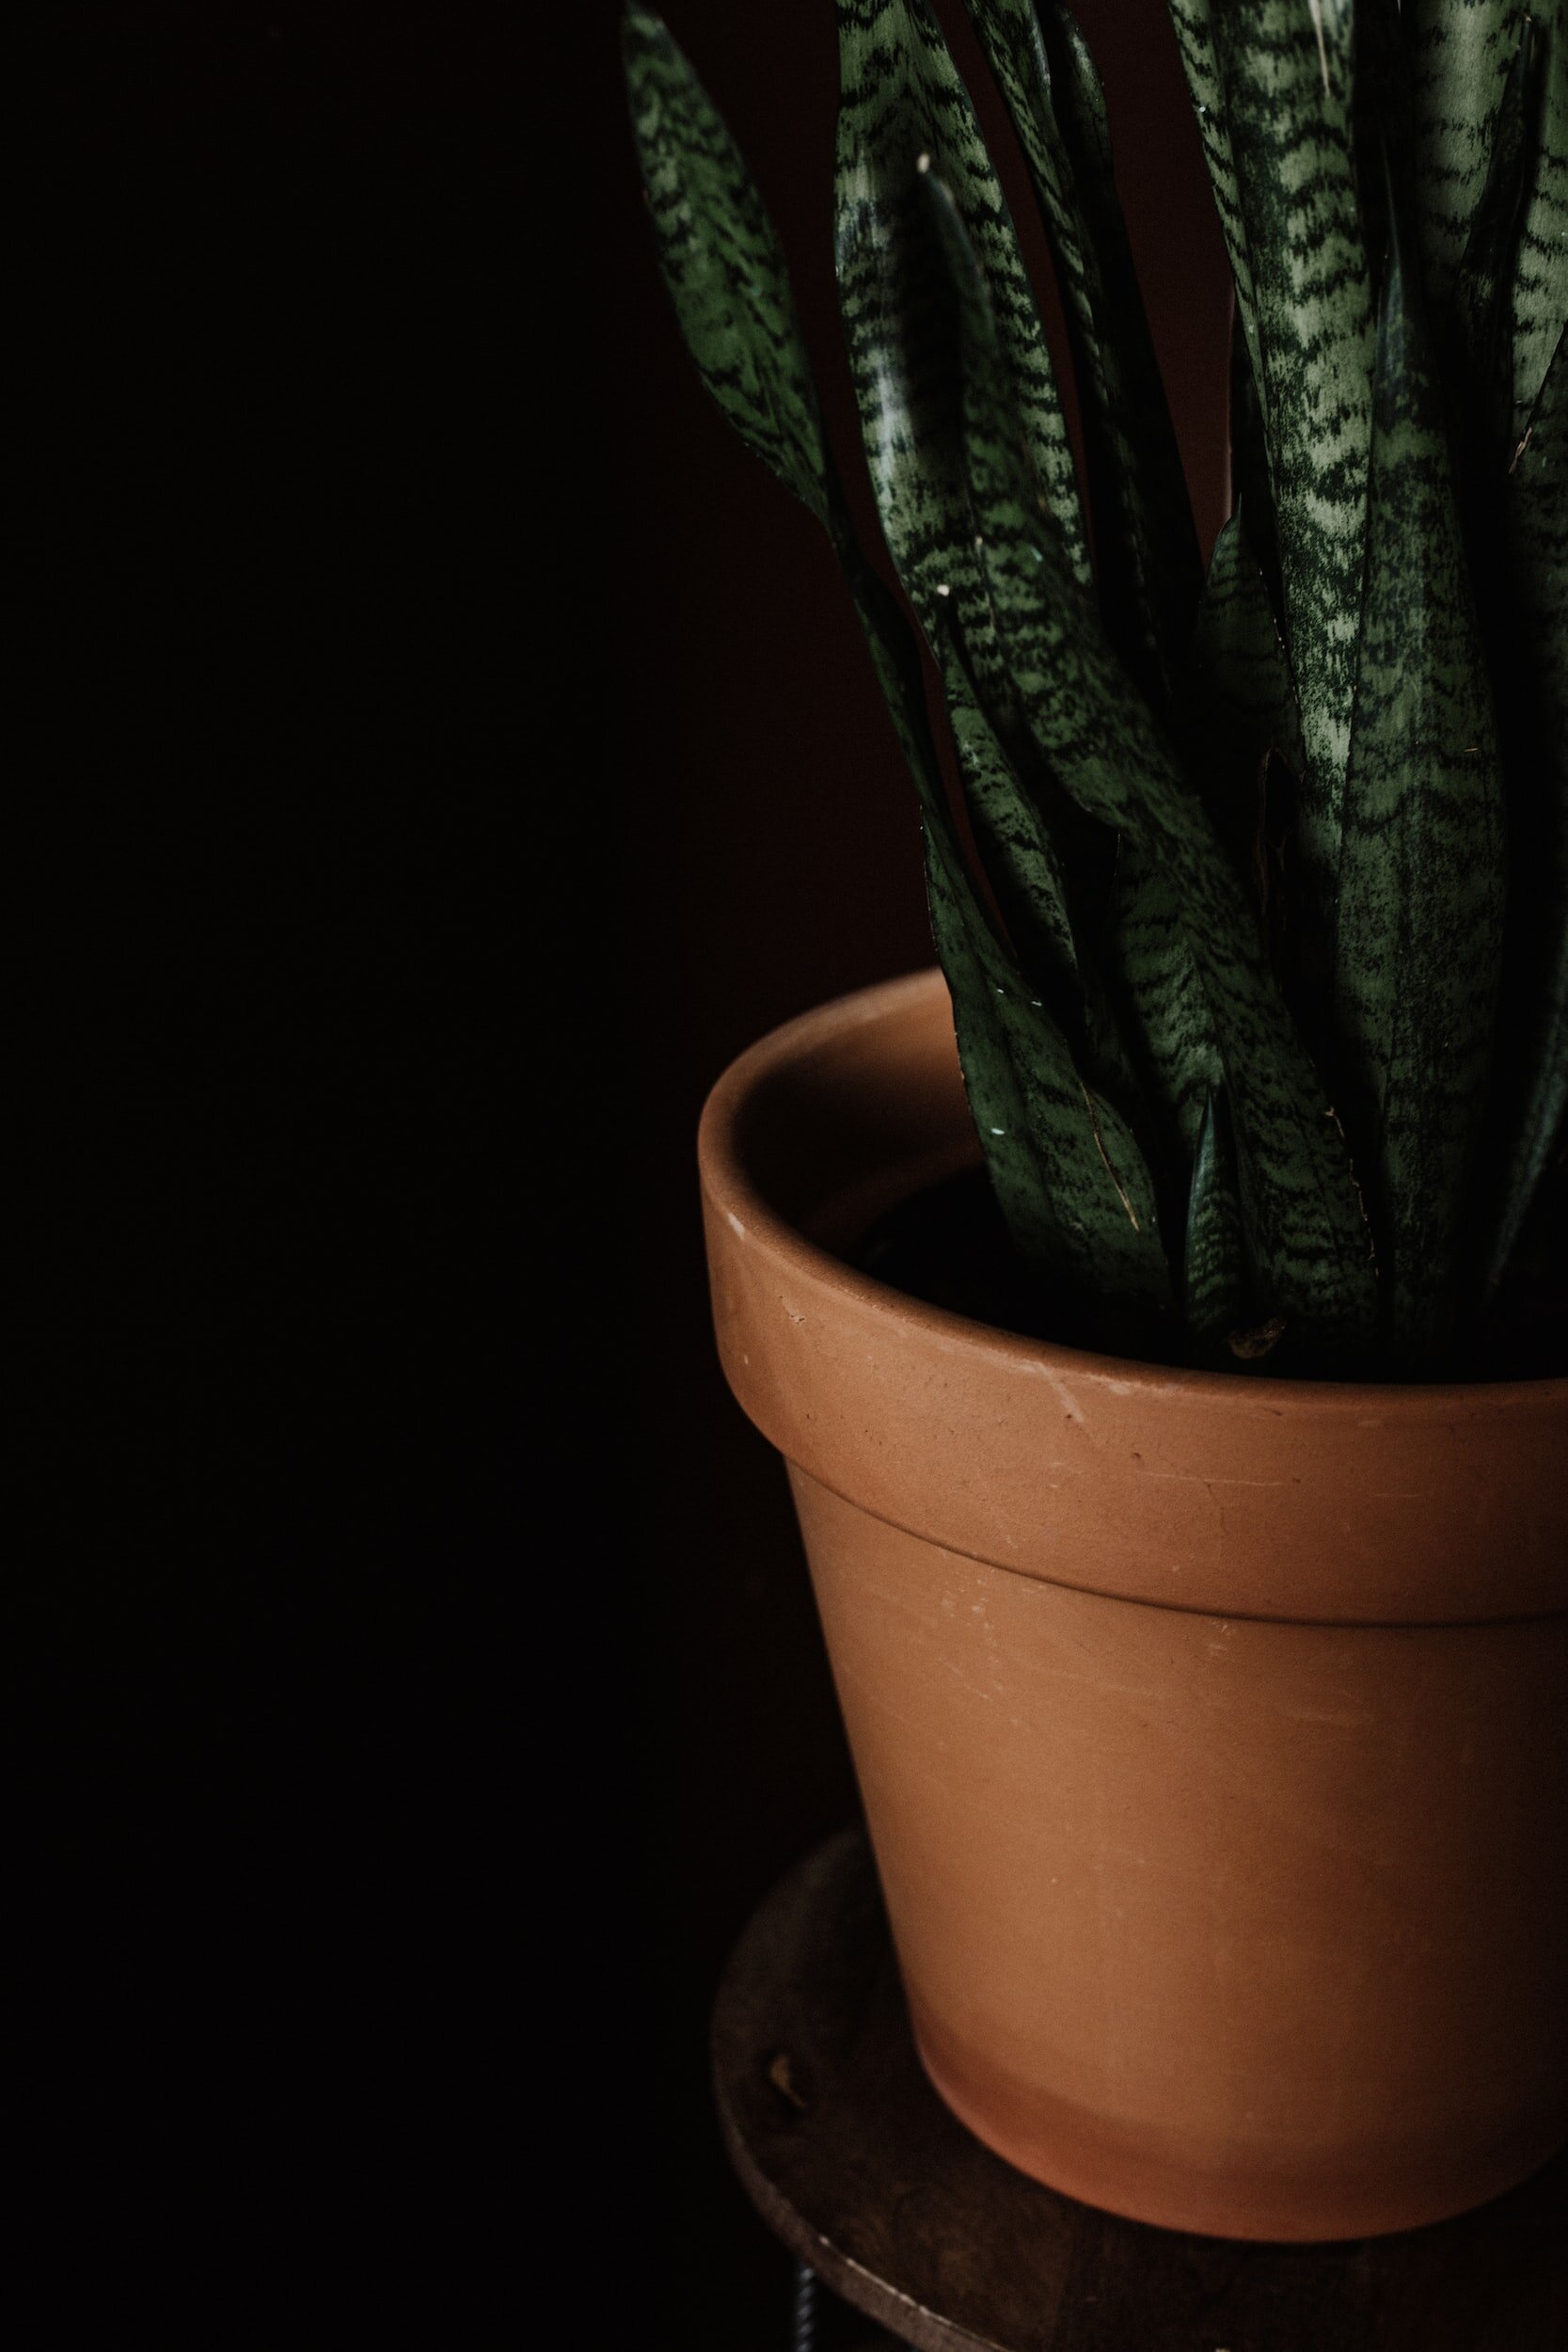
Sanseveria Trifasciata
Similar to the Laurentii but without the yellow leaves, the Sanseveria Trifasciata is another gorgeous, structural Snake Plant that can survive with little to no light, occasional neglect, and changes in humidity. While also variegated, its foliage is darker than the Laurentii with alternating deep green hues.
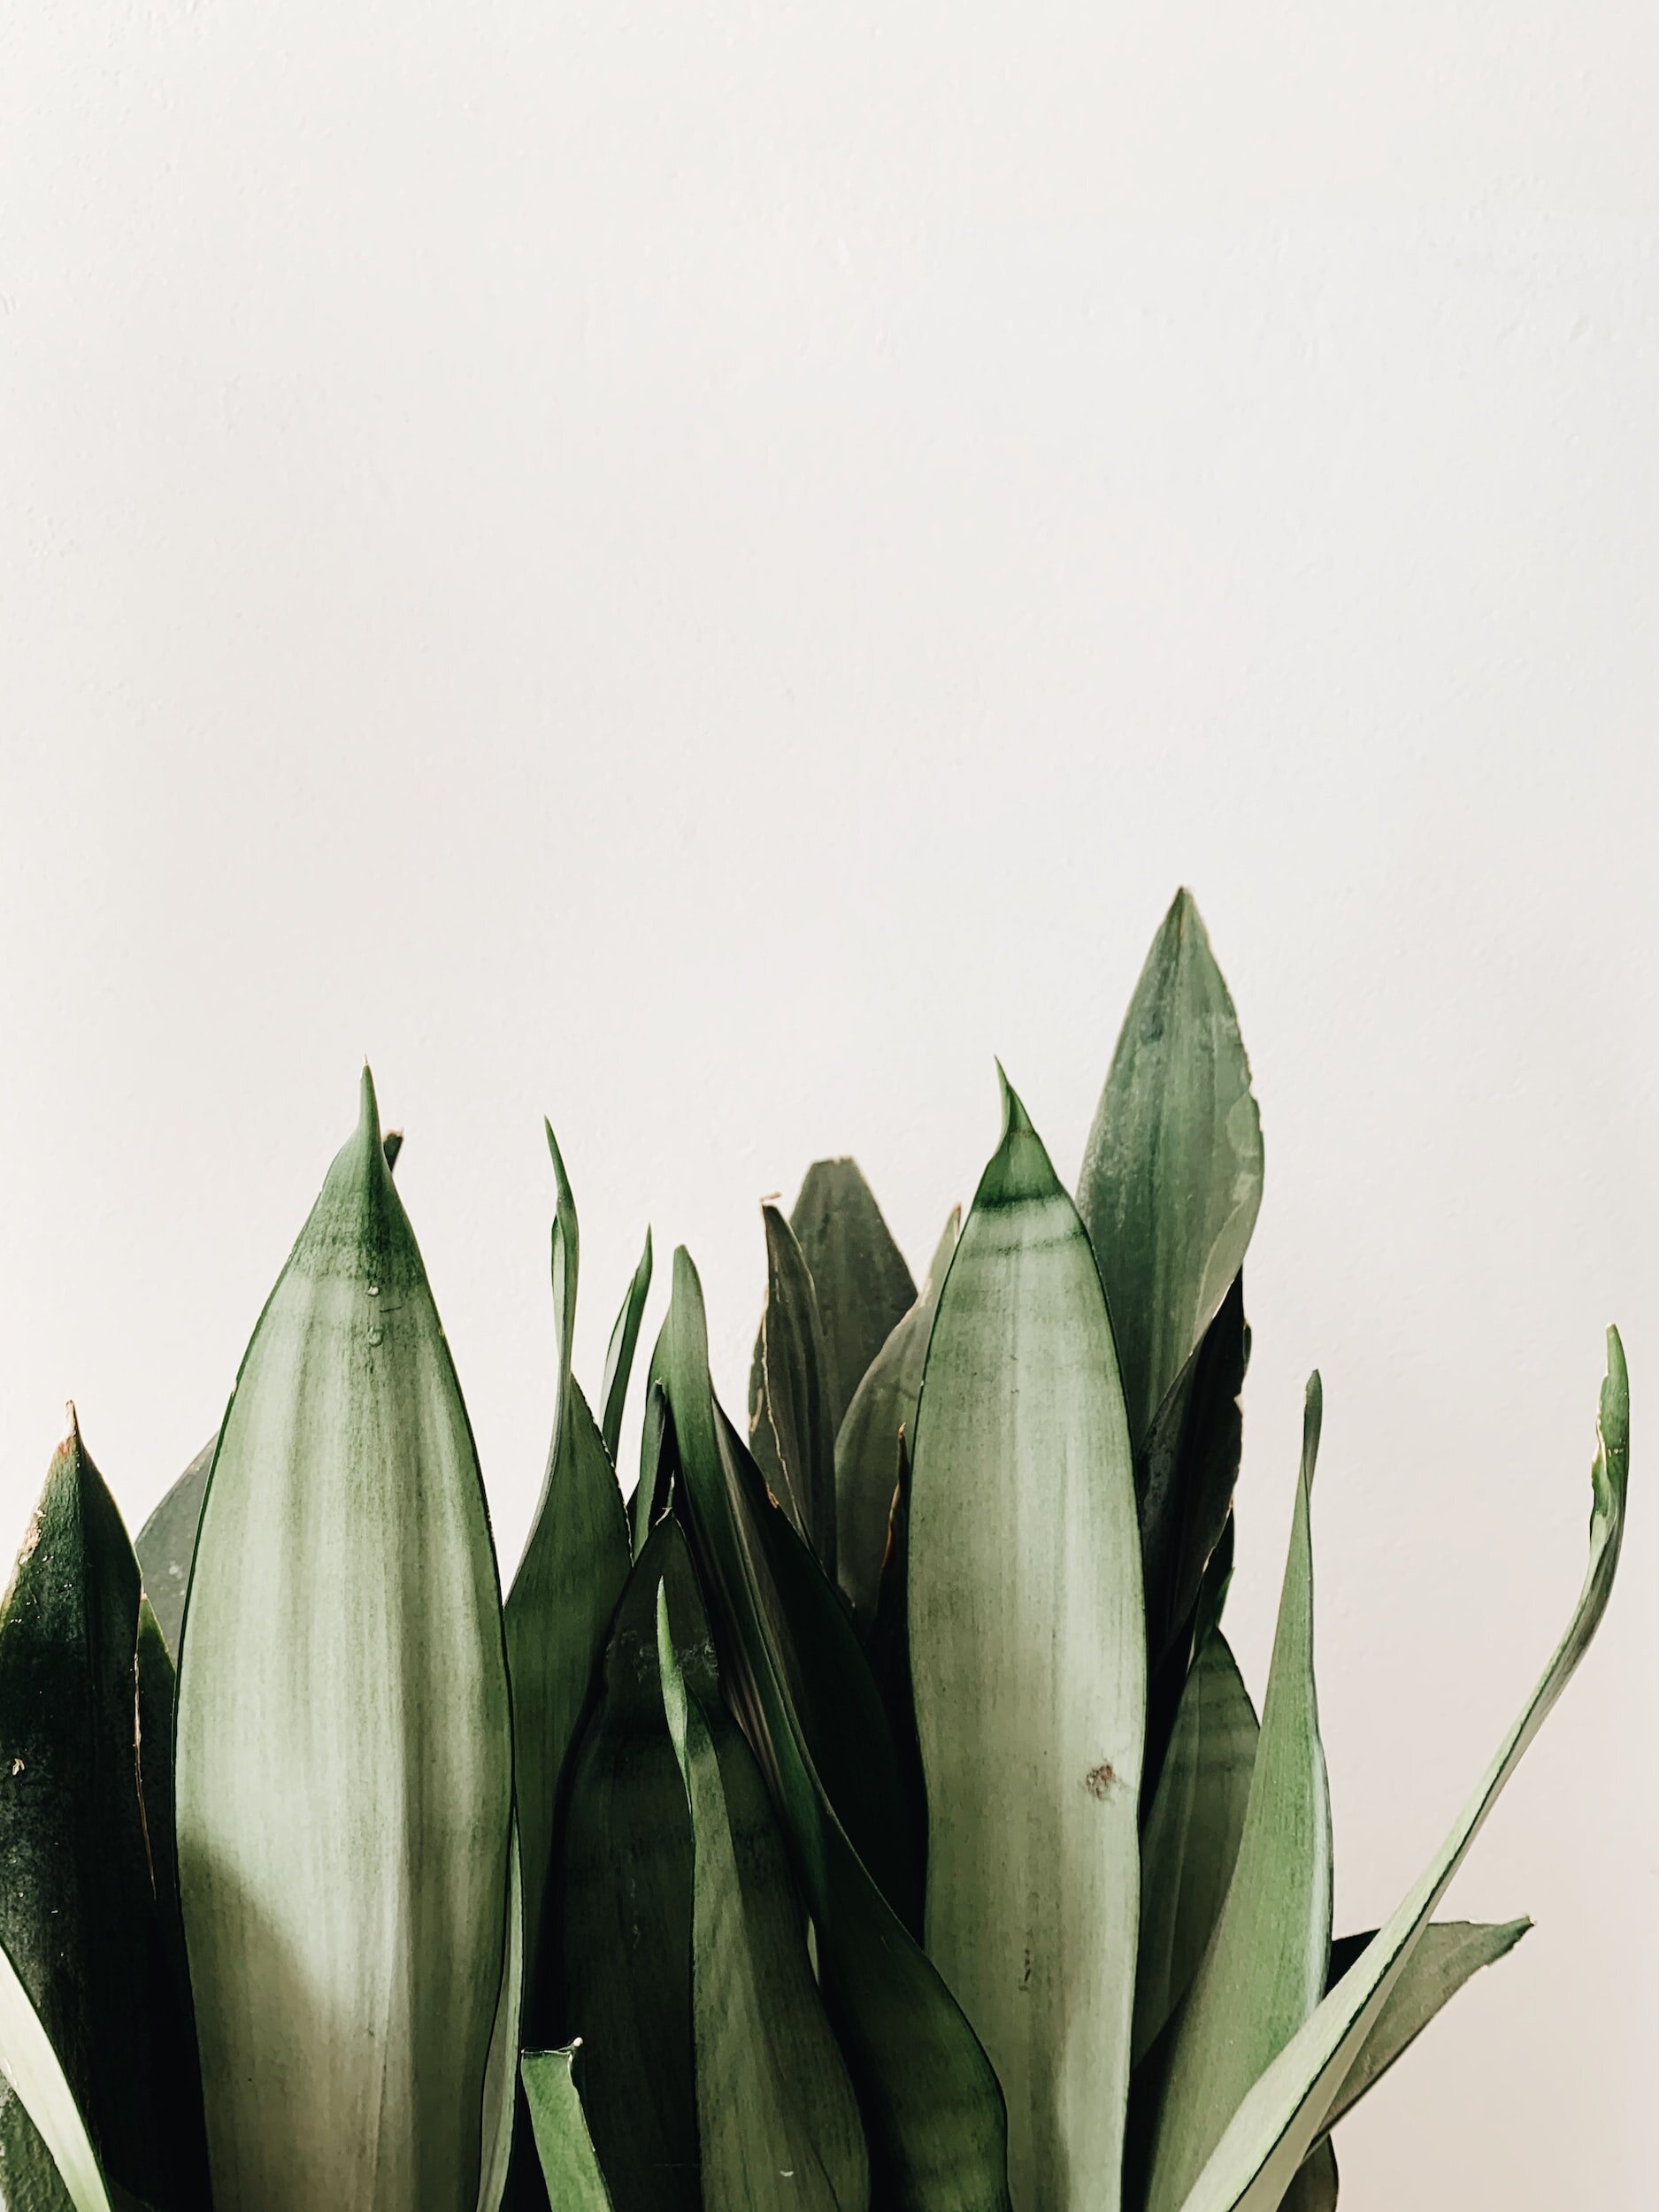
Moonshine Snake Plant
One of our favorite varieties of Snake Plants, the Moonshine Snake Plant boasts unique, glossy sage green leaves. Generally on the shorter side (2-3 feet tall), this plant can be a bit stouter and more easy-care than its cousins of similar shape and size.
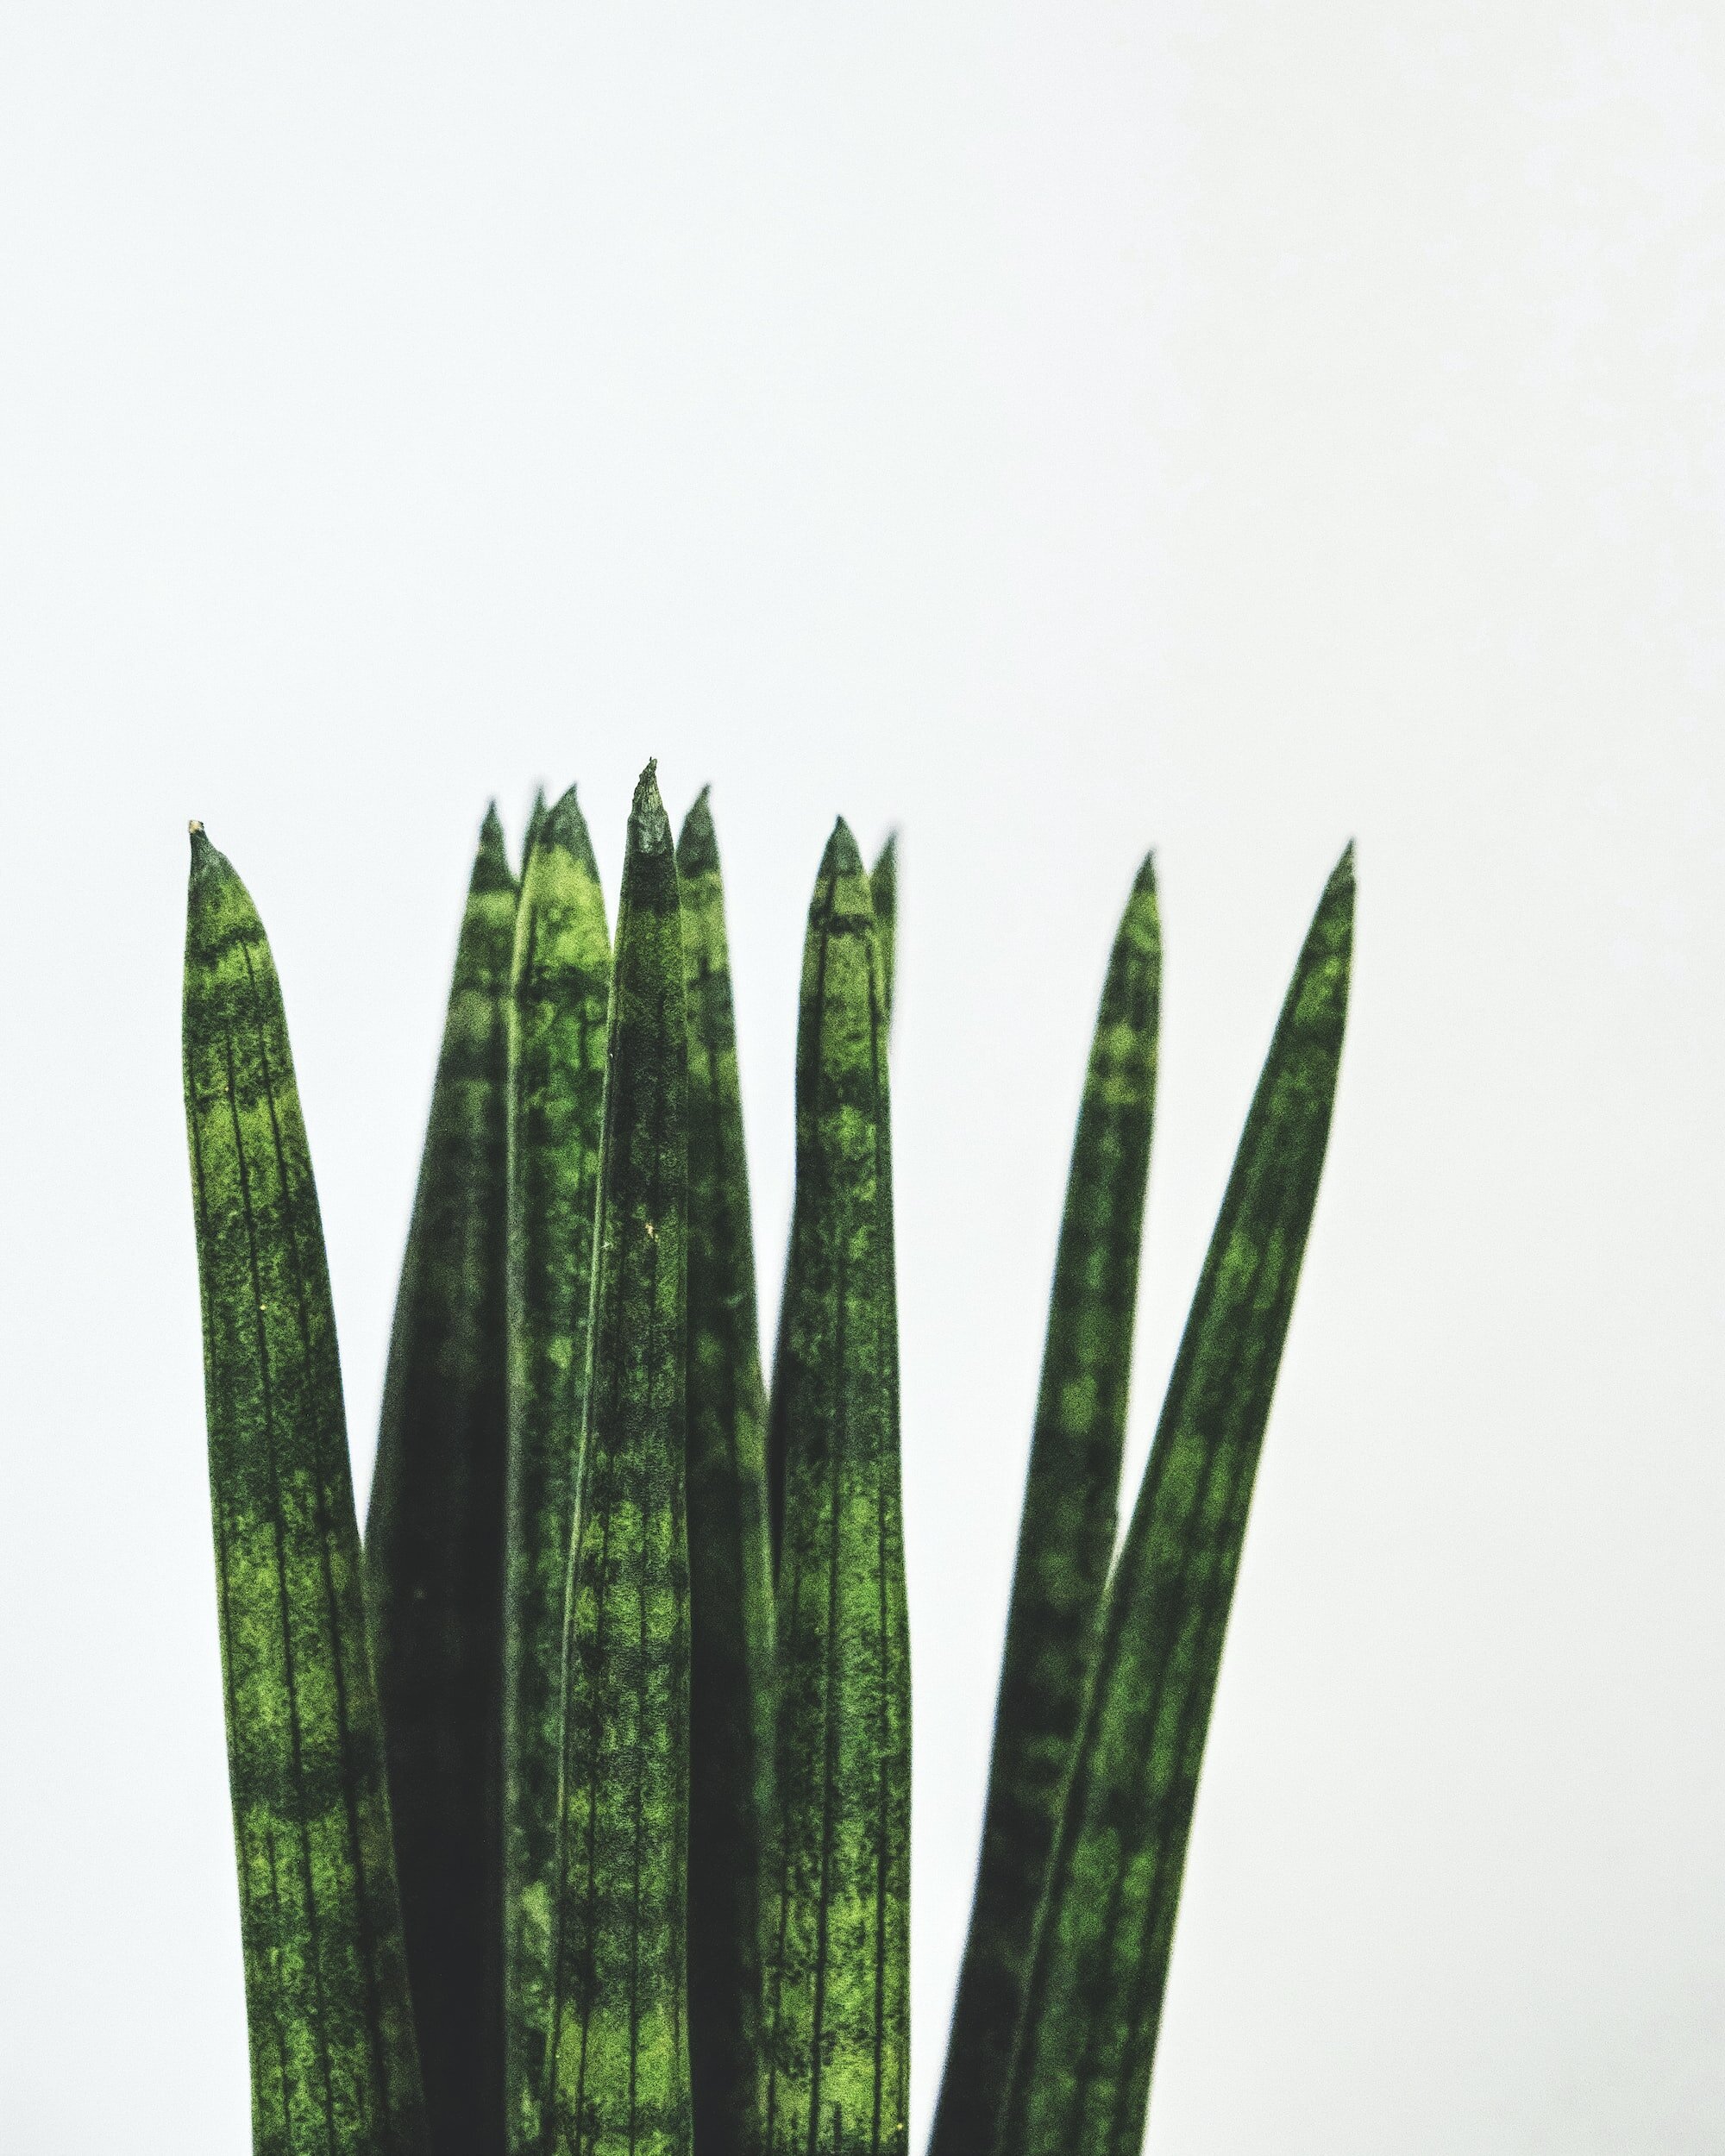
Sanseviera Cylindrica
Like its name implies, the Sanseviera Cylindrica (sometimes also referred to as African Spear) grows tough cylindrical spears from its base. Sometimes braided, and sometimes in form of a star (Sanseviera Cylindrica Starfish), this variety of Snake Plant also requires very little maintenance to thrive. Though it can survive in low light conditions, bright light is best for this particular variety, which will grow its spears towards the light source if not adequately placed.

Sansevieria Trifasciata 'Hahnii'
Sansevieria Trifasciata 'Hahnii' Often referred to as the Bird's Nest snake plant, 'Hahnii' features compact rosettes of short, wide leaves with a distinctive bird's nest-like shape. This variety is perfect for smaller spaces or as part of a succulent arrangement.
Sansevieria Trifasciata 'Black Gold'
Sansevieria Trifasciata 'Black Gold' 'Black Gold' boasts striking, dark green leaves with horizontal bands of golden-yellow variegation. The contrasting colors give it an elegant and sophisticated appearance, making it a stunning addition to any indoor setting.
Sansevieria Masoniana 'Whale Fin'
“Masoniana,' also known as the Whale Fin snake plant, features large, paddle-shaped leaves that resemble the fin of a whale. This striking variety commands attention and adds a bold statement to any space.
Sansevieria Kirkii 'Silver Blue'
The 'Silver Blue' variety showcases beautiful blue-green leaves with silver mottling, giving it a captivating and ethereal appearance. Its unique coloration adds a touch of serenity to any room, making it a favorite among plant enthusiasts.
Sansevieria Bacularis
'Bacularis' is a charming snake plant variety with cylindrical leaves that grow in a distinctive star-like pattern. This variety is highly adaptable and grows well in various light conditions, making it a versatile choice for any indoor space.
Shop The Snake Plant
Hardy and one of the best plants for beginners, the Snake Plant Laurentii requires little care to thrive.
Shop gorgeously potted Snake Plants at leonandgeorge.com
Sansevieria Francisii
'Francisii' features compact clusters of short, wide leaves with intriguing patterns and unique textures. Its small size and intricate foliage make it an excellent choice for terrariums, shelves, or as a part of a succulent arrangement.
Sansevieria Fernwood Mikado
The 'Fernwood Mikado' variety is known for its narrow, cylindrical leaves with subtle light green striping. It has an elegant, architectural appearance that complements modern and minimalist aesthetics perfectly.
Found your favorite Snake Plant? Let’s take care of it!
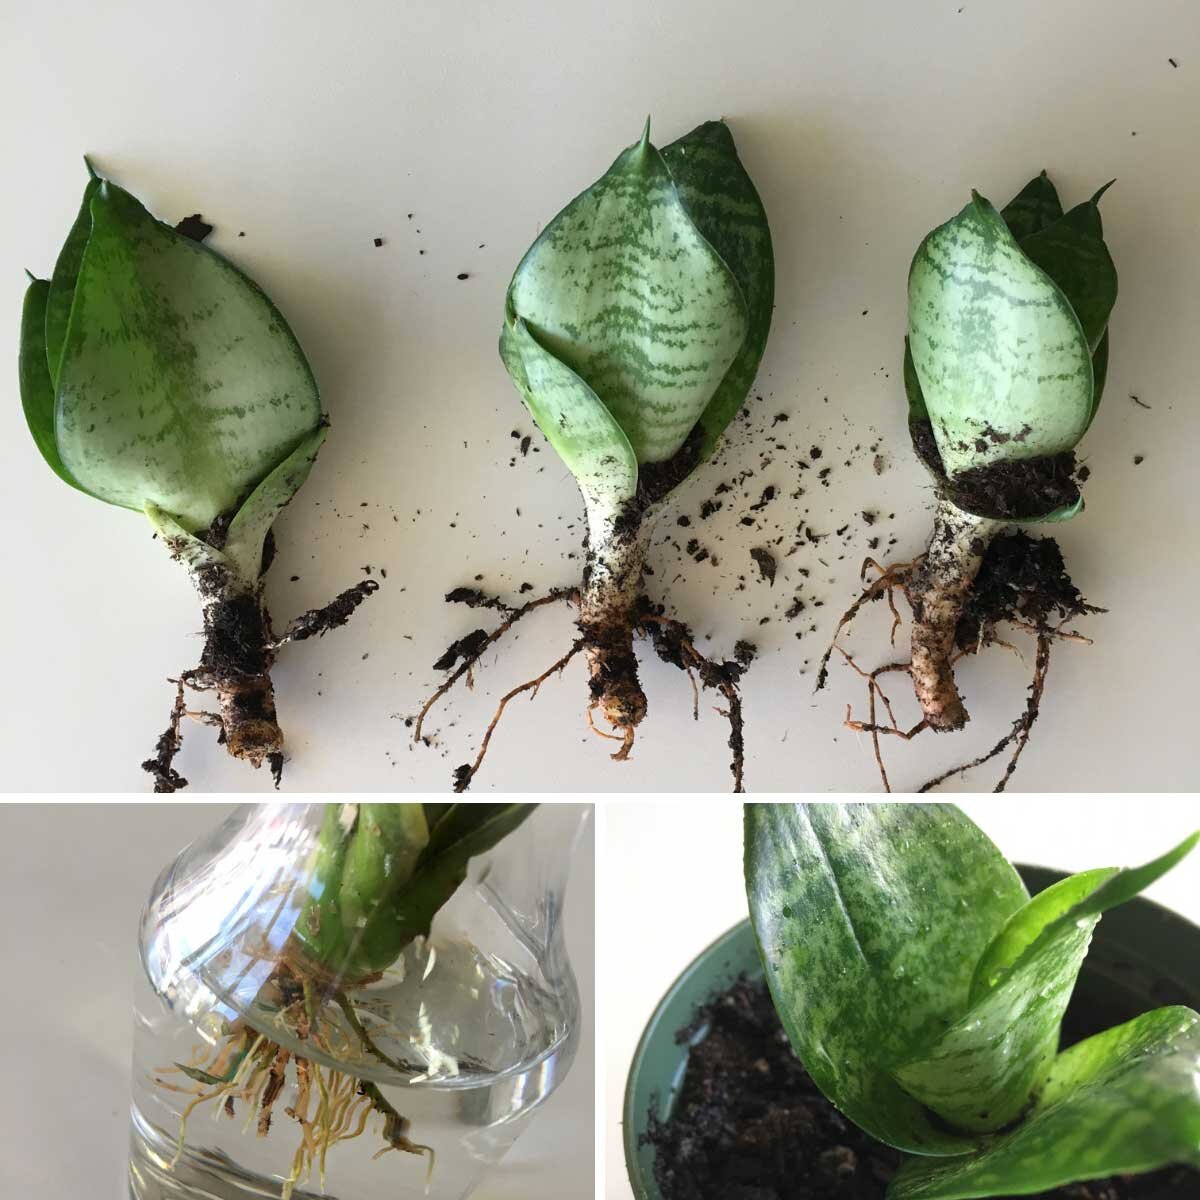
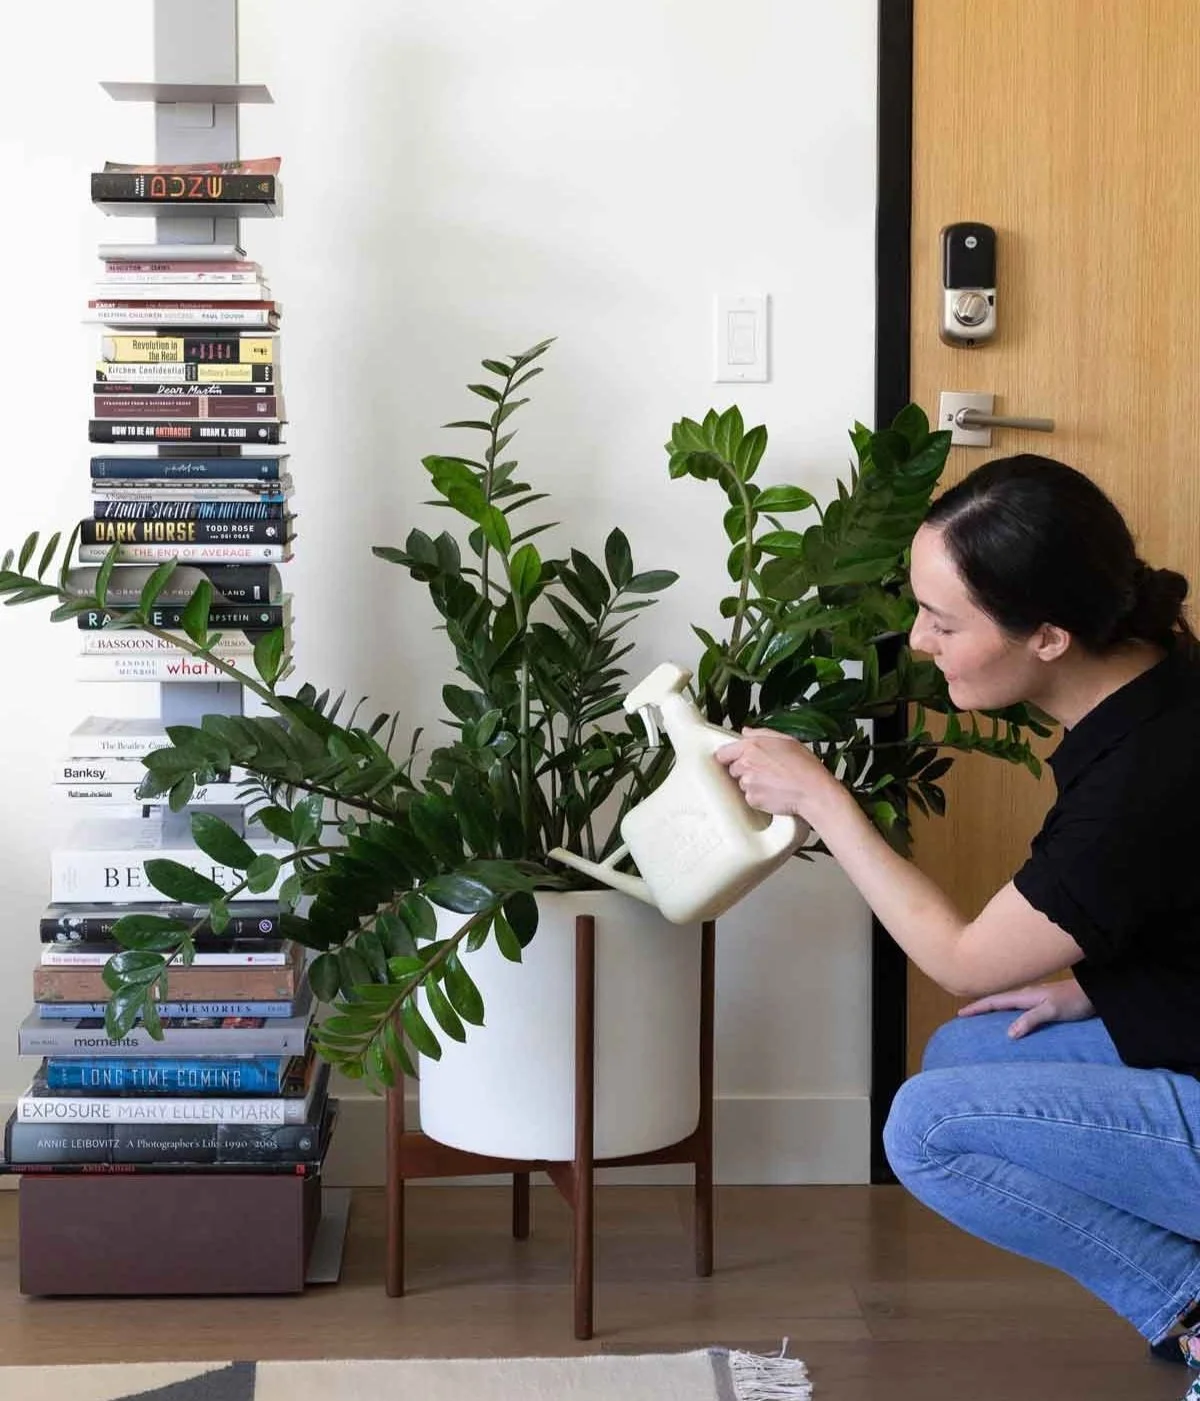
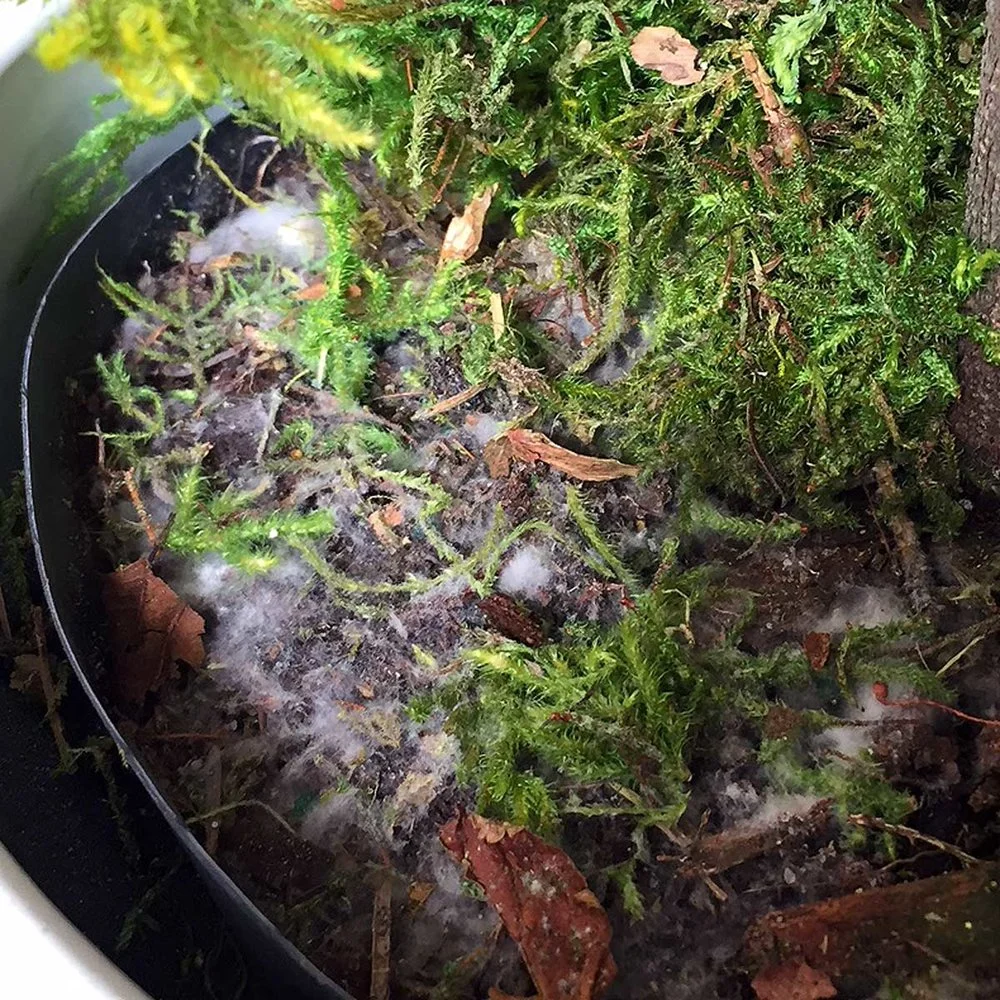
As you embark on your Snake Plant gardening journey, here are some quick tips to ensure success with whichever type of Snake Plant you choose. When it comes to watering, remember that Snake Plants are drought-resistant, but it's essential to prevent them from drying out completely. Aim to water your plant sparingly, allowing the soil to dry out slightly between waterings to avoid root rot. During the growing season, fertilize your Snake Plant with a balanced fertilizer to promote healthy growth, but be cautious not to over-fertilize, as these plants have modest nutrient requirements. Keep an eye out for pests and insects, such as mealy bugs or spider mites which can occasionally plague Snake Plants. Maintaining high humidity levels can also help deter pests and ensure optimal growth. You can find more information about Snake Plant care in our article, The 10 Commandments Of Snake Plant Care! With these tips and a little green-thumb know-how, your Snake Plant will thrive in your indoor garden.
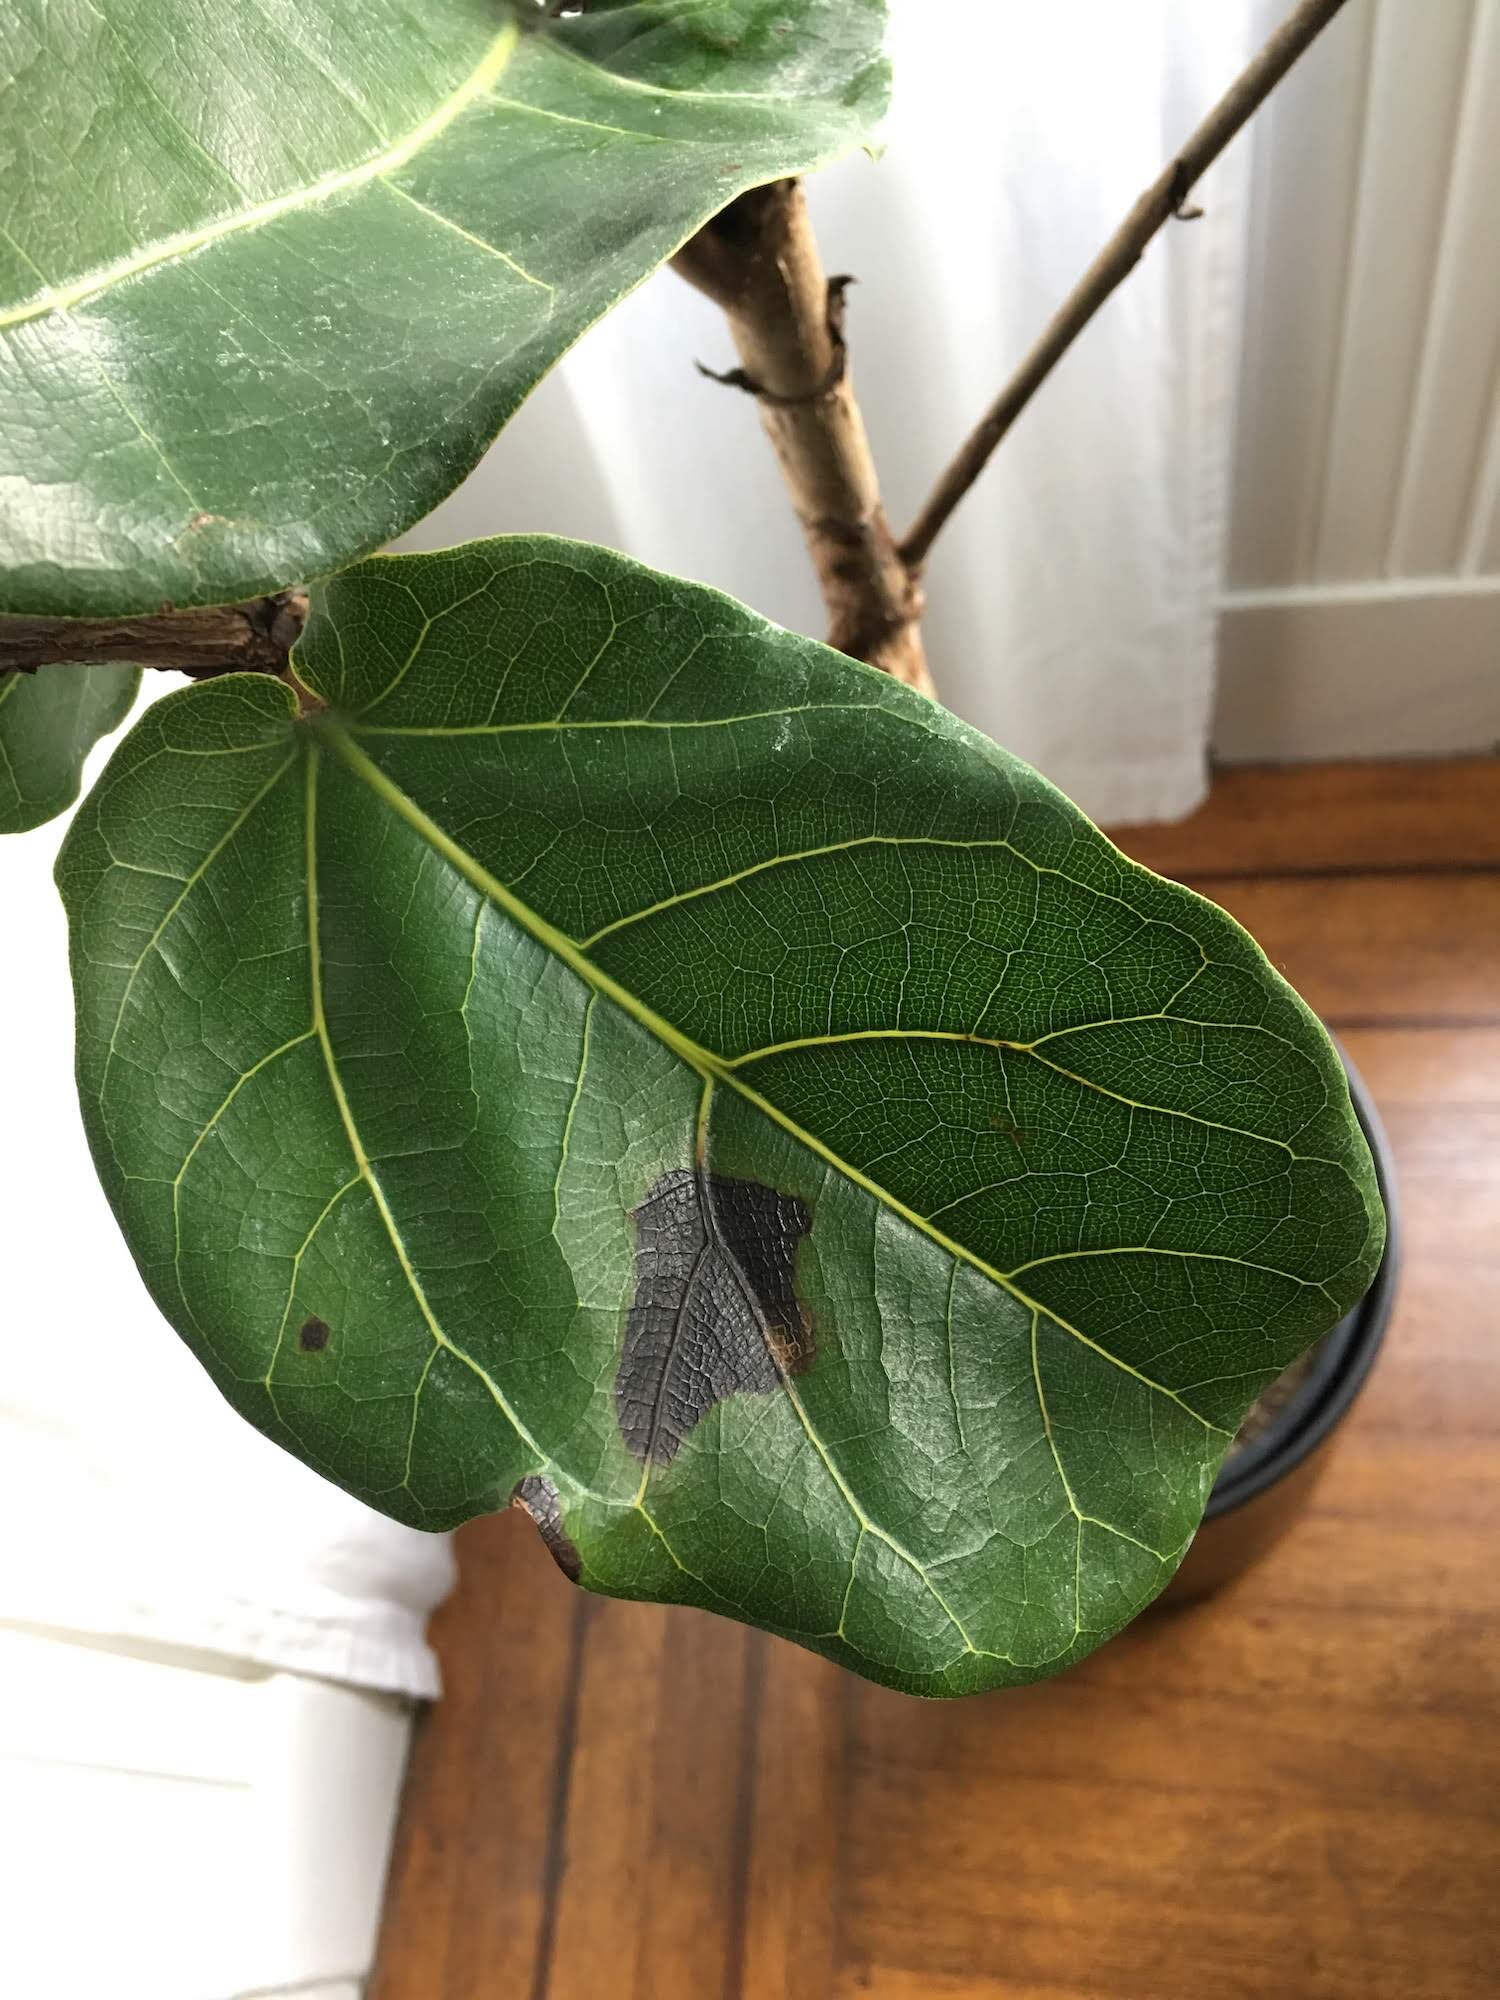
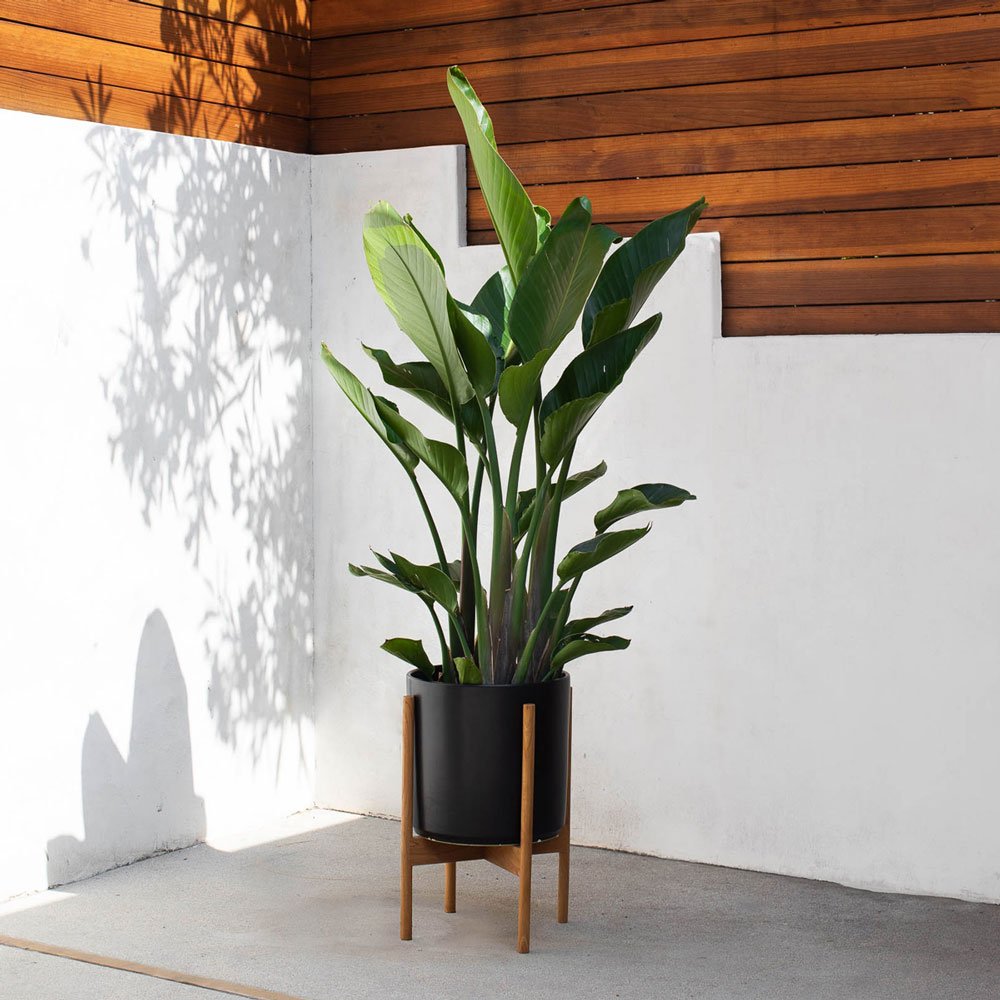
At Léon and George, we're on a mission to bring the beauty of nature indoors into your daily life. Our hand-selected, California-grown tropical plants such as the Fiddle Leaf Fig Tree, Ficus Audrey, Dracaena, and Bird of Paradise are carefully chosen for their quality, health, and beauty. We believe in simplicity, fairness, and sustainability, sourcing our plants from trusted local growers who share our values. When you bring a Léon and George plant into your home, you're not just getting greenery – you're getting a piece of nature treated with our all-natural products and staged for optimal growth. We're here to make plant ownership accessible and enjoyable for everyone, fostering a connection between people and the natural world.

INDOOR HOUSE PLANTS, potted & DELIVERED
Premium plants paired with stylish ceramics, plus lifetime plant care support for help growing plants. Order online at leonandgeorge.com